
Struggling with wet battered foods that drip and burn? This guide reveals the secrets to achieving perfectly crispy results every time. We’ll cover everything from batter consistency to oil temperature control and advanced frying techniques. Say goodbye to soggy messes and burnt bits, and hello to delicious, golden-brown goodness.
- Master Batter Consistency: The thickness of your batter is crucial for proper adhesion and preventing drips. Aim for a consistency that coats the food without being too thin or too thick.
- Pre-heating Oil is Paramount: Ensure your oil is at the correct temperature before adding battered food. Too cool, and it will be greasy; too hot, and it will burn before cooking through.
- Gentle Lowering Technique: Carefully lower battered food into the hot oil to avoid splattering and ensure even cooking.
- Don’t Overcrowd the Pan: Frying too much food at once lowers the oil temperature, leading to greasy, unevenly cooked results.
- Monitor Browning Closely: Keep a watchful eye on your food as it fries. Remove it promptly once it reaches a beautiful golden-brown color.
- Draining is Key for Crispiness: Properly drain excess oil from your cooked food on a wire rack to maintain its crispiness.
Cooking Wet Battered Foods That Drip and Burn
Welcome to your ultimate guide for conquering the challenge of cooking wet battered foods! If you’ve ever ended up with a pan full of sputtering oil, sad, soggy batter, and frustrating burnt bits, you’re not alone. In 2026, we’re armed with advanced techniques and insights to transform those tricky dishes into crispy triumphs. This guide will teach you everything you need to know to achieve that perfect golden-brown crust without the dreaded drips and burns. Let’s dive in!
Understanding the Challenges
Wet batters, by their very nature, are prone to a few common problems:
- Drips: A batter that is too thin will slide off the food before it hits the oil, creating a mess and leading to uneven coating.
- Splattering: Excess moisture in the batter or on the food can cause violent oil splatters, which are dangerous and messy.
- Burning: If the oil is too hot, the outside of the batter cooks and burns before the inside has a chance to heat through.
- Greasy Results: If the oil is not hot enough, the food absorbs too much oil, resulting in a heavy, greasy texture instead of a crisp one.
By understanding these pitfalls, we can implement strategies to avoid them.
Step 1: Perfecting Your Batter Consistency
The foundation of successful wet battered cooking lies in the batter itself. It needs to be thick enough to cling to your food but not so dense that it becomes heavy or gummy.
Achieving the Right Thickness
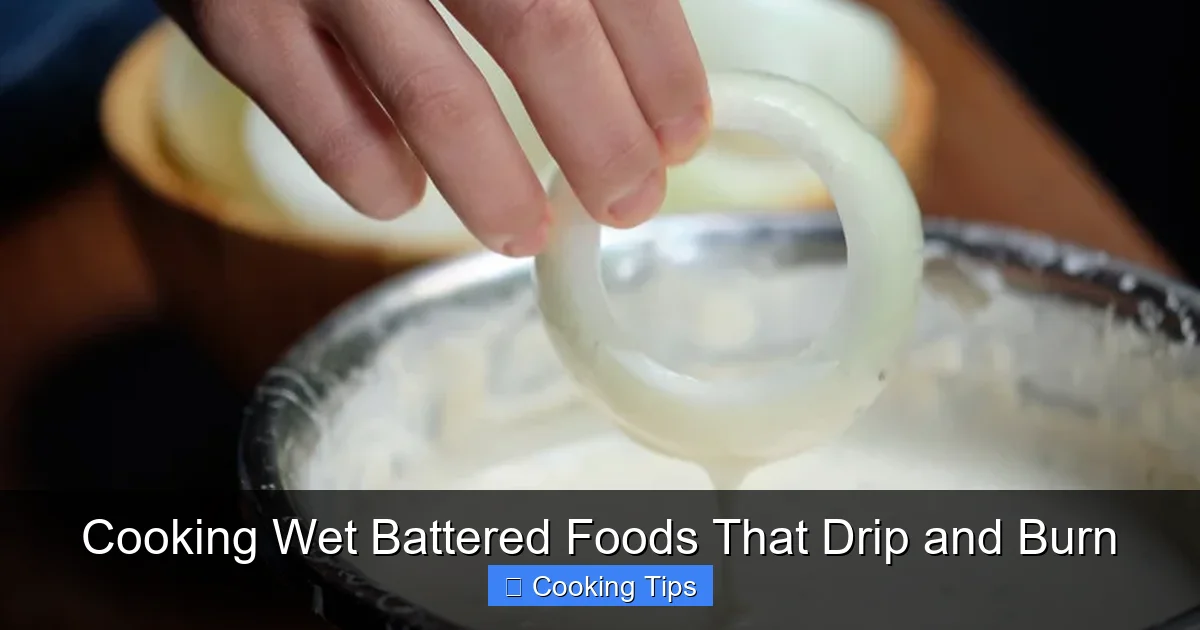
A good rule of thumb for most wet batters is to aim for a consistency similar to pancake batter or thick cream.
How to Test: Dip a spoon or whisk into the batter. If it coats the back of the spoon evenly and slowly drips off in ribbons, it’s likely perfect. If it runs off immediately, it’s too thin. If it’s so thick it barely moves, it’s too dense.
Visual guide about Cooking Wet Battered Foods That Drip and Burn
Image source: tastingtable.com
Troubleshooting Batter Consistency
- If your batter is too thin: Gradually whisk in a little more flour, a tablespoon at a time, until the desired consistency is reached. Be careful not to overmix, as this can develop the gluten too much, making your coating tough.
- If your batter is too thick: Whisk in a small amount of liquid (water, milk, or beer, depending on your recipe) a teaspoon at a time until it thins out.
The Role of Ingredients
The ingredients in your batter also play a part. Using cold ingredients, especially liquids like beer or seltzer, can create a lighter, crispier coating by promoting steam during frying. This steam helps puff up the batter and make it airy.
Step 2: Preparing Your Food for Battering
The food you’re coating also needs a little preparation to ensure the batter adheres properly and to minimize splattering.
The Importance of Dryness
This might seem counterintuitive when you’re making something *wet* battered, but it’s crucial.
How to Dry: Pat your food items (like chicken pieces, fish fillets, or vegetables) thoroughly dry with paper towels. Excess surface moisture will cause the batter to slide off and can lead to dangerous oil splatters.

Visual guide about Cooking Wet Battered Foods That Drip and Burn
Image source: shungrill.com
Creating Adhesion
For some foods, like shrimp or onion rings, a light dusting of flour before the wet batter can create a better surface for the batter to cling to. This is sometimes called a “dry dredge” and then a “wet dredge.”
Step 3: Heating Your Oil to the Correct Temperature
This is perhaps the most critical step in preventing both burning and greasiness. The ideal frying temperature for most wet battered foods is between 350°F and 375°F (175°C and 190°C).
Using a Thermometer is Key
Don’t guess the oil temperature! Invest in a good-quality deep-fry thermometer or an instant-read thermometer.
Setup: Use a heavy-bottomed pot or a deep fryer. Fill it with enough oil (like vegetable, canola, or peanut oil) to submerge the food without overcrowding. Heat the oil slowly over medium-high heat.
Visual guide about Cooking Wet Battered Foods That Drip and Burn
Image source: bluejeanchef.com
Testing the Temperature
- With a Thermometer: Clip the thermometer to the side of the pot, ensuring the tip is submerged in the oil but not touching the bottom. Monitor the temperature as it heats up.
- Without a Thermometer (less accurate): Drop a small piece of batter into the oil. If it sizzles immediately and floats to the top, the oil is likely hot enough. If it sinks and then slowly bubbles, it’s too cool. If it browns instantly, it’s too hot.
Step 4: Battering and Frying Techniques
Now for the main event! How you coat and introduce the food to the oil makes a big difference.
The Battering Process
Dip your prepared food into the batter, ensuring it’s fully coated.
Lift and Drain Slightly: Lift the battered item out of the batter and let any excess drip back into the bowl for a few seconds. This prevents large globs of batter from falling into the oil and burning.
Introducing Food to the Oil (The Gentle Lowering)
This is where you prevent dangerous splatters and ensure even cooking.
The Technique: Hold the battered food item close to the surface of the hot oil. Gently lower it into the oil, moving it away from you. This allows the batter to set slightly before it’s fully submerged, reducing splattering.
Don’t Overcrowd the Pot!
This is a golden rule of frying.
Why it Matters: Adding too much food at once will drastically lower the oil temperature. This leads to the food becoming greasy and potentially falling apart, as it won’t cook evenly. It also increases the risk of sticking.
How Much is Too Much? Fry in batches, usually 3-4 pieces at a time, depending on the size of your pot and the food. You should be able to easily turn the pieces without them touching each other.
Step 5: Monitoring and Flipping
Patience and observation are your best friends during the frying process.
Cooking Time
The cooking time will vary depending on the type and thickness of the food. Thicker items will take longer.
What to Look For: The batter should turn a beautiful golden-brown color and be puffed and crispy. You’ll see the oil bubbling gently around the food.
When to Flip
Once the bottom of the battered food is golden and set, it’s time to flip.
Gentle Flipping: Use tongs or a slotted spoon to carefully turn the pieces over to ensure even browning on all sides. Avoid piercing the batter with sharp tines, as this can cause the coating to come off.
Step 6: Draining and Serving
Getting the excess oil off is essential for maintaining that coveted crispiness.
The Wire Rack Method
Avoid draining on paper towels placed directly in a bowl.
Why a Wire Rack? Placing your fried food on a wire rack set over a baking sheet allows air to circulate around the food. This prevents the bottom from steaming and becoming soggy. Paper towels absorb oil but can also trap steam.
Serving Promptly
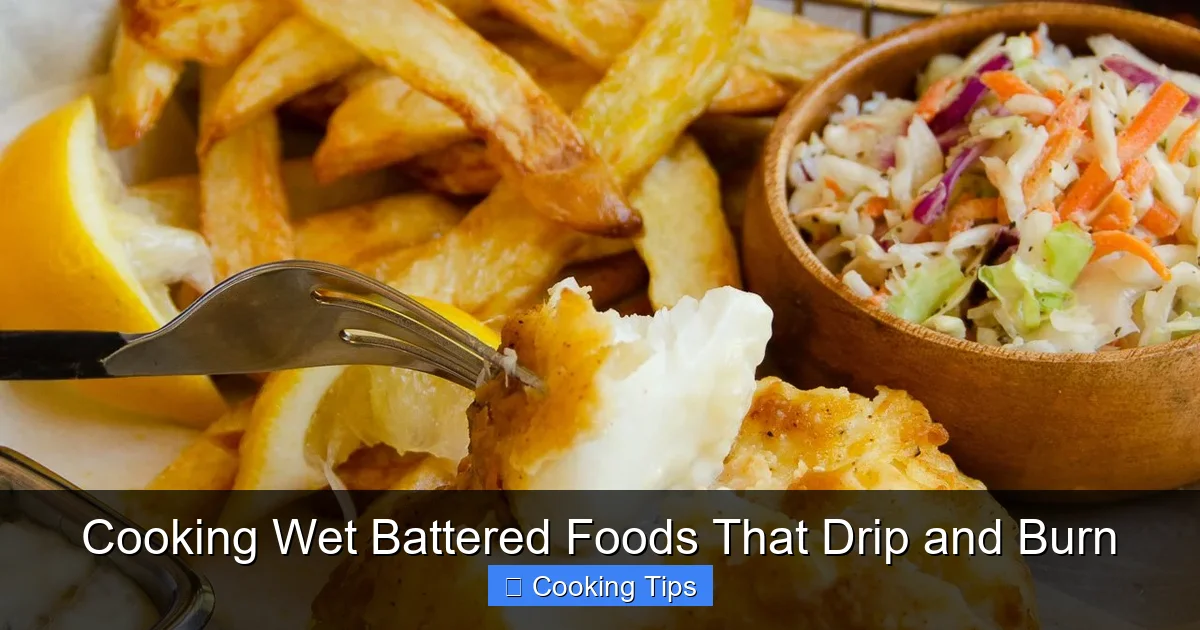
Fried foods are best enjoyed immediately after cooking for optimal crispiness. If you need to keep them warm for a short period, you can place them in a single layer on a wire rack in a low oven (around 200°F / 95°C).
Troubleshooting Common Issues
Even with the best preparation, you might encounter a few snags.
Issue: Batter Falling Off
Possible Causes: Food too wet, oil not hot enough, or batter too thin.
Solution: Ensure food is thoroughly dried, preheat oil to the correct temperature, and adjust batter consistency.
Issue: Uneven Browning
Possible Causes: Overcrowded pot, oil temperature fluctuating too much.
Solution: Fry in smaller batches, maintain a consistent oil temperature by allowing it to reheat between batches.
Issue: Greasy Food
Possible Causes: Oil not hot enough, or food was drained on paper towels.
Solution: Always ensure oil is at the correct temperature, and drain on a wire rack.
Issue: Burnt Bits in the Oil
Possible Causes: Batter drips falling into the oil and burning. Food cooked too long.
Solution: Let excess batter drip off food before frying. Monitor cooking time carefully and remove food promptly.
Conclusion
Cooking wet battered foods doesn’t have to be a frustrating experience. By understanding the science behind batter consistency, mastering oil temperature control, and employing gentle frying techniques, you can consistently achieve incredibly crispy, delicious results. From perfectly fried chicken to crispy onion rings, you’re now equipped to conquer any wet battered dish. So, gather your ingredients, heat up that oil, and get ready to impress yourself and your loved ones with your newfound frying prowess! Happy cooking in 2026!