
Unlock the secret to perfectly preserved fruits and vegetables with our comprehensive guide to dehydrator rack sets. You’ll learn everything from selecting the right rack and preparing your produce to optimal drying techniques and easy cleanup. Maximize your food preservation efforts and enjoy nutrient-rich, shelf-stable snacks all year round.
Welcome to the ultimate guide to mastering your dehydrator rack set for drying fruits and veggies! In 2026, preserving food at home is more popular than ever, offering a delicious and healthy way to enjoy your favorite produce year-round. Dehydrator rack sets are the unsung heroes of this process, providing the essential structure for efficient and effective drying. Whether you’re a seasoned dehydrator enthusiast or just starting out, this guide will equip you with all the knowledge you need to achieve perfectly dried fruits and vegetables every time.
We’ll cover everything from understanding your dehydrator rack set to practical tips for loading, drying, and storing your delicious creations. Get ready to transform fresh, vibrant produce into long-lasting, nutrient-packed snacks!
- Understand Dehydrator Rack Types: Learn about the different materials and designs of dehydrator rack sets, such as stainless steel, BPA-free plastic, and tiered configurations, to make an informed purchase.
- Proper Rack Placement and Loading: Discover the best way to arrange fruits and vegetables on the racks to ensure even airflow and consistent drying for optimal results.
- Temperature and Time Settings: Get guidance on the ideal temperature and drying times for various fruits and vegetables, acknowledging that these can vary based on moisture content and thickness.
- Monitoring and Rotating for Even Drying: Learn the importance of checking your dehydrating produce periodically and rotating the racks to prevent uneven drying or the development of hot spots.
- Safe Storage of Dehydrated Foods: Understand how to properly store your dried fruits and vegetables in airtight containers to maintain their freshness and prevent spoilage, ensuring they last longer.
- Cleaning and Maintenance of Racks: Receive practical advice on cleaning your dehydrator rack sets effectively to prevent residue buildup and ensure hygienic food preparation for future use.
Understanding Your Dehydrator Rack Set
Before you can start drying, it’s crucial to understand the role and types of dehydrator rack sets. These racks are designed to hold your prepared fruits and vegetables in a way that allows for optimal air circulation. Good airflow is the key to successful dehydration, as it whisks away moisture efficiently, preventing mold and spoilage.
Types of Dehydrator Rack Sets
Dehydrator rack sets come in various materials and configurations, each with its own benefits.
Material Matters
Most dehydrator racks are made from either stainless steel or BPA-free plastic. Stainless steel racks are durable, rust-resistant, and easy to clean. They are a great long-term investment. Plastic racks are lighter, often more affordable, and can be dishwasher safe. Always ensure any plastic components are food-grade and BPA-free for your health.
Tiered Designs
The most common configuration is a tiered system. These racks stack vertically within your dehydrator, allowing you to dry multiple layers of food simultaneously. The number of tiers can vary, so consider how much food you typically dehydrate when choosing your set.
Preparing Your Produce for Dehydration
The success of your dehydrated fruits and vegetables starts with proper preparation. This ensures even drying and the best possible flavor and texture.
Washing and Peeling
Always start by thoroughly washing all your fruits and vegetables. Remove any dirt, pesticides, or debris. For many fruits and vegetables, peeling is optional, but it can lead to faster drying and a more desirable texture. For example, peeling apples and pears can create a softer final product. Some vegetables, like carrots or potatoes, benefit from peeling.
Visual guide about Dehydrator Rack Set for Drying Fruits and Veggies
Image source: expandedmetalsheets.com
Slicing and Cutting Techniques
Uniformity is key! Slice your produce into consistent thicknesses, typically between 1/4 and 1/2 inch. This ensures that all pieces dry at the same rate. Too thick, and they may not dry completely; too thin, and they can become overly brittle.
- Fruits: Slice uniformly. For smaller fruits like berries, you can leave them whole or halve them. Larger fruits like apples and peaches should be sliced evenly.
- Vegetables: For vegetables like carrots, zucchini, or bell peppers, aim for consistent slices or strips. Leafy greens can be laid flat or chopped.
Pre-Treatments for Best Results
Some fruits and vegetables can benefit from pre-treatment to prevent browning and preserve their vibrant colors.
- Citrus Dips: For fruits like apples, pears, and bananas, a quick dip in a solution of lemon juice or ascorbic acid (Vitamin C) mixed with water can prevent oxidation and browning. A common ratio is 1 tablespoon of lemon juice per cup of water.
- Blanching (for some vegetables): Some vegetables, like broccoli or peas, can be briefly blanched in boiling water for a minute or two, then quickly cooled in ice water. This helps to stop enzyme action, preserve color, and improve texture, though it does add a step.
Loading Your Dehydrator Rack Set
Proper loading is critical for achieving even drying and preventing cross-contamination of flavors.
Arranging Produce for Airflow
This is where your dehydrator rack set really shines. Spread your prepared fruits and vegetables in a single layer on each rack. Ensure there is space between each piece for air to circulate freely. Overcrowding will lead to uneven drying and can even promote the growth of mold.

Visual guide about Dehydrator Rack Set for Drying Fruits and Veggies
Image source: nouveauraw.com
Spacing is Crucial
Think of it like arranging cookies on a baking sheet – you don’t want them touching! Give each piece of produce a little breathing room. This allows the warm air from the dehydrator’s fan to reach every surface, effectively removing moisture.
Preventing Flavor Transfer
If you’re drying different types of foods simultaneously, consider their flavors. Strong-smelling foods like onions or garlic can impart their aroma to more delicate items. If possible, group similar items or items with mild flavors together. If you must dry different things, place the stronger-smelling items on lower racks, as heat and air tend to rise.
Setting Up Your Dehydrator and Drying
Now that your racks are loaded, it’s time to get your dehydrator running!
Choosing the Right Temperature and Time
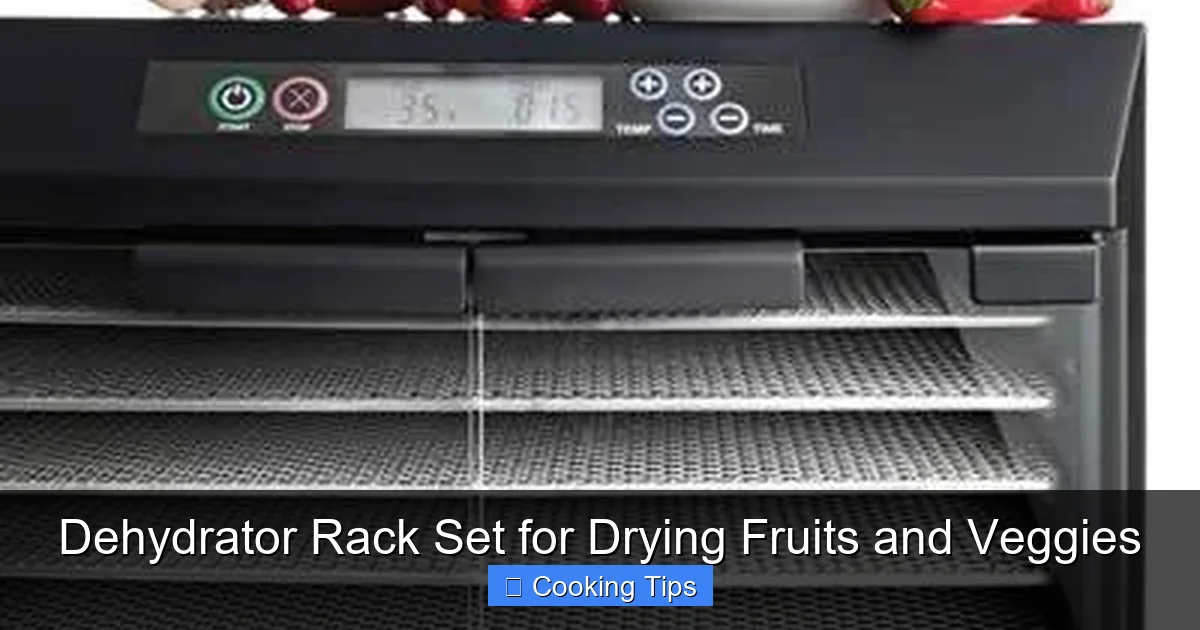
The ideal temperature and drying time will vary depending on the type of fruit or vegetable, its thickness, and the humidity of your environment. Always consult your dehydrator’s manual or reliable dehydration charts for specific recommendations. As a general guideline:

Visual guide about Dehydrator Rack Set for Drying Fruits and Veggies
Image source: superhealthykids.com
- Fruits: Typically dried at 135°F (57°C) for 6-12 hours.
- Vegetables: Often dried at 125°F (52°C) for 8-15 hours.
- Herbs: Require lower temperatures, around 95-105°F (35-40°C), for shorter periods.
Remember, these are just starting points. Your first few batches might require some adjustment.
Monitoring and Rotating for Even Drying
Patience and observation are key! Check your dehydrating produce periodically, especially after the first few hours. You’ll want to rotate the racks to ensure even drying. This means moving the top racks to the bottom and vice versa. This rotation helps to compensate for any inconsistencies in the dehydrator’s heating or airflow.
Testing for Doneness
How do you know when your fruits and vegetables are truly dry? The “leathery” test is a good indicator.
- Fruits: Should be pliable and leathery, with no sticky spots. When a piece is cooled, it should not feel moist.
- Vegetables: Should be brittle or leathery. Root vegetables might be brittle, while leafy greens should be crisp.
If you cool a piece and it feels moist or sticky, it needs more drying time.
Troubleshooting Common Dehydrator Rack Issues
Even with the best preparation, you might encounter a few hiccups. Here are some common problems and how to solve them:
Uneven Drying
Problem: Some pieces are dry, while others are still moist.
Solution: This is usually due to poor airflow or inconsistent rack placement. Ensure you’re not overcrowding the racks. Rotate your racks more frequently. Make sure your dehydrator is on a level surface. If your dehydrator has adjustable fan speed, consider increasing it.
Sticky or Moist Spots
Problem: Despite appearing dry, some pieces remain sticky or moist.
Solution: This often means the food hasn’t dried enough. Continue drying, paying close attention to the moisture content. Ensure you’ve sliced your food uniformly; thicker pieces will take longer to dry.
Mold Growth
Problem: Mold has started to grow on your produce.
Solution: This is a sign that the food was not dried sufficiently or was exposed to too much humidity during the process. Discard any affected food immediately to prevent contamination. Ensure proper airflow, adequate drying times, and that your produce is completely dry before storage.
Storing Your Dehydrated Delights
Proper storage is just as important as the drying process itself to ensure your fruits and vegetables remain fresh and safe to eat.
Airtight Containers are Key
Once your dehydrated foods have cooled completely, store them in airtight containers. Mason jars, vacuum-sealed bags, or specialized food storage containers work best. This prevents them from reabsorbing moisture from the air, which can lead to spoilage and loss of quality.
Cool, Dark, and Dry Storage
Find a cool, dark, and dry place to store your dehydrated foods. A pantry or a cupboard away from direct sunlight and heat sources is ideal. This environment helps to maintain their quality and extend their shelf life.
Conditioning for Maximum Shelf Life
For optimal storage, consider “conditioning” your dehydrated foods. This involves placing a batch of dried food into a loosely sealed container for about a week. Shake the container daily. If you see any condensation, the food needs more drying. This process helps to equalize any remaining moisture and ensures the food is truly dry before long-term storage.
Cleaning and Maintaining Your Dehydrator Rack Set
Keeping your dehydrator rack set clean is essential for hygiene and longevity.
Regular Cleaning After Use
After each use, as soon as the racks have cooled down, wash them. For most plastic racks, warm, soapy water and a non-abrasive sponge are sufficient. For stubborn residue, a soft brush can be helpful.
Deep Cleaning for Stainless Steel
Stainless steel racks can often be cleaned similarly. If you encounter grease or very sticky residue, a paste of baking soda and water can work wonders. Rinse thoroughly and dry completely to prevent water spots.
Dishwasher Safe?
Always check your dehydrator manual or the rack manufacturer’s instructions. Many plastic racks are dishwasher safe, usually on the top rack. Stainless steel racks are generally not recommended for dishwashers due to potential damage from harsh detergents and high heat, which can lead to discoloration or warping.
Conclusion
Your dehydrator rack set is an invaluable tool for unlocking a world of homemade, healthy, and delicious preserved foods. By understanding how to properly prepare, load, dry, store, and clean your racks, you’ll be well on your way to enjoying nutrient-rich fruits and vegetables all year round. Experiment with different produce, adjust your techniques, and savor the satisfaction of self-sufficiency. Happy dehydrating in 2026!