
Learn to make delicious dry coconut chutney effortlessly using just a small jar and basic ingredients! This versatile condiment is perfect for enhancing any meal, from dosas and idlis to rice and snacks. We’ll guide you through the simple steps, ingredient choices, and provide tips to ensure a perfect batch every time, making it a staple in your kitchen.
Dry Coconut Chutney Recipe Using Small Jar
Are you craving a quick, flavorful accompaniment to your favorite Indian meals? Do you find yourself short on time or kitchen space? Then you’re in the right place! This comprehensive guide will teach you how to whip up a delicious and incredibly versatile dry coconut chutney, all using the convenience of a small jar. Forget complicated steps and bulky blenders; we’re going to make this pantry staple accessible and easy for everyone.
Dry coconut chutney, often referred to as “kobbari podi” or “naral podi” in various Indian languages, is a flavorful powder made primarily from dried coconut, spices, and sometimes lentils. Unlike its fresh counterpart, this dry version boasts a longer shelf life and a wonderfully intense, nutty flavor. It’s the perfect addition to breakfast items like idli and dosa, a delightful topping for rice, or even a savory snack sprinkled over parathas.
This guide is designed to be your go-to resource. We’ll break down the process into simple, actionable steps. You’ll learn about the best ingredients to choose, how to achieve the perfect texture, and how to store your delicious creation. Get ready to elevate your everyday cooking with this simple yet impactful dry coconut chutney recipe using a small jar.
- Effortless Preparation: This recipe simplifies making dry coconut chutney, requiring minimal equipment and expertise, perfect for beginners.
- Small Jar Convenience: Utilizing a small jar as your primary blending tool means less cleanup and a more manageable process, ideal for small kitchens or single servings.
- Versatile Ingredient Base: The core ingredients – dried coconut, chilies, and garlic – are easily adaptable to your taste preferences, allowing for customization.
- Flavor Enhancement: Learn how to balance the flavors with spices and salt, creating a well-rounded chutney that elevates various Indian dishes.
- Extended Shelf Life: Understand how the dry nature of this chutney contributes to a longer shelf life, making it a convenient pantry staple.
- Quick Recipe: This method significantly cuts down on preparation and cooking time, offering a quick flavor boost for busy schedules.
Understanding the Magic of Dry Coconut Chutney
Before we dive into the “how-to,” let’s appreciate why this chutney is so special.
* Flavor Intensity: When coconut is dried, its natural oils concentrate, leading to a richer, nuttier taste. This intensifies the overall flavor profile of the chutney.
* Shelf Stability: The absence of fresh ingredients like water and oil in the primary grinding process makes this chutney naturally shelf-stable for a considerable period, especially when stored correctly.
* Versatility: This chutney isn’t just a side. It’s a flavor powerhouse that can transform a simple meal into something extraordinary.
* Ease of Preparation: As you’ll see, the “small jar” method is all about simplifying. It’s about getting maximum flavor with minimum fuss.
Essential Ingredients for Your Small Jar Chutney
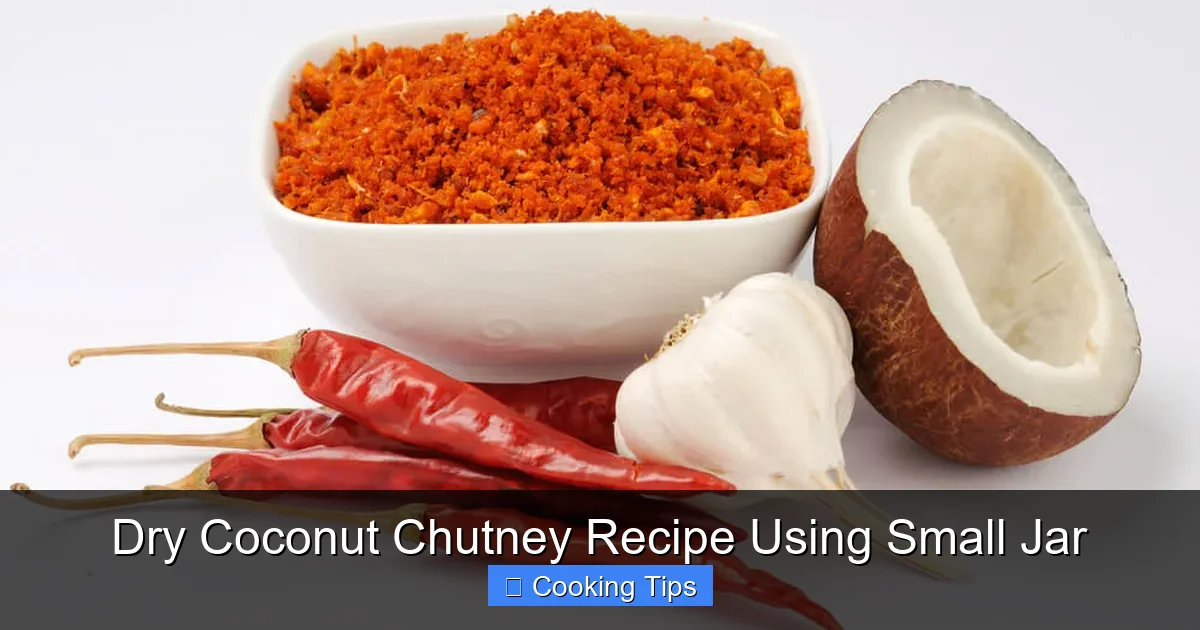
Visual guide about Dry Coconut Chutney Recipe Using Small Jar
Image source: vaya.in
The beauty of dry coconut chutney lies in its simplicity. You likely have most of these ingredients in your pantry already.
The Star: Dried Coconut
* What to use: The most crucial ingredient is dried coconut. You can use store-bought desiccated coconut (unsweetened is best) or make your own by drying fresh grated coconut in the sun or a low oven. For this recipe, using a finer desiccated coconut will give you a smoother powder.
* Quantity: For a small batch, start with about 1/2 cup of dried coconut.
The Flavor Kick: Chilies
* What to use: Dried red chilies are key for that characteristic warmth and color. Adjust the quantity based on your spice preference. You can use whole dried red chilies or chili flakes.
* Quantity: Start with 2-4 dried red chilies. If you like it spicy, add more. If you prefer a milder chutney, use fewer or remove the seeds from the chilies before grinding.
The Aroma: Garlic
* What to use: Fresh garlic cloves add a pungent depth.
* **Quantity:** 2-3 cloves are usually sufficient for a small batch.
The Savory Base: Lentils (Optional but Recommended)
* What to use: Roasted chana dal (split chickpeas) or urad dal (black gram lentils) are often added for texture and a slightly savory, nutty flavor. They also help in binding the chutney.
* Quantity: About 1-2 tablespoons. Roasting them beforehand enhances their flavor.
The Umami Boost: Tamarind or Lemon (Optional)
* What to use: A tiny bit of tamarind pulp or a squeeze of lemon juice can add a subtle tang. This is optional and depends on your preference. For a dry chutney, it’s often omitted to maintain shelf life. If using, a very small amount is needed.
The Essential Seasoning: Salt
* What to use: Regular table salt or rock salt.
* Quantity: Salt to taste.
Equipment You’ll Need
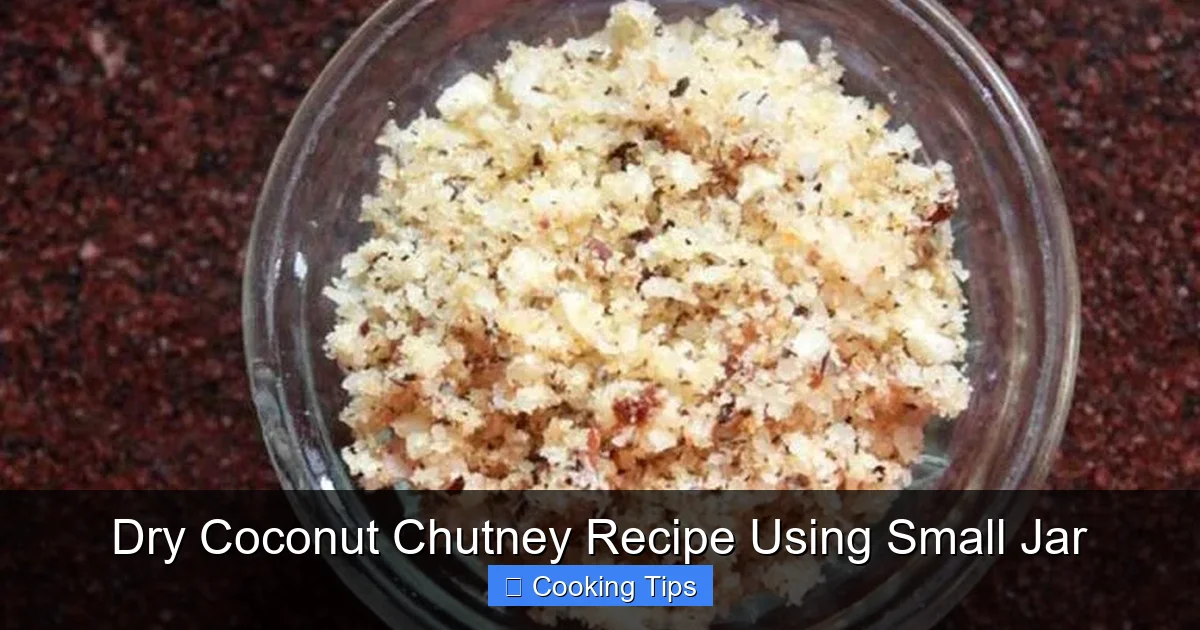
Visual guide about Dry Coconut Chutney Recipe Using Small Jar
Image source: thegratitudekitchen.com
This is where the “small jar” magic comes in!
* A Small Blender Jar or Spice Grinder: This is your primary tool. A small jar attachment for a hand blender, a small electric spice grinder, or even a sturdy old-school mixer jar that’s not too large will work perfectly.
* A Small Pan: For dry roasting ingredients if needed.
* Measuring Cups and Spoons
* **Airtight Container:** For storing your finished chutney.
Step-by-Step Guide to Making Dry Coconut Chutney in a Small Jar
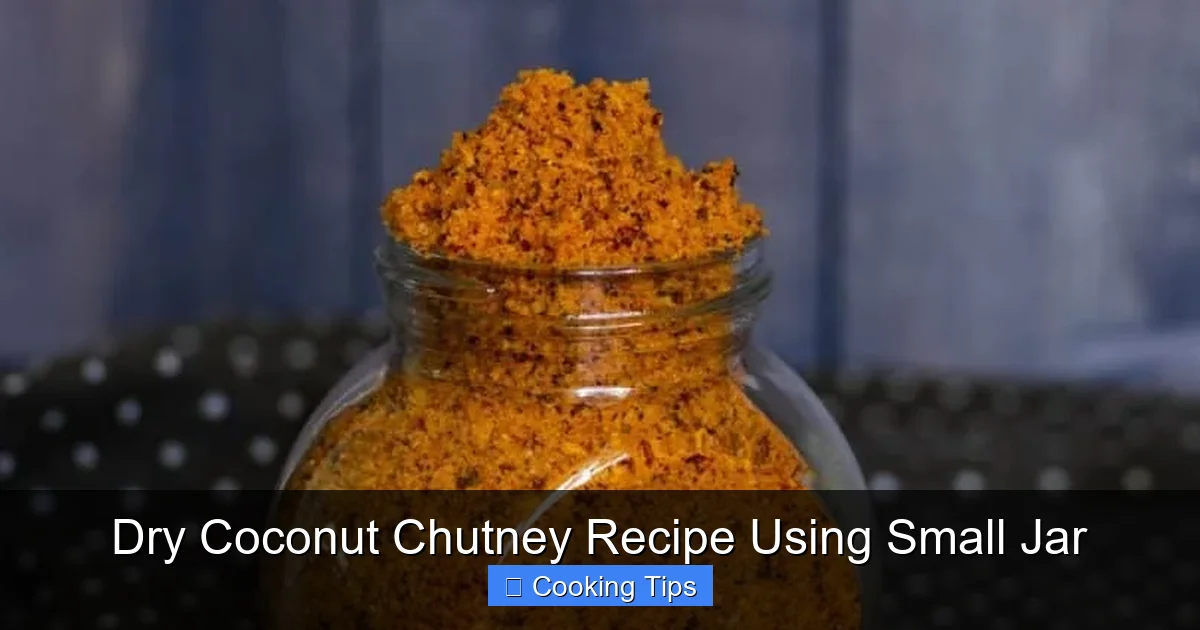
Visual guide about Dry Coconut Chutney Recipe Using Small Jar
Image source: dicencook.com
Let’s get started! This recipe is designed for simplicity and speed.
Step 1: Prepare Your Ingredients
This is where you get everything ready for grinding.
Step 1.1: Roasting the Lentils (If Using)
* If you are using chana dal or urad dal, it’s best to lightly roast them to enhance their flavor and crunch.
* Heat a small pan over medium-low heat.
* Add the lentils and roast them for 2-3 minutes, stirring constantly, until they are lightly golden and aromatic. Be careful not to burn them.
* Once roasted, remove them from the pan and let them cool completely.
Step 1.2: Preparing the Chilies and Garlic
* If using whole dried red chilies, you can optionally give them a quick toast in the same dry pan for about 30 seconds to a minute. This helps in grinding them to a finer powder and releases their aroma.
* Peel the garlic cloves.
Step 2: Dry Roasting the Coconut (Optional but Recommended)
While you can use desiccated coconut as is, a light dry roast adds a wonderful depth of flavor and aroma.
* In the same small pan (no oil needed), add the dried coconut.
* Roast on low heat, stirring continuously, for about 3-5 minutes.
* You are looking for a very subtle change in color, and the coconut should become fragrant. Do not let it brown significantly, or it will taste bitter.
* Remove from heat and let it cool completely.
Step 3: The Grinding Process
This is the core of our small jar recipe.
Step 3.1: Adding Ingredients to the Jar
* Take your small blender jar or spice grinder.
* Add the cooled dried coconut, roasted lentils (if using), dried red chilies, and garlic cloves.
* Add salt to taste. Start with about 1/2 teaspoon and adjust later.
Step 3.2: Grinding to a Coarse Powder
* Secure the lid of your blender jar.
* Begin grinding. Use short pulses initially. This helps break down the ingredients.
* Continue grinding, stopping periodically to shake the jar or scrape down the sides with a spoon if needed.
* You are aiming for a coarse powder. It shouldn’t be a fine flour, but rather a texture with small, discernible pieces of coconut and spices. This texture is characteristic of dry coconut chutney.
* **Tip:** If you are using a spice grinder, you might need to do this in batches if the jar is very small. Overfilling can lead to uneven grinding.
Step 3.3: Achieving the Right Consistency
* Once you have a coarse powder, check the consistency. If it seems too dry and isn’t grinding well, you can add one more dried chili or even a tiny pinch of roasted chana dal to help bind.
* **Troubleshooting Grinding:** If the mixture is sticking to the sides of the jar and not grinding, try adding a very small pinch of roasted chana dal or urad dal (about 1/2 teaspoon at a time). These act as binding agents and help in grinding. Be careful not to add too much, or the chutney will become sticky.
Step 4: Adjusting Flavors and Final Touches
Taste and adjust is the mantra here!
* Once you have the desired coarse powder, empty a small portion into a tiny bowl to taste.
* Check for salt. Add more if needed and give it a quick mix with a spoon.
* If you want a hint of tanginess, you can add a tiny drop of lemon juice (no more than a few drops!) or a minuscule piece of soaked tamarind pulp, and give it a very quick pulse grind. However, for maximum shelf life, it’s best to omit this.
* Ensure all ingredients are well combined.
Step 5: Storage
Proper storage is key to enjoying your dry coconut chutney for longer.
* Once the chutney is completely cooled (if you dry roasted anything), transfer it to an absolutely dry and airtight container.
* **Important:** Make sure there is no moisture in the container. Even a tiny bit of moisture can cause the chutney to spoil quickly.
* Store the container in a cool, dry place, away from direct sunlight and humidity.
* If you’ve followed these steps and avoided moisture, your dry coconut chutney can last for several weeks. You can also refrigerate it for even longer shelf life, though it’s usually not necessary.
Practical Tips and Variations
Make this recipe your own!
* Adjusting Spice Levels: The number of dried red chilies is your primary control for heat. For a milder version, use less or remove the seeds. For more heat, add more.
* **Adding Other Spices: You can add a pinch of cumin seeds or mustard seeds during the dry roasting phase for extra flavor. A tiny pinch of asafoetida (hing) can also be added during grinding for an aromatic kick.
* **Using Fresh Coconut: If you only have fresh coconut, you can dry it yourself. Grate it, spread it thinly on a baking sheet, and dry it in a very low oven (around 100°C or 200°F) for 1-2 hours, or until it feels completely dry and crumbly. Stir it occasionally. You can also sun-dry it for a day or two (ensure it’s completely dry).
* **Small Batch Cooking:** The beauty of the small jar method is that you can easily halve or double the recipe. This is perfect for single individuals or couples who don’t want large quantities.
* **Grinding Texture: Don’t over-grind! The rustic, slightly coarse texture is what defines dry coconut chutney. Aim for something that resembles coarse semolina or breadcrumbs.
Troubleshooting Your Dry Coconut Chutney
Even the best cooks face little hiccups. Here’s how to solve them:
* **Chutney is too powdery/dry and won’t grind well:**
* **Reason:** Not enough binding agents or ingredients are too dry.
* **Solution:** Add another dried chili or a tiny pinch (1/2 tsp) of roasted chana dal or urad dal and grind again. Make sure your blender is strong enough for small batches.
* **Chutney is becoming sticky/mushy:**
* **Reason:** Too much moisture from fresh ingredients (if any were added), or over-grinding.
* **Solution:** If you added any fresh ingredients (like a tiny bit of tamarind), remove them and try to dry it out slightly by spreading it on a plate. If it’s over-ground, there’s not much you can do except use it as is and perhaps add more dry coconut to rehydrate it.
* **Chutney tastes bland:**
* **Reason:** Insufficient salt or spices.
* **Solution:** Add more salt and a pinch of chili powder or an extra dried chili and grind again.
* **Chutney has a bitter taste:**
* **Reason:** Coconut or chilies were burnt during roasting.
* **Solution:** Unfortunately, burnt ingredients can be hard to salvage. If it’s a very mild bitterness, you can try adding a tiny pinch of sugar and a bit more salt and spices to mask it. For significant bitterness, it’s best to start over.
* **Chutney has gone stale quickly:**
* **Reason:** Moisture contamination during storage or preparation.
* **Solution:** Ensure your jar and spoon are completely dry. Store in a very dry, cool place. If you suspect any spoilage (off smell or mold), discard it immediately.
Serving Suggestions
This dry coconut chutney is incredibly versatile!
* **With Breakfast:** Sprinkle generously over hot idlis, dosas, uttapam, or pongal.
* **With Rice:** Mix a spoonful into hot white rice with a dollop of ghee or sesame oil. It’s a simple yet satisfying meal.
* **As a Side:** Serve it alongside any Indian curry or dal.
* **With Snacks:** Sprinkle it on upma, poha, or even use it to flavor roasted nuts.
* **As a Marinade (modified):** While this is a dry chutney, you can add a little oil to make it a paste and use it as a quick marinade for vegetables or paneer.
Conclusion
Congratulations! You’ve just learned how to create a flavorful, shelf-stable dry coconut chutney using the simplest of tools – a small jar. This recipe empowers you to enjoy a taste of authentic Indian cuisine with minimal effort and maximum flavor. It’s a testament to how basic ingredients, combined with a little technique, can yield such wonderful results.
This dry coconut chutney is more than just a condiment; it’s a flavor enhancer, a time-saver, and a delicious addition to your culinary repertoire. Keep a batch handy, and you’ll find yourself reaching for it time and time again to liven up your meals. So, gather your ingredients, grab that small jar, and get ready to enjoy the delightful taste of homemade dry coconut chutney! Happy cooking!