
Experiencing a malfunctioning grinder push button switch can be frustrating. This comprehensive guide provides clear, step-by-step instructions to help you diagnose and fix common problems with your grinder’s push button switch. From identifying loose connections to cleaning contacts, learn how to get your grinder back in working order with simple DIY solutions.
Fixing Problems with Grinder Push Button Switches
It’s a common kitchen woe: you reach for your grinder, ready to whip up a fresh batch of coffee beans or spices, only to find the push button switch unresponsive. A broken grinder switch can be a real nuisance, interrupting your culinary rhythm. But don’t despair! In this guide, we’ll walk you through how to diagnose and fix common problems with grinder push button switches. With a little patience and a few basic tools, you can often restore your grinder to full working order without needing to buy a new one. We’ll cover everything from simple visual checks to more advanced troubleshooting steps.
Key Takeaways
- Safety First: Always unplug your grinder before attempting any repairs to avoid electrical shock.
- Visual Inspection is Crucial: Look for obvious signs of damage like cracks, melting, or debris around the switch.
- Loose Connections are Common: Often, a faulty switch is due to a wire that has come loose from its terminal.
- Cleaning is Key: Dirt, dust, and residue can build up on switch contacts, hindering proper operation.
- Testing with a Multimeter: A multimeter can confirm if the switch is receiving power and if it’s making contact.
- Consider Replacement if Damaged: If the switch is physically broken or beyond repair, replacing it is the best solution.
- Prevention is Better Than Cure: Regular cleaning and proper handling can extend the life of your grinder’s switch.
Understanding Your Grinder Switch
Before we dive into fixing things, it’s helpful to understand how a typical grinder push button switch works. Most grinder switches are part of a simple electrical circuit. When you press the button, it completes the circuit, allowing electricity to flow from the power source to the grinder’s motor. When you release the button, it breaks the circuit, stopping the motor. These switches can be mechanical, involving physical contacts, or electronic, though mechanical switches are more common in basic grinders. Issues usually arise when this connection is interrupted, either by debris, wear and tear, or a loose wire.
Safety First: The Golden Rule of Repair
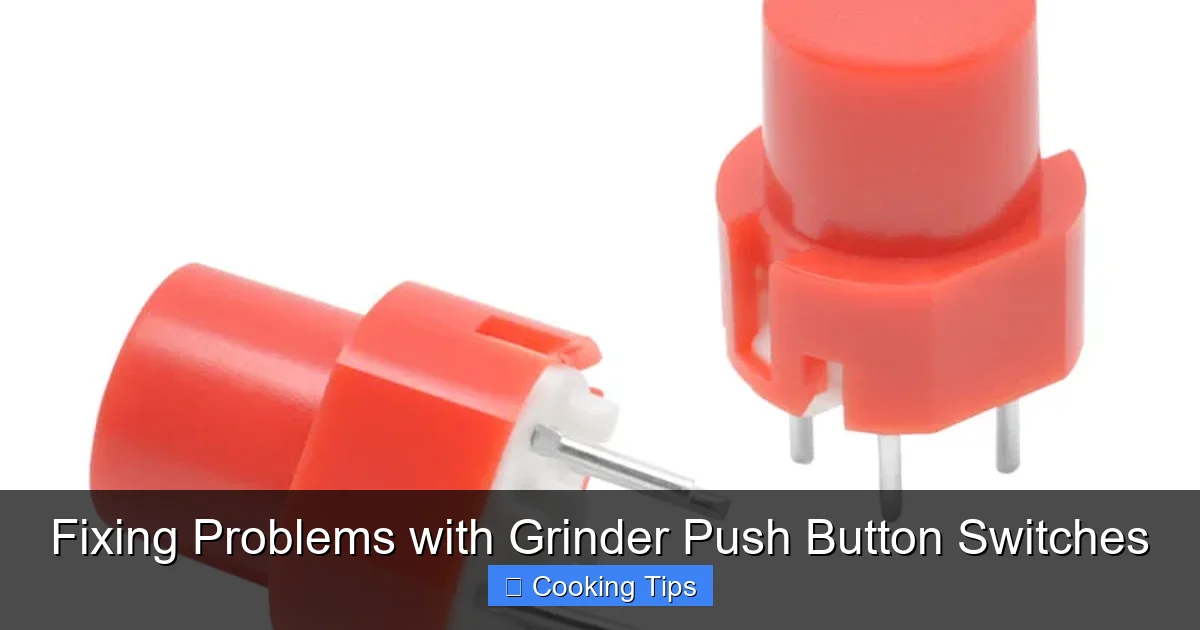
Visual guide about Fixing Problems with Grinder Push Button Switches
Image source: toneluckswitches.com
This is the most important step, and it bears repeating: always unplug your grinder from the power outlet before you begin any inspection or repair. Working with electrical appliances while they are plugged in can lead to serious injury, including electric shock. Ensure the grinder is completely disconnected from its power source before you proceed.
Step 1: Initial Inspection – What Do You See?
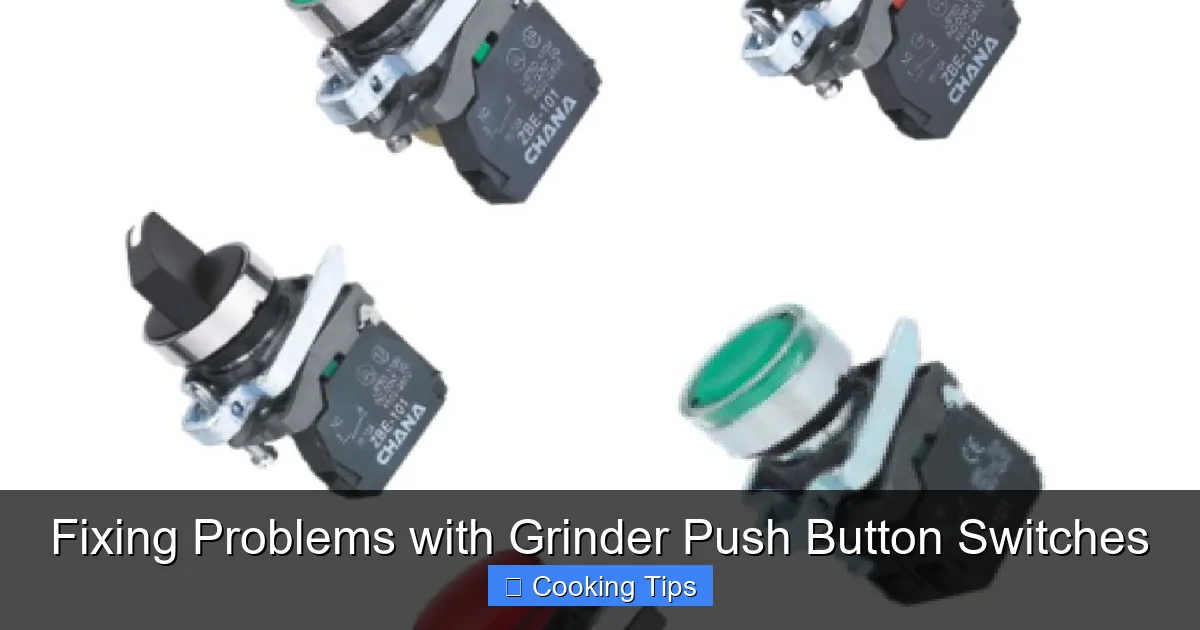
Visual guide about Fixing Problems with Grinder Push Button Switches
Image source: nepeanpower.com
Sometimes, the problem is obvious. Start by carefully examining the push button switch and the surrounding area.
H3: Check for Physical Damage
* Look for any visible cracks, chips, or deformation in the plastic casing of the switch.
* See if the button itself feels loose or wobbly when you try to press it.
* Inspect the area around the switch for any signs of melting or discoloration, which could indicate an overheating issue.
H3: Look for Debris or Obstructions
* Grinders, especially coffee grinders, can accumulate fine dust and particles.
* Check if any food particles, coffee grounds, or other debris are lodged around or under the button, preventing it from being fully pressed or making proper contact.
Step 2: Testing the Button’s Action
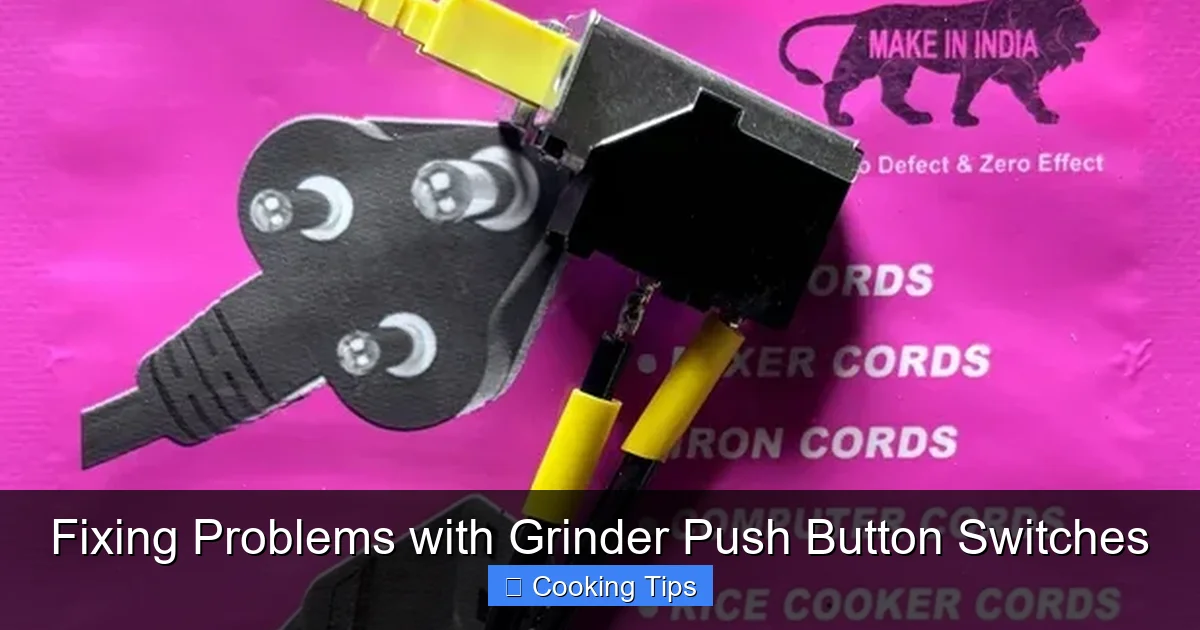
Visual guide about Fixing Problems with Grinder Push Button Switches
Image source: 5.imimg.com
Even if there’s no visible damage, the way the button feels can tell you a lot.
H3: Assess the Button’s Responsiveness
* Gently press and release the button several times.
* Does it feel “mushy” or offer no resistance? This might indicate a broken internal mechanism.
* Does it feel “sticky” or hard to press? This often points to internal grime or a worn spring.
* Does it click or give any tactile feedback when pressed? A lack of feedback can mean the internal switch mechanism isn’t engaging.
Step 3: Accessing the Internal Components
If the external inspection doesn’t reveal an obvious fix, you’ll likely need to open up the grinder to get to the switch’s internal wiring and mechanism. The process for this varies greatly between grinder models.
H3: Identify How to Open Your Grinder
* **Check the Manual:** If you still have your grinder’s user manual, it will likely have instructions on disassembly and reassembly.
* **Look for Screws:** Most grinders have screws holding the housing together. These might be on the bottom, sides, or hidden under rubber feet.
* **Pry Apart Sections:** Some models might have clips or snap-fit components that require careful prying with a plastic spudger or a flathead screwdriver (use caution not to damage the plastic).
* **Be Mindful of Hidden Wires:** As you open the grinder, pay attention to how wires are routed. Take photos as you go if you’re unsure about reassembly.
H3: Safely Disconnect Components
* Once you have access to the inside, you’ll see the switch connected to the grinder’s internal wiring.
* Note how the wires are attached to the switch terminals. They are usually held in place by small screws or by being pushed onto spade connectors.
* If you need to disconnect wires for cleaning or inspection, gently loosen the screws or pull the connectors off.
Step 4: Inspecting the Wiring and Connections
This is where many common grinder switch problems are found.
H3: Check for Loose Wires
* Examine each wire connected to the push button switch.
* Are any wires frayed or broken?
* Are any wires simply loose or disconnected from their terminals? This is a very frequent cause of a non-functional switch.
* If a wire is loose, gently push it back onto its terminal. If it’s attached with a screw, tighten the screw securely, but don’t overtighten, as this can strip the screw or damage the terminal.
H3: Look for Corrosion or Damage
* Inspect the metal terminals on the switch and the ends of the wires.
* Are they corroded, rusty, or burnt? Corrosion can prevent a good electrical connection.
* If you see minor corrosion, you might be able to clean it off (see Step 5).
Step 5: Cleaning the Switch Contacts
Grime, dust, and residue can build up on the internal contacts of the switch, preventing it from completing the circuit.
H3: Using Contact Cleaner
* The most effective way to clean electrical contacts is with a specialized electrical contact cleaner spray.
* Apply a small amount of cleaner directly to the switch contacts. You may need to access these by gently pressing the switch mechanism or removing it entirely if possible.
* Allow the cleaner to penetrate for a minute or two.
* Operate the switch a few times to help spread the cleaner and dislodge any grime.
* Wipe away any excess cleaner and residue with a clean, lint-free cloth.
H3: Alternative Cleaning Methods (Use with Caution)
* If you don’t have contact cleaner, you can try gently scraping the contacts with a small, flat object like a plastic scraper or a pencil eraser. Be very careful not to damage the delicate contact surfaces.
* You can also use a small amount of isopropyl alcohol (90% or higher) on a cotton swab to clean the contacts, followed by a quick wipe with a dry swab. Ensure all alcohol evaporates before reassembling.
Step 6: Testing the Switch with a Multimeter (Advanced)
If you’re comfortable using electrical testing equipment, a multimeter can help you definitively determine if the switch is faulty. This step is optional but can be very helpful for accurate diagnosis.
H3: What You’ll Need
* A multimeter set to the continuity testing function (often indicated by a speaker or diode symbol). This function beeps when there’s a complete electrical path.
H3: How to Test
1. **Ensure the grinder is unplugged.**
2. **Identify the switch terminals.** These are the points where the wires connect to the switch.
3. **Place the multimeter probes on opposite terminals.** For a simple push button switch, you’ll typically test the two terminals that are connected when the button is pressed.
4. **Press the switch.**
* If the switch is working correctly, the multimeter should beep (or show a very low resistance reading), indicating continuity.
* When you release the switch, the beeping should stop, and the resistance should increase significantly.
* If the multimeter does not beep when the switch is pressed, or if it beeps constantly, the switch is likely faulty and needs replacement.
Step 7: Reassembly and Testing
Once you’ve cleaned, tightened connections, or confirmed the switch’s status, it’s time to put your grinder back together.
H3: Careful Reassembly
* Follow your photos or memory to reconnect any wires you disconnected. Ensure they are securely attached.
* Carefully reassemble the grinder’s housing, making sure no wires are pinched between the plastic parts.
* Replace all screws.
H3: Final Test
* Plug the grinder back into the power outlet.
* Test the push button switch to see if the grinder now operates correctly.
Troubleshooting Common Issues
Here are some common scenarios and how to address them:
H3: The Grinder Won’t Turn On At All
* **Check Power:** Is the grinder plugged in? Is the outlet working? Try plugging another appliance into the same outlet.
* **Loose Wires:** Most likely, a wire has come loose from the switch or somewhere else in the circuit. Revisit Step 4.
* **Faulty Switch:** If all wiring is secure and the switch tests as faulty (no continuity when pressed), the switch itself needs replacement.
H3: The Button Feels Loose or Wobbly
* **Internal Spring/Mechanism:** The internal spring or mechanism that returns the button to its ‘off’ position might be broken or dislodged. This often requires switch replacement.
* **Housing Loose:** Ensure the housing around the switch is securely fastened. Sometimes, a loose button is just a symptom of a loosely fitted outer casing.
H3: The Grinder Starts Intermittently or Only When You Jiggle the Button
* **Poor Connection:** This strongly suggests a loose wire or dirty switch contacts. Revisit Steps 4 and 5.
* **Worn Switch Contacts:** The internal contacts within the switch may be worn down, preventing a consistent connection. This usually means the switch needs to be replaced.
Step 8: Replacing the Push Button Switch
If you’ve determined that the switch itself is faulty and cannot be repaired by cleaning or tightening wires, replacement is the next step.
H3: Finding a Replacement Switch
* **Manufacturer Parts:** Check with the grinder manufacturer’s website or customer service for replacement parts. This is the safest bet for ensuring compatibility.
* **Universal Switches:** If specific parts aren’t available, you might find a compatible universal push button switch at an electronics store or online. You’ll need to match the voltage, current rating, and the number of terminals.
* **Salvaging from Old Grinders:** If you have an identical broken grinder, you might be able to salvage the switch from it.
H3: Installing the New Switch
1. **Unplug the grinder.**
2. **Open the grinder** as you did in Step 3.
3. **Remove the old switch.** Note how it’s mounted (screws, clips) and disconnected.
4. **Connect wires to the new switch.** Ensure correct polarity if applicable (though most simple grinder switches are not polarity sensitive).
5. **Mount the new switch** securely in place.
6. **Reassemble the grinder** carefully.
7. **Test the grinder.**
Preventing Future Problems
* **Regular Cleaning:** After each use, especially with coffee grinders, wipe down the exterior and the area around the button to prevent buildup.
* **Avoid Force:** Don’t force the button if it feels stuck. Investigate the cause instead.
* **Handle with Care:** Avoid dropping the grinder or subjecting it to harsh impacts.
Conclusion
A non-working grinder push button switch doesn’t have to mean the end of your grinder’s life. By following these systematic steps, you can often identify the root cause of the problem, whether it’s a simple loose wire, some accumulated grime, or a faulty internal component. Remember to prioritize safety by always unplugging your appliance, and take your time during disassembly and reassembly. With a little effort, you can enjoy the convenience of a fully functional grinder once again, ready for all your grinding needs. Happy fixing!