
A broken rice cooker lid handle can be frustrating, but it doesn’t mean your appliance is ruined. This comprehensive guide walks you through identifying the problem, exploring various DIY repair methods, and even finding replacement parts if needed. With clear, step-by-step instructions and practical tips, you’ll be able to restore your rice cooker to its full functionality and enjoy perfectly cooked rice once more.
Fixing Rice Cooker with Broken Lid Handle
It’s a common kitchen mishap: you’re reaching for your trusty rice cooker, ready to whip up a delicious batch of fluffy rice, and you notice it – the lid handle is broken! A broken lid handle can make opening and closing the rice cooker a precarious affair, and sometimes, it can even prevent the lid from sealing properly, affecting the cooking process. Don’t despair! This guide, tailored for 2026, will walk you through everything you need to know to fix your broken rice cooker lid handle, saving you the cost of a new appliance. We’ll cover identifying the issue, various DIY repair methods, finding replacement parts, and essential safety considerations.
Key Takeaways
- Identify the Type of Break: Determine if the handle is completely detached, cracked, or if the mounting mechanism is damaged. This dictates the best repair approach.
- Assess Material and Design: Understand the handle’s material (plastic, metal) and how it attaches to the lid. This is crucial for choosing the right adhesive or replacement method.
- Explore DIY Repair Options: Learn about various DIY solutions like using strong adhesives, reinforcing with epoxy, or even creating a temporary fix for immediate use.
- Consider Replacement Parts: If DIY repairs aren’t feasible or durable enough, this guide explains how to find and install genuine or compatible replacement handles.
- Prioritize Safety: Understand the importance of using food-safe materials and ensuring the repair doesn’t compromise the rice cooker’s structural integrity or steaming function.
- Prevent Future Damage: Gain insights into best practices for using and cleaning your rice cooker to avoid future issues with the lid handle.
Understanding the Problem: What’s Wrong with Your Handle?
Before you grab any tools, it’s important to assess the extent of the damage. The type of break will determine the best course of action.
Detached Handle
If the entire handle has snapped off from the lid, you might find loose screws or mounting points. This is often the easiest type of break to address, as you may be able to reattach the original handle or a replacement.
Cracked Handle
A cracked handle might still be attached but feels loose or unstable. This often occurs due to stress or impact. Depending on the severity of the crack, you might be able to reinforce it or, if it’s a clean break, reattach the pieces.
Damaged Mounting Mechanism
Sometimes, the handle itself is intact, but the plastic or metal clips, screws, or other components that attach it to the lid are broken. This can be more challenging, as you might need to repair the lid’s mounting points or find a creative solution to secure the handle.
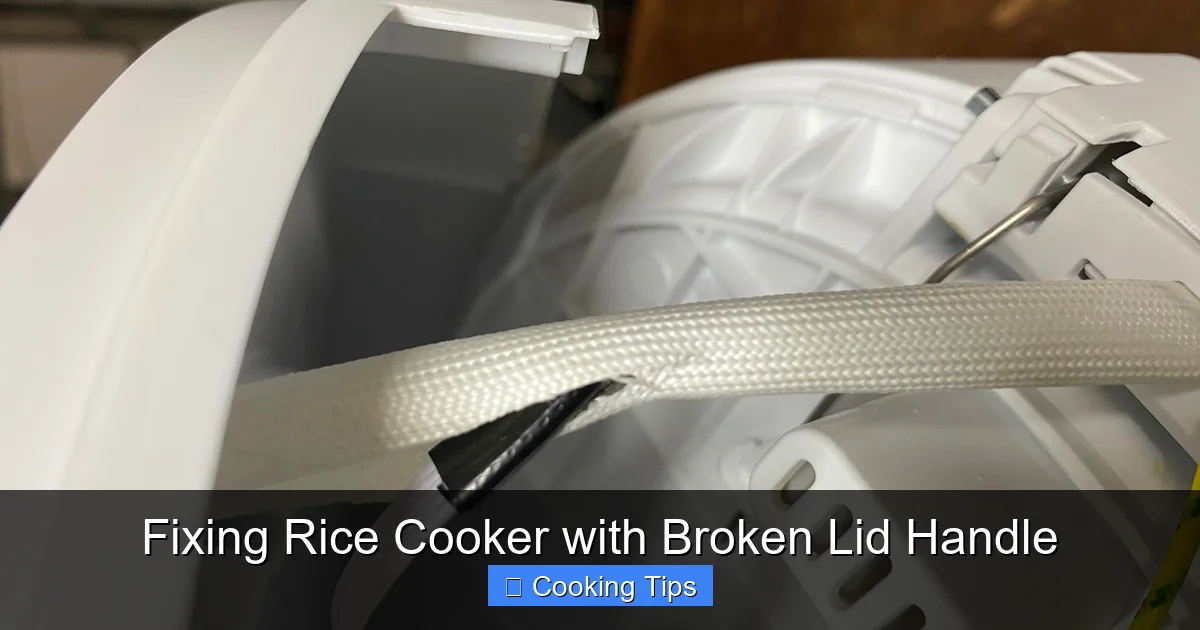
DIY Repair Solutions: Getting Your Handle Back in Action
Visual guide about Fixing Rice Cooker with Broken Lid Handle
Image source: phwl.org
For many breaks, a DIY repair can be a quick and cost-effective solution. Here are some common methods, ordered by increasing complexity.
Method 1: Reattaching a Detached Handle (Screws or Clips)
If your handle broke off cleanly and you found screws or plastic clips, this is your first and easiest repair.
Step 1: Gather Your Materials
You’ll need:
- The detached handle
- The rice cooker lid
- Any screws or clips that came off
- A small Phillips head screwdriver (if applicable)
Step 2: Align and Reattach
Carefully align the handle with its original position on the lid. Look for any holes or notches that indicate how it should fit. If screws were involved, gently insert them back into their designated holes and tighten them carefully. Don’t overtighten, as this can strip the threads or crack the plastic. If it uses clips, ensure they snap securely into place.
Step 3: Test for Stability
Once reattached, give the handle a gentle tug. It should feel secure and stable. If it wiggles or feels loose, try re-securing the screws or repositioning the clips.
Method 2: Repairing a Cracked or Broken Handle with Strong Adhesive
For cracks or clean breaks where reattachment with screws isn’t possible, a strong adhesive can be your best friend.
Step 1: Choose the Right Adhesive
This is crucial. You need an adhesive that is:
- Strong and durable: Capable of withstanding repeated use and some heat.
- Food-safe (once cured): Essential for any part that comes into contact with food preparation. Look for epoxies or glues specifically labeled as food-safe or for kitchen use.
- Suitable for the handle material: Most rice cooker handles are made of heat-resistant plastic. Cyanoacrylate (super glue) can work for small cracks, but a two-part epoxy often provides a stronger, more durable bond.
*Recommendation for 2026:* Consider specialized plastic repair kits or high-strength, food-grade epoxy resins. Read product reviews carefully.
Step 2: Prepare the Surfaces
Clean both surfaces of the break thoroughly. Use rubbing alcohol to remove any grease or debris. For a cleaner break, lightly scuffing the surfaces with fine-grit sandpaper can help the adhesive adhere better.
Step 3: Apply the Adhesive
Step 3a: For cracks
Carefully apply a small amount of adhesive along the crack. If you’re using a two-part epoxy, mix it according to the manufacturer’s instructions. Use a toothpick or a small applicator for precise application. Avoid getting excess adhesive on the exterior of the handle.
Step 3b: For broken pieces
Apply the adhesive to one of the broken surfaces, then carefully press the pieces together, aligning them perfectly.
Step 4: Clamp and Cure
Step 4a: Clamping
Hold the pieces firmly in place until the adhesive begins to set. For better results, use clamps, strong tape (like painter’s tape that won’t leave residue), or even rubber bands to hold the handle together while the adhesive cures. Ensure the pressure is distributed evenly.
Step 4b: Curing
Allow the adhesive to cure completely according to the product’s instructions. This can take anywhere from a few hours to 24 hours. Do not rush this step, as insufficient curing will lead to a weak bond.
Step 5: Test and Refine
Once fully cured, remove any clamps or tape. Test the handle for stability. If there are any rough edges from dried adhesive, you can carefully sand them down with fine-grit sandpaper.
Method 3: Reinforcing a Cracked or Weakened Handle with Epoxy and Support
If a crack is significant or the handle feels very weak even after gluing, you can add reinforcement.
Step 1: Prepare for Reinforcement
Step 1a: Assess the Need
This method is best for handles that have a substantial crack or have already been glued but still feel precarious.
Step 1b: Gather Materials
You’ll need:
- Strong, food-safe epoxy
- Small piece of sturdy material for reinforcement (e.g., a thin strip of plastic, a small metal bracket – ensure it’s food-safe or won’t be in direct contact with food)
- Fine-grit sandpaper
- Rubbing alcohol
- Clamps or tape
Step 2: Clean and Rough Up Surfaces
Thoroughly clean the handle and the reinforcement material with rubbing alcohol. Lightly scuff the areas where the epoxy will be applied with sandpaper.
Step 3: Apply Epoxy and Reinforcement
Apply a layer of epoxy to the cracked area of the handle. Position your reinforcement material over the crack, pressing it into the epoxy. Apply another layer of epoxy over the reinforcement material to fully embed it. Ensure the reinforcement material is positioned so it doesn’t interfere with the handle’s usability or appearance excessively.
Step 4: Clamp and Cure
Clamp the reinforced handle firmly in place and allow the epoxy to cure completely, as per the manufacturer’s instructions. This is a critical step for a strong bond.
Step 5: Sand and Finish
Once cured, carefully sand down any excess epoxy to create a smooth finish. Be gentle to avoid damaging the original handle material.
Method 4: Creating a Temporary Fix or Alternative Grip
In a pinch, or if permanent repairs seem too complex, you might need a temporary solution.
Step 1: Identify an Alternative Grip Point
Look for other sturdy parts of the lid that you can use to lift it. This might be a raised edge or a section of the lid that isn’t prone to heat.
Step 2: Use Protective Gear
Always use oven mitts or a thick kitchen towel to lift the lid. The lid itself can still get very hot, especially when removing it after cooking.
Step 3: Consider a Wrap-Around Grip (Temporary)
For a slightly more secure temporary grip, you could try wrapping a strong, heat-resistant fabric (like a small section of an old oven mitt) around the lid in a way that allows you to lift it. Ensure this doesn’t obstruct the lid’s seal.
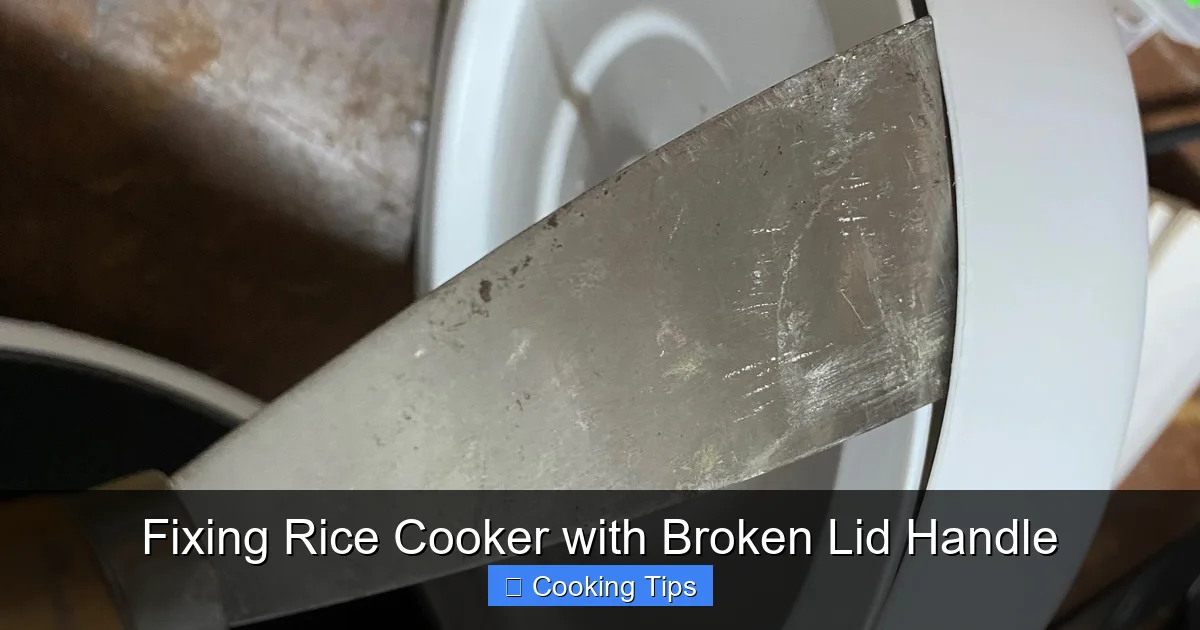
Finding and Installing Replacement Handles
Visual guide about Fixing Rice Cooker with Broken Lid Handle
Image source: phwl.org
If DIY repairs don’t feel sturdy enough or the original handle is too damaged, replacing it might be the best long-term solution.
Step 1: Identify Your Rice Cooker Model
The first step is to find the exact make and model number of your rice cooker. This information is usually located on the bottom or back of the appliance.
Step 2: Search for Replacement Parts
Step 2a: Manufacturer’s Website
Visit the official website of your rice cooker brand. Many manufacturers sell replacement parts directly or have a customer service portal where you can inquire about specific components.
Step 2b: Online Retailers
Websites like Amazon, eBay, and specialized appliance parts stores are excellent places to search. Use your rice cooker’s make and model number in your search query (e.g., “Cuisinart rice cooker lid handle replacement model XYZ”).
Step 2c: Appliance Repair Shops
Local appliance repair shops might stock common replacement parts or be able to order them for you.
Step 3: Ensure Compatibility
Before purchasing, double-check that the replacement handle is specifically designed for your rice cooker model. Even slight variations can mean the part won’t fit. Look at product photos and read descriptions carefully. If you’re unsure, contact the seller.
Step 4: Installation of Replacement Handle
The installation process will vary depending on the handle design.
Step 4a: Handles with Screws
If the original handle attached with screws, the replacement will likely do the same.
- Carefully remove any remaining parts of the old handle.
- Align the new handle with the mounting holes on the lid.
- Insert the screws and tighten them firmly but without overtightening.
Step 4b: Handles with Clips or Snap-Fit Designs
These might require a bit more force.
- Position the new handle over the attachment points.
- Press firmly until the clips snap into place. You might hear a click.
- Gently test to ensure the handle is secure.
Step 4c: Handles Requiring Adhesive (Less Common for Replacements)
In rare cases, a replacement handle might require adhesive for installation. Follow the manufacturer’s instructions precisely, ensuring you use the recommended adhesive and allow for full curing.
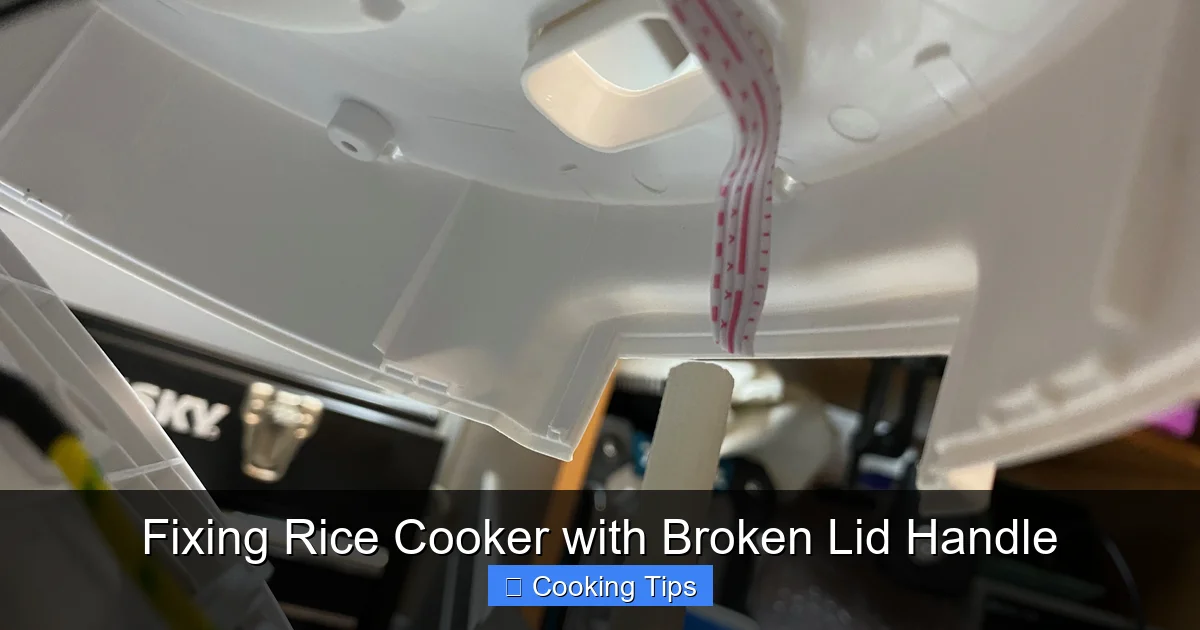
Safety First! Important Considerations
Visual guide about Fixing Rice Cooker with Broken Lid Handle
Image source: phwl.org
When fixing your rice cooker, safety should always be your top priority.
Food-Safe Materials
If you’re using adhesives or any new materials, ensure they are food-safe once cured. Some glues or plastics can leach chemicals into your food, especially when heated. Look for certifications or specific labeling indicating food-grade quality.
Structural Integrity
Make sure your repair doesn’t compromise the lid’s ability to seal properly. A loose or ill-fitting lid can affect cooking times and quality.
Heat Resistance
Rice cooker lids and handles are designed to withstand heat. Ensure your repair materials are also heat-resistant to prevent melting or degradation.
Sharp Edges
After repairs, check for any sharp edges or loose pieces that could cause injury. Sand them down or remove them if necessary.
Troubleshooting Common Issues
Even with the best intentions, you might encounter a few snags.
The Adhesive Won’t Hold
- Reason: Improper surface preparation, wrong adhesive for the material, or insufficient curing time.
- Solution: Clean surfaces thoroughly with alcohol. Ensure you’re using a strong, appropriate adhesive for plastic. Allow maximum curing time. Consider adding reinforcement if the initial bond failed.
Replacement Handle Doesn’t Fit
- Reason: Incorrect model number used, or the part listed as compatible is actually not.
- Solution: Double-check your rice cooker’s model number. Contact the seller to verify compatibility or initiate a return. Sometimes, slight modifications might be possible, but it’s risky.
The Lid Still Doesn’t Seal Properly
- Reason: The handle repair is interfering with the lid’s seating, or the lid itself is warped.
- Solution: Ensure no part of the repair protrudes excessively. If the lid is warped, it might be difficult to fix. If the handle is the issue, re-evaluate how it’s attached.
Preventing Future Handle Damage
A little care can go a long way in keeping your rice cooker in good working order.
- Gentle Handling: Avoid yanking or forcing the lid open or closed.
- Proper Cleaning: Clean the lid and handle regularly, but avoid abrasive scrubbers that can scratch or weaken plastic.
- Storage: Store your rice cooker in a place where the lid won’t be bumped or have heavy objects placed on it.
- Cool Down: Let the lid cool down slightly before attempting to open it, especially after cooking.
Conclusion
A broken rice cooker lid handle doesn’t have to signal the end of your beloved appliance’s life. With the right approach, you can successfully repair or replace it, enjoying perfectly cooked rice for years to come. By understanding the nature of the break, choosing appropriate repair methods, and prioritizing safety, you’ll be back in the kitchen with a fully functional rice cooker in no time. So, roll up your sleeves, assess the damage, and get ready to bring your rice cooker back to its prime!