
Unlock the power of fresh flavor with this easy Green Chili Paste Recipe Using Kitchen Grinder. Learn how to transform ripe green chilies into a versatile paste, perfect for adding heat and zest to any dish. We’ll guide you through selecting the best chilies, preparing them, and using your trusty kitchen grinder for a smooth, vibrant result. Mastering this recipe is a game-changer for home cooks.
Green Chili Paste Recipe Using Kitchen Grinder
Welcome to your ultimate guide to making fresh, vibrant green chili paste right in your own kitchen! If you’ve ever bought store-bought green chili paste, you know it can be convenient, but it often lacks the bright, pungent flavor of homemade versions. Plus, you have complete control over the ingredients and the heat level. Today, we’re going to show you how to achieve that perfect consistency and incredible taste using a tool you likely already have: your kitchen grinder.
This guide will walk you through every step, from selecting the best green chilies to storing your finished paste so you can enjoy its amazing flavor for weeks to come. Get ready to elevate your cooking with this simple yet impactful recipe for green chili paste.
Key Takeaways
- Selecting the Right Chilies: Understand how different types of green chilies, from mild poblanos to fiery serranos, impact the final flavor and heat of your paste.
- Essential Preparation Steps: Learn the importance of washing, destemming, and optionally seeding the chilies to control the spice level and ensure a smooth texture.
- Mastering the Kitchen Grinder: Discover the optimal techniques for using your kitchen grinder to achieve a consistent, smooth paste without over-processing.
- Flavor Enhancements: Explore optional additions like garlic, ginger, and lime juice to elevate the complexity and aroma of your green chili paste.
- Storage Solutions: Get practical advice on how to properly store your homemade green chili paste, from refrigeration to freezing, to maximize its freshness and shelf life.
- Versatile Culinary Applications: Uncover numerous ways to use your green chili paste, from marinades and sauces to dips and stews, adding a burst of fresh flavor to your cooking.
Why Make Green Chili Paste at Home?
Making your own green chili paste is a rewarding experience. You get to harness the peak freshness of chilies, leading to a more intense and nuanced flavor profile. You can tailor the spice level precisely to your liking by choosing specific types of chilies and deciding whether to include or remove seeds and membranes. It’s also incredibly cost-effective compared to buying specialty pastes. Plus, the aroma while you’re making it is just heavenly!
Choosing Your Green Chilies
The foundation of great green chili paste is the chilies themselves. The type of green chili you choose will dictate the heat, flavor, and color of your paste. Don’t be afraid to mix and match for a more complex taste!
Popular Chili Choices:
- Poblano Peppers: These are mild and have a slightly smoky, earthy flavor. They are great for adding a gentle warmth and flavor without overwhelming heat.
- Jalapeño Peppers: A step up in heat from poblanos, jalapeños offer a more pronounced spicy kick and a fresh, grassy flavor.
- Serrano Peppers: These are significantly hotter than jalapeños. They deliver a bright, sharp heat that is fantastic for those who love a good spice.
- Thai Green Chilies (Bird’s Eye): For serious heat seekers, these tiny powerhouses pack an incredible punch. Use them sparingly!
- Anaheim Peppers: Similar to poblanos in heat, but often a bit milder and sweeter with a slightly fruity note.
Tips for Selecting Chilies:
- Look for chilies that are firm, plump, and have smooth, glossy skin.
- Avoid peppers that are soft, wrinkled, or have bruises and blemishes.
- The more vibrant the green color, the fresher the chili.
- Consider your desired heat level. For a mild paste, stick to poblanos and Anaheims. For a spicier paste, incorporate jalapeños and serranos.
Gathering Your Ingredients
Besides your chosen green chilies, you’ll need a few other simple ingredients to bring your green chili paste to life.
Basic Ingredients:
- Fresh Green Chilies: About 1 to 1.5 pounds (450-675 grams). The quantity will depend on your grinder’s capacity and how much paste you want to make.
- Garlic: 2-4 cloves, peeled. Garlic adds a wonderful pungent depth to the paste.
- Salt: 1 teaspoon, or to taste. Salt acts as a preservative and enhances flavor.
- Lime Juice: 1-2 tablespoons, fresh. Lime juice brightens the flavors and adds a touch of acidity.
- Water or Oil (Optional): A tablespoon or two, if needed to help the grinder process the chilies smoothly. Olive oil or a neutral vegetable oil works well.
Preparing Your Kitchen Grinder
Before you start grinding, ensure your kitchen grinder is clean and ready to go.
Cleaning Your Grinder:
- Disassemble the grinder according to the manufacturer’s instructions.
- Wash all parts thoroughly with warm, soapy water.
- Rinse well and ensure all parts are completely dry before reassembly. Any moisture can affect the paste’s texture and shelf life.
Step-by-Step Green Chili Paste Preparation
Now, let’s get to the exciting part – making the paste! Wear gloves if you are sensitive to chili oils, especially when handling hotter varieties.
Step 1: Wash and Prepare the Chilies
This is a crucial step for hygiene and for controlling the heat.
Washing the Chilies:
Rinse all your green chilies thoroughly under cool running water. Gently rub them to remove any dirt or debris. Pat them completely dry with a clean kitchen towel or paper towels.
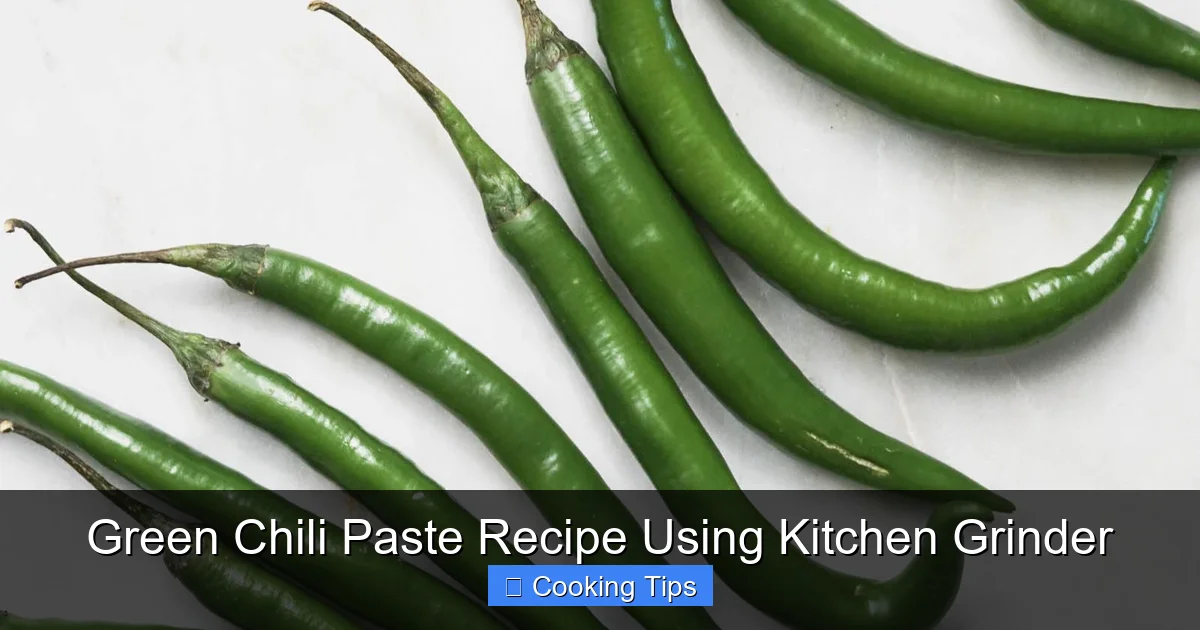
Visual guide about Green Chili Paste Recipe Using Kitchen Grinder
Image source: someindiangirl.com
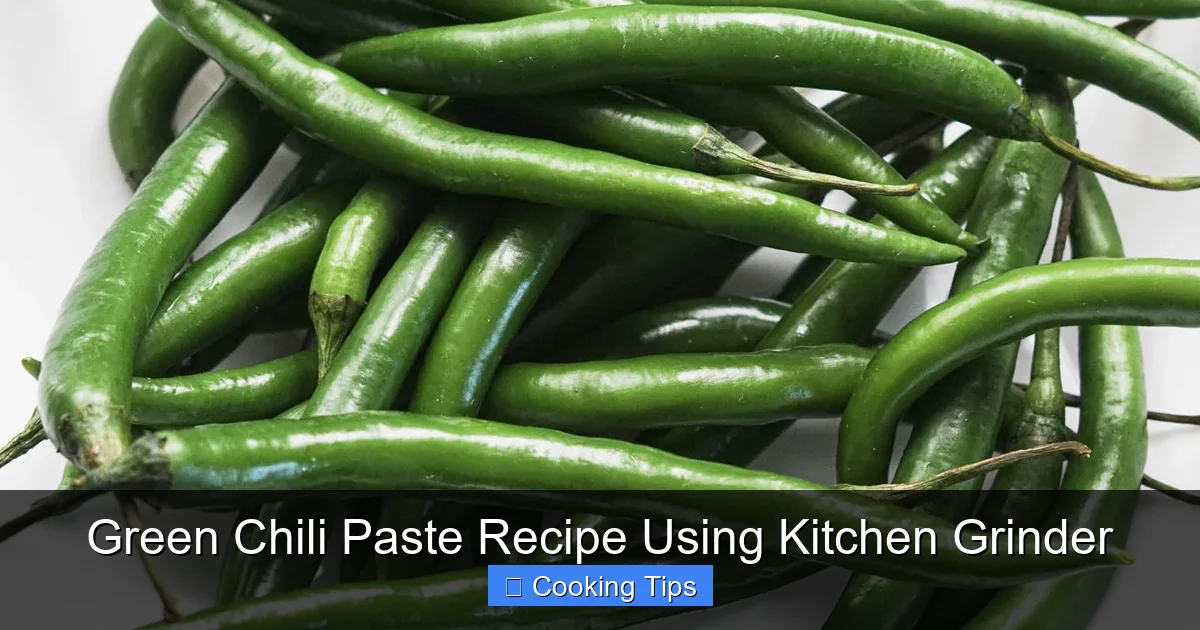
Visual guide about Green Chili Paste Recipe Using Kitchen Grinder
Image source: someindiangirl.com
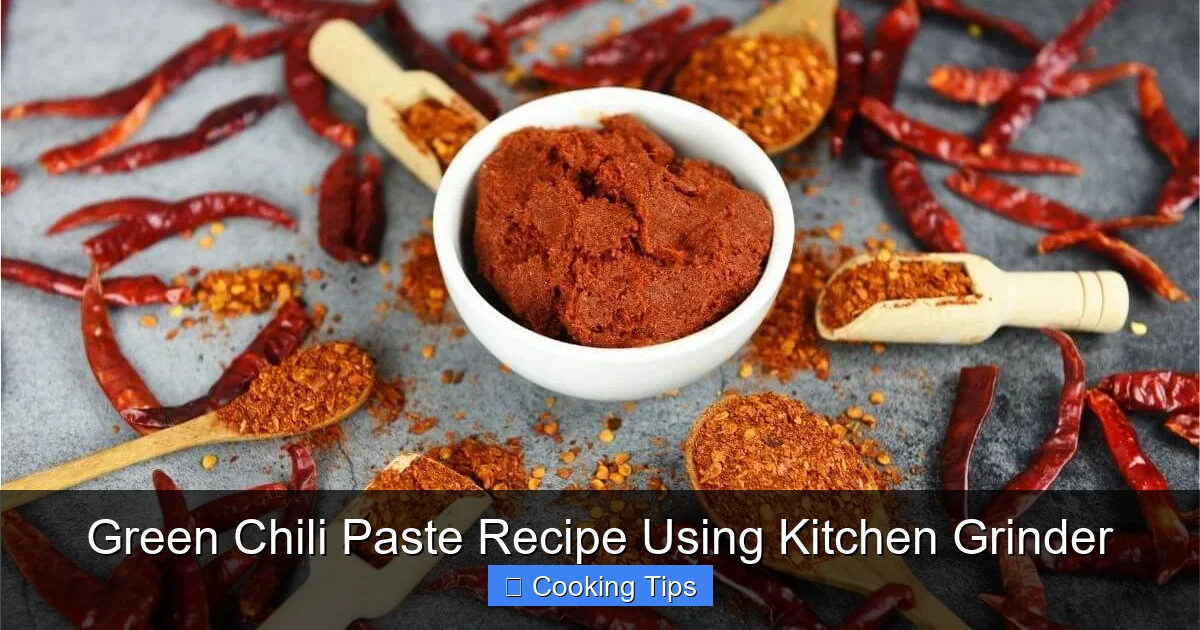
Visual guide about Green Chili Paste Recipe Using Kitchen Grinder
Image source: recipemarker.com
Removing Stems:
Using a sharp knife or kitchen shears, carefully snip off the stems from each chili. You can do this by cutting just above where the stem meets the pepper body.
Deciding on Seeds and Membranes:
This is where you control the heat! The seeds and the white pithy membranes inside the chilies contain the most capsaicin, the compound that makes them spicy.
- For mild paste: Cut the chilies in half lengthwise and scoop out all the seeds and membranes with a spoon.
- For medium paste: Remove about half to two-thirds of the seeds and membranes.
- For fiery paste: Leave most or all of the seeds and membranes in.
Cutting Chilies for Grinding:
Cut the prepared chilies into smaller pieces that will fit easily into your kitchen grinder’s hopper. Aim for pieces that are about 1-2 inches long. This makes the grinding process more efficient.
Step 2: Prepare Other Ingredients
While you’re preparing the chilies, get your other flavor boosters ready.
Peeling Garlic:
Peel your garlic cloves. You can give them a gentle crush with the side of your knife to make peeling easier.
Measuring Salt and Lime Juice:
Measure out your salt and fresh lime juice. Have them ready to add.
Step 3: Grinding the Paste
This is where your kitchen grinder shines! The process is generally straightforward, but some grinders may have slightly different mechanisms.
Loading the Grinder:
Depending on the size of your grinder, you might need to work in batches. Add a portion of the prepared chili pieces to the grinder’s chamber. You can add the peeled garlic cloves at this stage too. Don’t overfill the grinder; this can lead to inefficient grinding and potential jamming.
Grinding Process:
Turn on your kitchen grinder and let it process the chilies.
- For a coarse paste: Grind for a shorter duration, pulsing the grinder to get the desired texture. You’ll have small pieces of chili visible.
- For a smooth paste: Grind for a longer period. Stop and scrape down the sides of the grinder’s chamber with a spatula if ingredients start to stick. Continue grinding until you achieve a smooth consistency. This might take a minute or two, depending on your grinder’s power.
Adding Salt and Lime Juice:
Once the chilies and garlic are ground to your desired consistency, add the measured salt and lime juice. Pulse the grinder a few more times to incorporate these ingredients evenly. This helps to further break down any larger pieces and meld the flavors.
Using Liquid for Smoothness (If Needed):
If your grinder is struggling to process the chilies into a smooth paste, or if the paste seems too dry, you can add a small amount of liquid.
- For a traditional flavor: Add 1-2 tablespoons of water and grind briefly.
- For a richer flavor: Add 1-2 tablespoons of olive oil or another neutral vegetable oil and grind briefly.
Start with a small amount and add more only if necessary. Too much liquid can make the paste watery and affect its shelf life.
Step 4: Checking Consistency and Flavor
Taste your creation and make any necessary adjustments.
Taste Test:
Carefully taste a small amount of the green chili paste. Adjust the salt or lime juice if you feel it needs it. Remember that the flavor will intensify slightly as it sits.
Final Texture Adjustment:
If the paste is too chunky for your liking, continue grinding for a bit longer. If it’s too smooth and you prefer a bit of texture, that’s harder to fix without adding more whole chilies and re-grinding a portion, so it’s best to get it right the first time. However, if you over-grind and it becomes too watery, you can try adding a few more unprepared chilies and re-grinding, but this is not ideal.
Step 5: Storing Your Green Chili Paste
Proper storage is key to keeping your homemade green chili paste fresh and delicious.
Refrigeration:
Transfer the finished green chili paste into an airtight container, such as a small glass jar or a plastic container. You can also press a piece of plastic wrap directly onto the surface of the paste before sealing the container to minimize air exposure. Store in the refrigerator for up to 2 weeks. The salt and lime juice act as natural preservatives.
Freezing for Longer Storage:
For longer storage, freeze your green chili paste.
- Ice Cube Trays: This is a fantastic method! Spoon the paste into ice cube tray compartments. Once frozen, pop out the chili paste cubes and transfer them to a freezer-safe bag or container. This allows you to easily take out small portions as needed.
- Freezer Bags: You can also portion the paste into smaller freezer-safe bags, flattening them to ensure quick and easy thawing.
Frozen green chili paste can last for up to 6 months.
Troubleshooting Common Issues
Even with the best intentions, sometimes things don’t go perfectly. Here are a few common issues and how to address them.
Issue: Grinder is Straining or Jamming
Cause: Chilies are too large, too dry, or the grinder is overfilled.
Solution: Cut chilies into smaller pieces. If they seem dry, add a tablespoon of water or oil. Ensure you are not overfilling the grinder; work in smaller batches.
Issue: Paste is Too Watery
Cause: Too much liquid was added, or the chilies released a lot of moisture.
Solution: Unfortunately, it’s difficult to thicken a watery paste significantly. You can try to drain off some excess liquid if possible, or use it in dishes where a slightly thinner consistency is acceptable. In the future, add liquids very sparingly.
Issue: Paste is Too Dry/Chunky
Cause: Not enough grinding time, or insufficient moisture.
Solution: Continue grinding. If the grinder is still struggling, add a tablespoon of water or oil and grind again. Ensure all chilies are properly prepped.
Issue: Paste is Not Spicy Enough (or Too Spicy)
Cause: Incorrect chili selection or too many/few seeds and membranes removed.
Solution: For future batches, adjust your chili choices and how you prepare the seeds and membranes. For the current batch, you can slightly increase spiciness by adding a pinch of cayenne pepper or a finely minced fresh, hotter chili, and re-grinding. To reduce spiciness, unfortunately, there’s no easy fix. Diluting it in a larger recipe is your best bet.
Creative Ways to Use Your Green Chili Paste
Now that you have this delicious green chili paste, the culinary possibilities are endless!
- Marinades: Toss with chicken, fish, or vegetables for a zesty marinade.
- Sauces and Dips: Stir into sour cream, yogurt, or mayonnaise for a quick dip. Add to pasta sauces or stir-fries.
- Soups and Stews: A spoonful can add incredible depth and heat to chili, lentil soup, or any hearty stew.
- Eggs: Mix a little into scrambled eggs or omelets for a spicy breakfast kick.
- Sandwiches and Wraps: Spread a thin layer for an instant flavor boost.
- Salsas: Incorporate it into fresh or cooked salsas for an authentic taste.
Conclusion
Congratulations! You’ve successfully made your own fresh, vibrant green chili paste using your kitchen grinder. This simple recipe empowers you to control flavor, heat, and freshness, bringing a new level of excitement to your home cooking. Experiment with different chili varieties, find your perfect consistency, and enjoy the incredible versatility of this fundamental culinary ingredient. Happy cooking!