
Learn to brew delicious coffee at home with a standard drip coffee maker. This comprehensive guide covers everything from selecting the right beans and water to the step-by-step brewing process and essential maintenance. Discover the simple secrets to a perfect cup of coffee every morning, ensuring a flavorful and satisfying start to your day.
How to Brew Coffee in a Coffee Maker
Welcome to the wonderful world of home-brewed coffee! In 2026, the humble drip coffee maker remains a beloved kitchen staple for its simplicity and convenience. Whether you’re a seasoned coffee aficionado or just starting your caffeine journey, mastering the art of brewing in a coffee maker can elevate your daily ritual. This guide will walk you through every step, from selecting your ingredients to enjoying that perfectly brewed cup. Get ready to unlock the full potential of your coffee maker and transform your mornings!
Key Takeaways
- Start with Fresh, Quality Ingredients: Using freshly ground, high-quality coffee beans and filtered water is paramount for the best flavor.
- Measure Accurately: The coffee-to-water ratio is crucial. A common starting point is 1-2 tablespoons of coffee per 6 ounces of water.
- Understand Your Coffee Maker: Familiarize yourself with your specific coffee maker’s components and operation for optimal results.
- Proper Grinding is Key: Grind your beans just before brewing to preserve maximum flavor and aroma. Medium grind is typical for drip machines.
- Cleanliness is Next to Godliness (for Coffee): Regularly cleaning your coffee maker prevents bitter tastes and ensures smooth operation.
- Experiment for Perfection: Don’t be afraid to adjust the coffee-to-water ratio or try different bean roasts to find your ideal brew.
Understanding Your Coffee Maker
Before we dive into the brewing process, it’s helpful to understand the basic components of most drip coffee makers. While models may vary, you’ll typically find:
- Water Reservoir: This is where you pour the fresh water for brewing.
- Filter Basket: This holds your coffee grounds and the filter.
- Carafe: The pot that collects the brewed coffee.
- Heating Element: This warms the water to the optimal brewing temperature.
- Showerhead: This distributes the hot water evenly over the coffee grounds.
Knowing these parts will help you assemble and use your coffee maker correctly.
Step 1: Gather Your Supplies
The foundation of a great cup of coffee lies in the quality of your ingredients. Here’s what you’ll need:
High-Quality Coffee Beans
The journey to delicious coffee starts with the beans. For 2026, the focus remains on freshness and origin.
- Whole Beans are Best: Always opt for whole beans and grind them just before brewing. Pre-ground coffee loses its aroma and flavor much faster.
- Roast Level: Consider your preference. Light roasts offer brighter, more acidic notes, while dark roasts are bolder and can have chocolatey or smoky undertones. Medium roasts strike a balance.
- Origin Matters: Different regions produce beans with distinct flavor profiles. Explore single-origin beans from Ethiopia, Colombia, Brazil, or Sumatra to discover your favorites.
Fresh, Filtered Water
Coffee is over 98% water, so its quality significantly impacts the taste.
- Use Filtered Water: Tap water can contain minerals or chlorine that impart unpleasant flavors. A simple water filter or a Brita pitcher is an excellent investment.
- Cold Water: Always use cold water in your coffee maker. The heating element will bring it to the correct brewing temperature.
Coffee Filters
Most drip coffee makers use disposable paper filters.
- Choose the Right Size and Shape: Coffee filters come in basket or cone shapes and various sizes. Ensure you have the correct type for your coffee maker.
- Rinse Paper Filters: Some baristas recommend rinsing paper filters with hot water before use. This can remove any papery taste that might transfer to your coffee.
Step 2: Measure and Grind Your Coffee Beans
This step is critical for achieving the right strength and flavor.
The Golden Ratio
The Society of Coffee Educations recommends a starting point of 1:15 to 1:18 coffee-to-water ratio by weight. In simpler terms, for every 6 ounces of water, use about 1-2 tablespoons of coffee grounds.
- For a standard 12-cup coffee maker (about 60 oz of water): Aim for 10-12 tablespoons of whole beans.
- Adjust to Your Taste: If you prefer stronger coffee, add a little more grounds. For a milder brew, use slightly less.
Grinding for Drip Coffee
The grind size directly affects how quickly water extracts flavor from the coffee.
- Medium Grind is Ideal: For most drip coffee makers, a medium grind is best. It’s similar to granulated sugar.
- Why Grind Fresh? Grinding just before brewing exposes the volatile aroma compounds that give coffee its wonderful smell and taste. Pre-ground coffee starts losing these compounds immediately.
- Types of Grinders:
- Blade Grinders: These are more affordable but can produce an inconsistent grind, leading to uneven extraction.
- Burr Grinders: These offer a more consistent grind size, which is crucial for optimal extraction and better-tasting coffee. They are a worthwhile investment for serious coffee lovers.
Step 3: Prepare the Coffee Maker
Now that your ingredients are ready, it’s time to assemble your machine.
Add Water to the Reservoir
Pour the measured amount of fresh, cold, filtered water into the water reservoir. Most reservoirs have markings indicating the number of cups. Be sure to fill it to the desired level.
Insert the Coffee Filter
Place a clean coffee filter into the filter basket. If you’re using a paper filter, consider rinsing it first as mentioned earlier.
Add Coffee Grounds
Add your freshly ground coffee into the filter. Gently shake the basket to level the grounds, but avoid tamping them down.
Step 4: Brew the Coffee
This is where the magic happens!
Start the Brewing Cycle
Ensure the carafe is properly seated on the warming plate. Close the lid of the coffee maker. Press the start button or flip the switch to begin the brewing cycle.
Wait for the Brew
Your coffee maker will heat the water and drip it through the grounds. The brewing process typically takes about 5-10 minutes, depending on the size of your brew. Most machines will make a sound or light up when brewing is complete.
Remove the Carafe
Once brewing is finished, carefully remove the carafe from the warming plate. Avoid letting the coffee sit on the hot plate for too long, as it can develop a burnt taste. If your coffee maker has a pause-and-serve feature, you can grab a cup mid-brew, but be quick!
Step 5: Serve and Enjoy!
The best part! Pour yourself a cup and savor the fruits of your labor.
- Serve Immediately: Coffee is best enjoyed fresh.
- Additions: Add milk, cream, sugar, or your favorite sweetener to taste.
Step 6: Clean Your Coffee Maker
Regular cleaning is essential for maintaining the performance and taste of your coffee maker.
Daily Cleaning
After each use, discard the used coffee grounds and filter. Rinse the filter basket and the carafe with warm, soapy water. Wipe down the exterior of the machine.
Deep Cleaning (Descaling)
Over time, mineral deposits (scale) from the water can build up inside your coffee maker, affecting its performance and flavor. Descaling is recommended every 1-3 months, depending on your water hardness.
How to Descale:
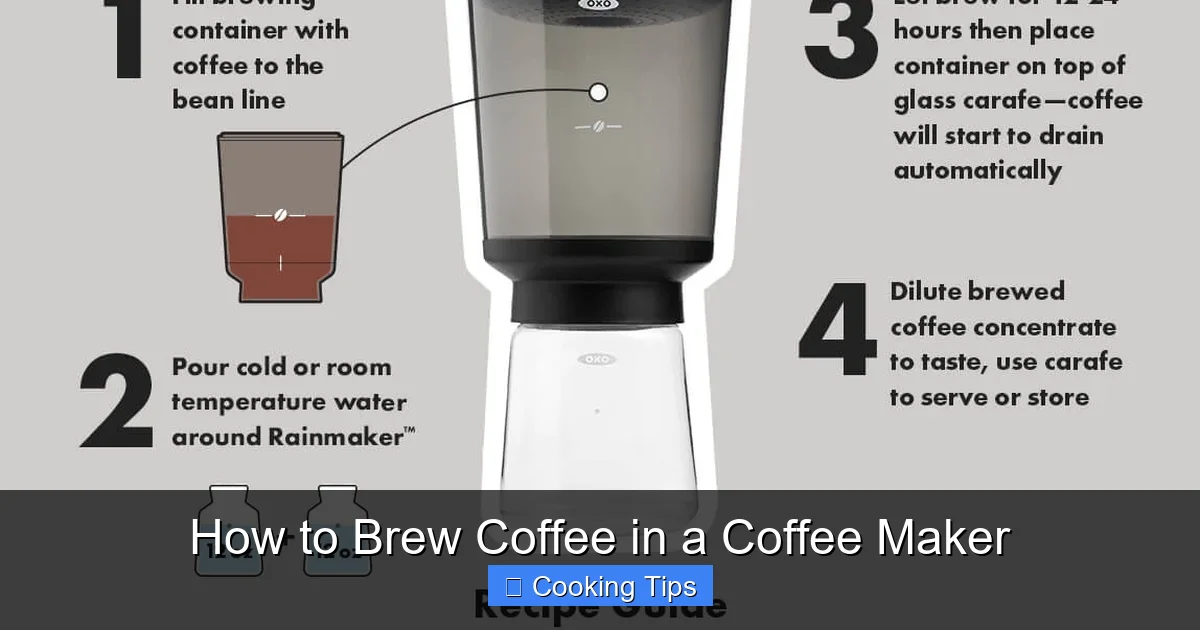
Visual guide about How to Brew Coffee in a Coffee Maker
Image source: oxo.com

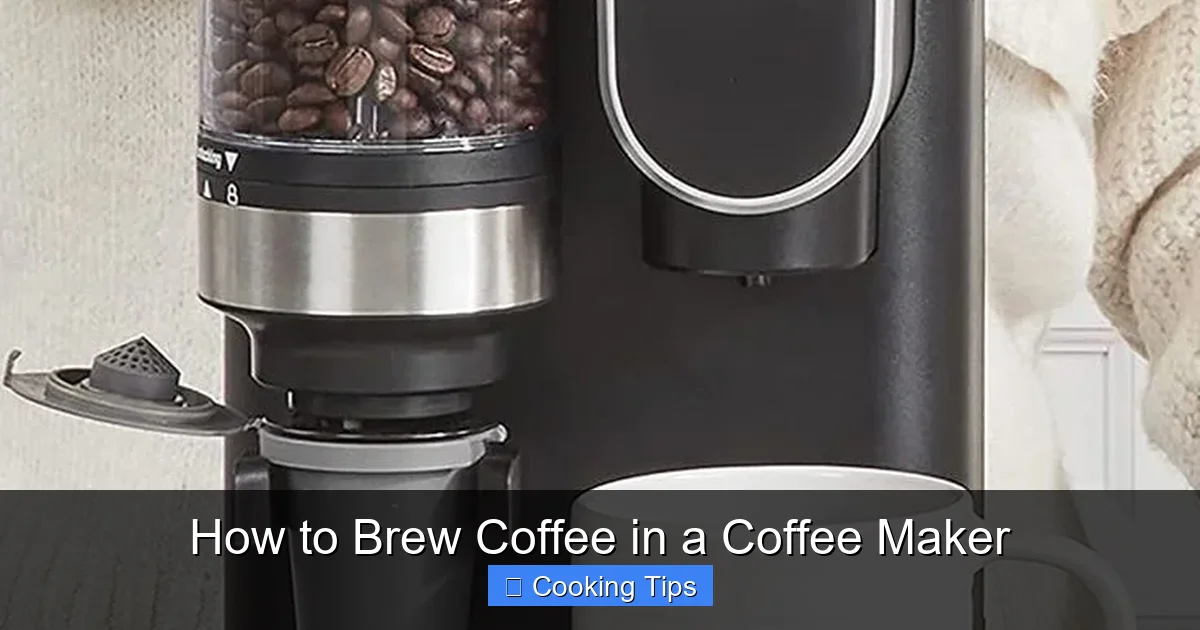
Visual guide about How to Brew Coffee in a Coffee Maker
Image source: m.media-amazon.com
Visual guide about How to Brew Coffee in a Coffee Maker
Image source: i.pinimg.com
- Fill the water reservoir with a mixture of equal parts white vinegar and water.
- Place an empty filter in the basket.
- Run a brew cycle halfway through.
- Turn off the coffee maker and let it sit for 30 minutes to an hour to allow the vinegar to work.
- Discard the vinegar-water solution.
- Run at least two full cycles with fresh, clean water to rinse out any residual vinegar taste.
Troubleshooting Common Coffee Maker Issues
Even the best coffee makers can have hiccups. Here are a few common problems and how to fix them:
Coffee Tastes Bitter
Possible Causes:
- Over-extraction: Grind might be too fine, or you’re using too much coffee.
- Dirty coffee maker: Coffee oils and mineral buildup can create bitterness.
- Stale coffee grounds: Old grounds lose their sweetness.
Solutions:
- Adjust grind size to medium.
- Descale your coffee maker regularly.
- Use fresh, whole beans and grind them just before brewing.
Coffee Tastes Weak or Watery
Possible Causes:
- Under-extraction: Grind might be too coarse, or you’re not using enough coffee.
- Incorrect water-to-coffee ratio.
- Old or low-quality beans.
Solutions:
- Ensure a medium grind.
- Increase the amount of coffee grounds slightly.
- Use fresh, quality beans.
Coffee Maker is Slow or Not Brewing Properly
Possible Causes:
- Mineral buildup (scale) is clogging the machine.
- The filter basket is clogged.
Solutions:
- Descale your coffee maker regularly (see Step 6).
- Ensure the filter basket is clean and not overfilled with grounds.
Conclusion
Brewing coffee in a coffee maker is a simple yet rewarding process. By paying attention to the quality of your beans and water, using the correct measurements, and keeping your machine clean, you can consistently produce a delicious and satisfying cup of coffee. Experiment with different beans and ratios to discover your personal preference. Enjoy the comforting aroma and rich flavor that a well-brewed cup of coffee brings to your day. Happy brewing in 2026 and beyond!