
Unlock the secret to flawless rice with our comprehensive guide. Learn the essential steps of rinsing, understanding water ratios, and choosing the best cooking method for perfectly fluffy grains. We’ll also cover common problems and their solutions, ensuring your rice is a delicious success every time.
How to Do Rice Correctly
Rice. It’s a staple food for over half the world’s population, a blank canvas for countless flavors, and a surprisingly contentious topic when it comes to cooking. We’ve all been there – staring at a pot of mushy, gummy, or stubbornly hard rice and wondering, “What did I do wrong?”
Fear not, fellow food lovers! This guide is your ultimate resource for achieving perfectly cooked rice, every single time. We’ll demystify the process, from the crucial first rinse to the final, satisfying fluffy bite. You’ll learn the science behind great rice, the practical steps involved, and how to overcome common pitfalls. Get ready to elevate your rice game and impress yourself and your loved ones with consistently delicious results.
Key Takeaways
- Rinsing is Crucial: Always rinse your rice to remove excess starch, preventing gummy or clumpy results.
- Accurate Water Ratio: The correct water-to-rice ratio is key for tender, well-cooked grains, varying slightly by rice type.
- Cooking Methods Matter: From stovetop to rice cooker, each method offers a different convenience and outcome.
- Resting is Essential: Allowing rice to steam off the heat post-cooking ensures even moisture distribution and a fluffier texture.
- Troubleshoot Common Issues: Learn to fix undercooked, overcooked, or mushy rice with simple adjustments.
- Flavor Infusion: Enhance your rice by cooking it in broth or adding aromatics for a more complex taste.
The Foundation: Understanding Your Rice
Before you even reach for the water, it’s important to know your rice. Different types of rice have different characteristics and require slightly different cooking approaches.
Common Rice Varieties
* Long-grain rice (e.g., Basmati, Jasmine): These grains are long and slender and tend to cook up fluffy and separate. They are excellent for pilafs, side dishes, and Indian cuisine.
* Medium-grain rice (e.g., Arborio, Calrose): These grains are shorter and plumper. Arborio rice is famously used for creamy risottos because it releases starch, while Calrose is a versatile all-purpose rice.
* Short-grain rice (e.g., Sushi rice): These grains are round and plump. They cook up sticky and are perfect for sushi, rice pudding, or when you need rice to hold together.
* Brown rice: This is whole-grain rice, meaning it still has its bran and germ. It’s more nutritious and has a chewier texture and nuttier flavor than white rice. It generally requires more water and a longer cooking time.
* Other varieties: Wild rice (technically a grass seed), red rice, black rice, and forbidden rice all have unique textures and cooking needs. For this guide, we’ll focus on the most common white and brown rice types.
Why Rinsing is Non-Negotiable
One of the most critical steps for achieving fluffy rice is rinsing. Why? Rice, especially white rice, is often coated in a fine layer of starch. This excess starch is what causes rice to clump together and become gummy. Rinsing washes away this starch, leading to separate, fluffy grains.
Step-by-Step: Cooking Perfect Rice on the Stovetop
The stovetop method is a classic for a reason. It’s accessible and, once you master it, incredibly reliable.
Step 1: Measure Your Rice
Start with dry, uncooked rice. The amount you need depends on how many people you’re serving. A good rule of thumb is about half a cup (uncooked) per person, or about 1 cup of uncooked rice for every 2-3 servings.
Step 2: Rinse the Rice Thoroughly
This is where the magic begins.
How to Rinse Rice
- Place the measured rice into a fine-mesh sieve.
- Rinse the rice under cold running water.
- Gently swirl the rice with your fingers. You’ll see the water turn cloudy as the starch is released.
- Continue rinsing until the water runs clear. This may take several rinses, especially for white rice. For brown rice, you might not need as many rinses, and the water may not get completely clear, but aim for a significant reduction in cloudiness.
Tip: If you don’t have a fine-mesh sieve, you can rinse the rice directly in the pot, but be very careful not to lose any grains as you drain the water. Swirl the rice gently in the pot, then carefully pour out the cloudy water, leaving the rice behind.
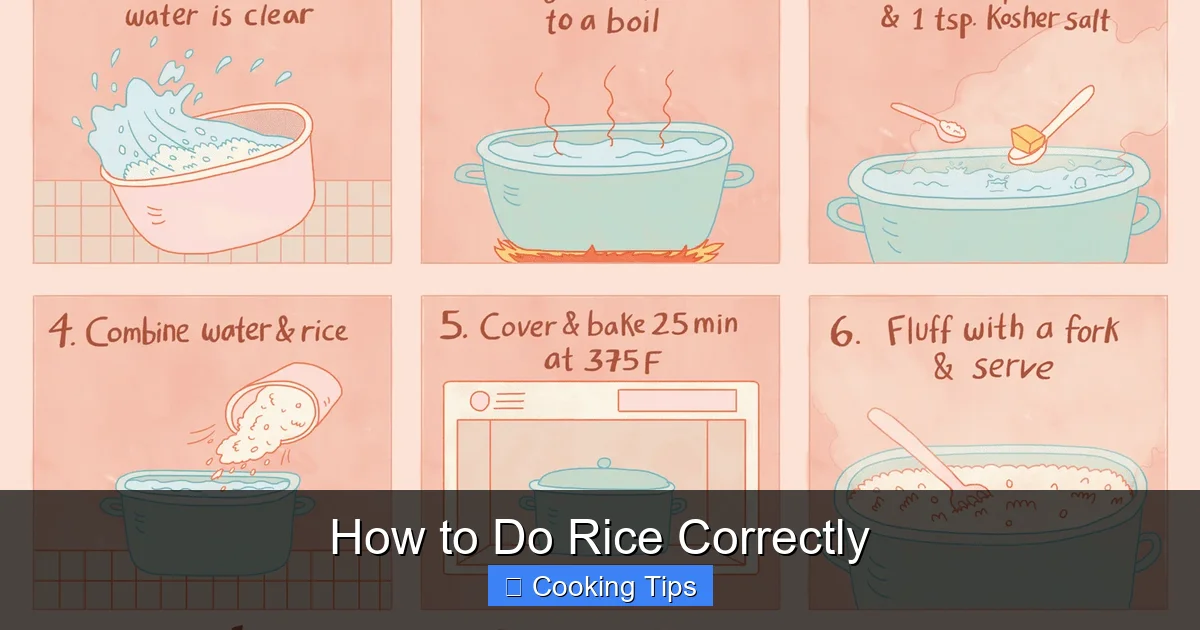
Visual guide about How to Do Rice Correctly
Image source: thespruceeats.com
Step 3: Determine the Correct Water Ratio
This is perhaps the most crucial factor after rinsing. The water-to-rice ratio varies depending on the type of rice and whether you’re cooking white or brown rice.
Standard Water Ratios (for 1 cup of rice):
- Long-grain white rice (e.g., Basmati, Jasmine): 1.5 to 1.75 cups of water
- Medium-grain white rice (e.g., Calrose): 1.5 cups of water
- Short-grain white rice (e.g., Sushi rice): 1.25 to 1.5 cups of water
- Long-grain brown rice: 2 to 2.25 cups of water
- Short-grain brown rice: 1.75 to 2 cups of water
Important Note: These are general guidelines. Always check the packaging of your specific rice brand, as recommendations can vary. Some manufacturers provide very precise ratios.
Step 4: Combine Rice and Water in a Pot
Place the rinsed rice into a saucepan with a tight-fitting lid. Add the measured water.
Optional Flavor Enhancements:
- Salt: A pinch of salt (about ¼ teaspoon per cup of uncooked rice) enhances the flavor.
- Broth/Stock: For more flavor, replace some or all of the water with chicken, vegetable, or beef broth.
- Aromatics: Add a bay leaf, a few peppercorns, a smashed garlic clove, or a slice of ginger to the water for subtle fragrance.
Step 5: Bring to a Boil
Place the pot on the stovetop over medium-high heat. Bring the water to a rolling boil.
Step 6: Reduce Heat, Cover, and Simmer
As soon as it boils, reduce the heat to the lowest possible setting. This is crucial to prevent the bottom from burning and the rice from cooking too quickly. Cover the pot tightly with its lid.
Simmering Times:
- White rice: 15-20 minutes
- Brown rice: 40-50 minutes
Resist the Urge to Peek! Every time you lift the lid, steam escapes, which is essential for cooking the rice evenly. Keep the lid on the entire simmering time.
Step 7: Rest the Rice
Once the simmering time is up, remove the pot from the heat. Do NOT lift the lid. Let the rice rest, covered, for at least 10-15 minutes. This resting period allows the steam to finish cooking the rice and redistribute moisture evenly throughout the grains. This is a vital step for achieving fluffy, separated rice.
Step 8: Fluff and Serve
After resting, remove the lid. Use a fork or a rice paddle to gently fluff the rice. This separates the grains and releases any remaining excess moisture. Serve immediately.
Cooking Rice in a Rice Cooker: The Ultimate Convenience
For many, a rice cooker is the ultimate kitchen gadget for perfect rice with minimal effort. While the specific steps might vary slightly by model, the general process is simple.
Step 1: Measure and Rinse Rice
Just like the stovetop method, measure your rice and rinse it thoroughly until the water runs clear.
Step 2: Add Rice and Water to the Rice Cooker Pot
Place the rinsed rice into the inner pot of your rice cooker. Add the appropriate amount of water according to the rice cooker’s instructions or the general ratio guidelines mentioned earlier (adjusting for the specific rice type). Many rice cooker pots have markings to help you measure water for different types and amounts of rice.
Step 3: Select the Correct Setting
Close the lid securely. Select the appropriate setting on your rice cooker. Most have a “white rice” setting, and some have specific settings for brown rice, sushi rice, or quick cook.
Step 4: Start the Cooker
Press the start button. The rice cooker will automatically manage the cooking process, shutting off when the rice is done.
Step 5: Rest (Usually Automatic)
Most rice cookers have a “keep warm” function that activates automatically after cooking. While you can serve immediately, letting the rice rest on “keep warm” for 10-15 minutes can further improve its texture, similar to the stovetop resting period.
Step 6: Fluff and Serve
Open the lid (carefully, as steam will escape) and fluff the rice with a fork or rice paddle.
Troubleshooting Common Rice Problems
Even with the best intentions, sometimes rice doesn’t turn out perfectly. Here’s how to fix some common issues:
Problem: Rice is Too Dry and Undercooked
Cause: Not enough water or cooked for too short a time.
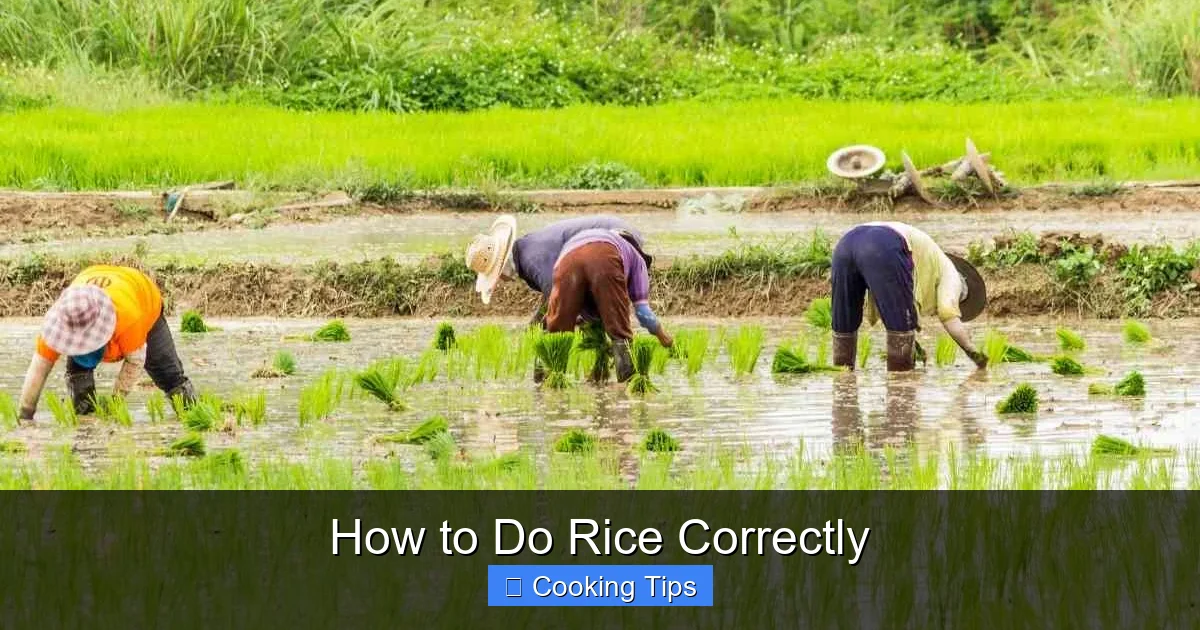
Visual guide about How to Do Rice Correctly
Image source: homemashal.com
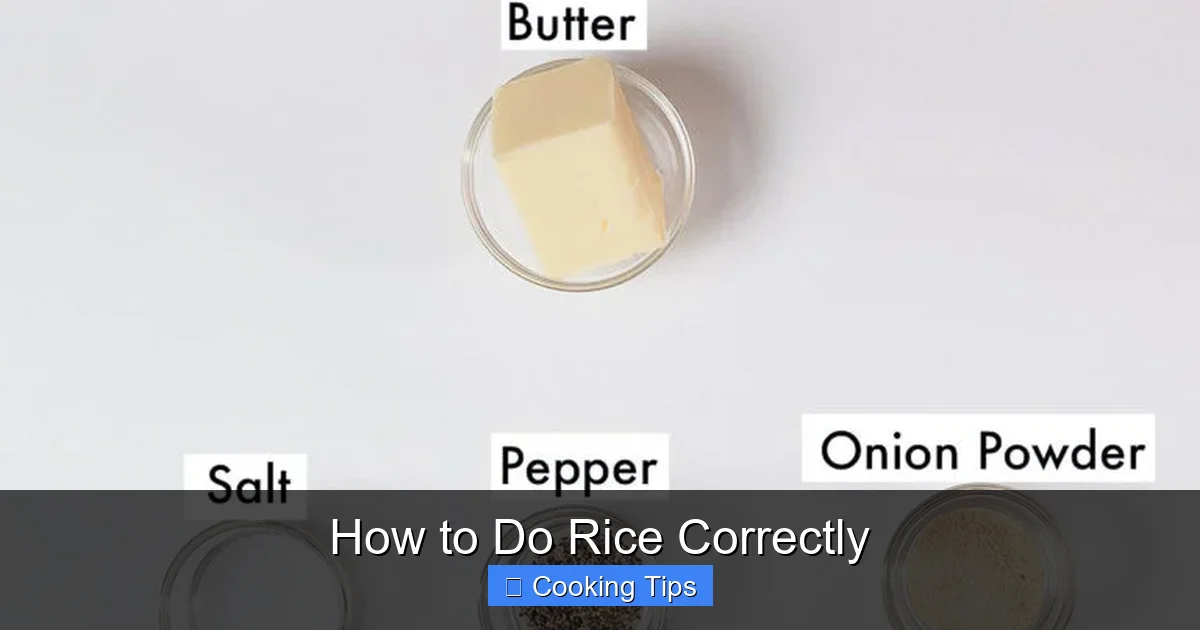
Visual guide about How to Do Rice Correctly
Image source: keytomylime.com
Solution: Add a few tablespoons of hot water to the pot, cover tightly, and cook on very low heat for another 5-10 minutes. If using a rice cooker, add a bit of hot water and run the cook cycle again.
Problem: Rice is Too Wet and Mushy
Cause: Too much water or overcooked.
Solution: Remove the lid and cook on low heat for a few more minutes to allow excess moisture to evaporate. If it’s still too mushy, you can try gently spreading it on a baking sheet and drying it out in a very low oven (around 200°F/95°C) for 10-15 minutes, stirring occasionally. For very mushy rice, it might be best used in dishes where a softer texture is acceptable, like rice pudding or congee.
Problem: Rice is Burnt on the Bottom
Cause: Heat too high, or not enough water, or cooked too long without enough attention.
Solution: Gently scrape off the burnt portion. The unburnt rice above can still be salvaged. Add a little fresh water and fluff it to help rehydrate and distribute the remaining moisture. You can also try to stir in a bit of butter or oil to mask any residual burnt flavor.
Problem: Rice is Gummy or Clumpy
Cause: Insufficient rinsing (excess starch) or improper water ratio.
Solution: This is best prevented by thorough rinsing and accurate water measurements. If it’s already gummy, it’s difficult to completely fix, but fluffing vigorously with a fork can help separate the grains somewhat. Next time, focus on rinsing and the correct ratio.
Beyond the Basics: Elevating Your Rice
Once you’ve mastered the fundamentals, consider these techniques to take your rice from good to gourmet:
Cooking Rice in Broth
Swap water for chicken, vegetable, or beef broth for a richer flavor base. Adjust salt accordingly, as broths often contain sodium.
Adding Aromatics
Infuse your rice with flavor by adding ingredients to the cooking water:
- Garlic: A smashed clove or two.
- Ginger: A few thin slices.
- Spices: A star anise, a cardamom pod, or a cinnamon stick.
- Herbs: A bay leaf or a sprig of rosemary.
Remember to remove them before serving if desired.
Toasted Rice
For a subtle nutty flavor and interesting texture, lightly toast your rinsed rice in a dry pan over medium heat for a few minutes until fragrant before adding water.
Fried Rice
Day-old, slightly dried-out rice is actually perfect for fried rice because it’s less likely to clump. This is a great way to repurpose leftover rice.
Conclusion: Your Journey to Perfect Rice
Mastering how to cook rice correctly is a rewarding culinary skill that opens up a world of delicious possibilities. By understanding the importance of rinsing, using the correct water ratio, and employing the right cooking and resting techniques, you can consistently achieve perfectly fluffy, flavorful rice. Whether you choose the traditional stovetop method or the modern convenience of a rice cooker, the principles remain the same. Don’t be discouraged by occasional missteps; troubleshooting is part of the learning process. With practice and this comprehensive guide, you’ll soon be cooking rice like a pro, making it a delightful and effortless accompaniment to any meal. Happy cooking!