
Discover the surprisingly simple way to hard boil eggs using your electric kettle! This method is ideal for small batches, quick breakfasts, or when your stovetop is occupied. With a few easy steps, you can achieve perfectly cooked, easy-to-peel hard-boiled eggs without any fuss.
How to Hard Boil Eggs in Electric Kettle
In the hustle and bustle of modern life, we’re always looking for ways to make everyday tasks a little easier and more efficient. Did you know your trusty electric kettle, often relegated to making tea or coffee, can actually be a fantastic tool for hard boiling eggs? It might sound unconventional, but this method is surprisingly simple, incredibly convenient, and yields perfectly cooked eggs every time.
This guide will walk you through everything you need to know to hard boil eggs in your electric kettle. We’ll cover the step-by-step process, offer practical tips for success, and even address common issues you might encounter. By the end, you’ll have a new, go-to method for enjoying delicious hard-boiled eggs for breakfast, snacks, or meal prep.
Key Takeaways
- Easy & Efficient: Your electric kettle is a versatile tool that can conveniently hard boil eggs, saving stovetop space and energy.
- Simple Process: The method involves placing eggs in the kettle, adding water, and letting the kettle’s auto-shutoff do the work.
- Precise Timing: While kettles vary, a consistent boiling time after the initial shutoff is key for desired yolk doneness.
- Ice Bath is Crucial: An immediate ice bath stops the cooking process, preventing overcooking and making peeling easier.
- Troubleshooting Common Issues: Learn how to address potential problems like cracking or green yolks for consistent results.
- Safety First: Always ensure your electric kettle is clean and suitable for boiling eggs, following manufacturer guidelines.
Why Use an Electric Kettle for Hard Boiling Eggs?
Before we dive into the “how,” let’s talk about the “why.” Many people are surprised to learn that an electric kettle can be used for more than just heating water. Here are a few reasons why this method is worth trying:
- Space-Saving: If your stovetop is already in use or you’re working with limited kitchen space, your electric kettle offers an alternative cooking method.
- Energy Efficient: Electric kettles are designed for quick heating and often have excellent insulation, making them quite energy-efficient for smaller cooking tasks.
- Convenience: The auto-shutoff feature of most electric kettles takes the guesswork out of boiling. Once it reaches a boil, it turns itself off, preventing overcooking if timed correctly.
- Small Batches: This method is perfect for cooking just a few eggs at a time, ideal for single servings or small households.
- Consistent Results: When done correctly, you can achieve reliably well-cooked eggs with this method.
Getting Started: What You’ll Need
You don’t need much to get started. Most of these items are likely already in your kitchen:
Visual guide about How to Hard Boil Eggs in Electric Kettle
Image source: irrorwxhiqijjr5q.ldycdn.com
- Your Electric Kettle: Ensure it’s clean and in good working order.
- Eggs: As many as your kettle can comfortably hold without overcrowding.
- Water: Enough to cover the eggs by at least an inch.
- A Bowl: For an ice bath.
- Ice Cubes: For the ice bath.
- A Timer: Essential for precise cooking.
- A Slotted Spoon or Tongs: For safely removing the eggs.
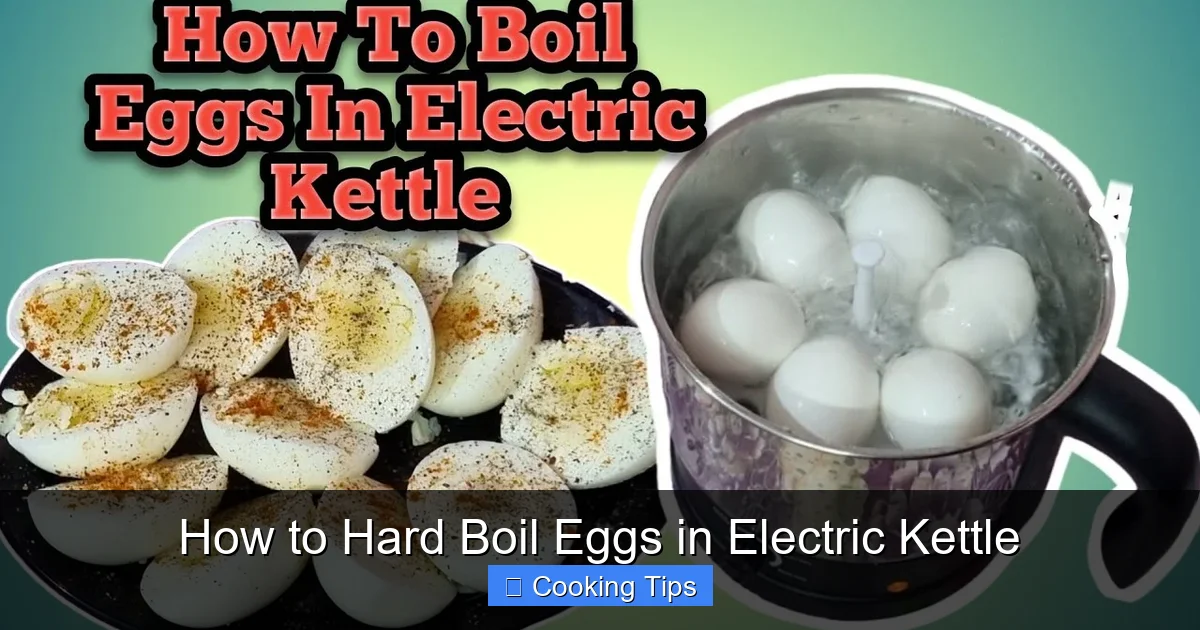
Step-by-Step: How to Hard Boil Eggs in Your Electric Kettle
Follow these simple steps for perfectly hard-boiled eggs:
Visual guide about How to Hard Boil Eggs in Electric Kettle
Image source: i.ytimg.com
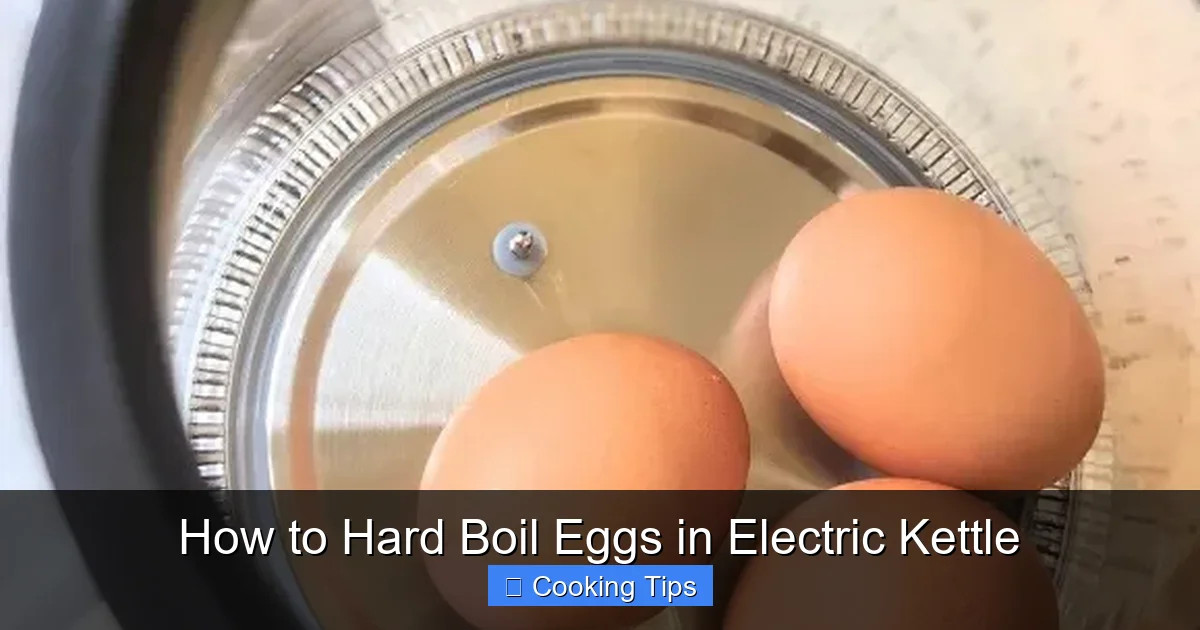
Step 1: Prepare the Eggs and Kettle
Begin by selecting your eggs. For best results, use eggs that are a few days old rather than very fresh ones. Older eggs tend to peel more easily. Gently place the eggs in the bottom of your clean electric kettle. Be careful not to drop them, as this can cause them to crack.

Visual guide about How to Hard Boil Eggs in Electric Kettle
Image source: storables.com
How Many Eggs Can You Cook?
The number of eggs you can cook will depend on the size of your electric kettle. You want to ensure the eggs are in a single layer at the bottom and that there’s enough room for water to circulate around them. Overcrowding can lead to uneven cooking. Generally, most standard kettles can accommodate 4-6 eggs comfortably.
Step 2: Add Water
Carefully pour cool, clean water into the electric kettle. The water should cover the eggs by at least one inch. This ensures the eggs cook evenly and that the water has enough volume to reach a rolling boil.
Water Temperature Matters
It’s generally recommended to use cool or cold tap water. Starting with cold water allows the eggs to heat up gradually, which can help prevent them from cracking during the cooking process. Avoid using hot water, as it can shock the eggs.
Step 3: Bring to a Boil and Time
Close the lid of your electric kettle and plug it in. Turn it on to begin the heating process. Most electric kettles will automatically shut off once the water reaches a rolling boil. This is where your timer comes in.
Timing is Key for Doneness
Once the kettle automatically shuts off (indicating the water has boiled), let it sit for a moment, and then press the ON button again to bring it back to a boil. This second boil is crucial for cooking the eggs. You’ll want to time this second boiling period:
- For soft-boiled eggs: Aim for about 4-6 minutes.
- For medium-boiled eggs: Aim for about 7-9 minutes.
- For hard-boiled eggs: Aim for about 10-12 minutes.
The exact timing might vary slightly depending on your kettle’s wattage and how quickly it heats up. It’s best to experiment with your specific kettle to find your perfect time for hard-boiled eggs.
Step 4: The Ice Bath Transition
This is a critical step for stopping the cooking process and ensuring easy peeling. As soon as your timer goes off after the second boil, immediately turn off and unplug your electric kettle. Using tongs or a slotted spoon, carefully remove the hot eggs from the kettle and plunge them directly into a bowl filled with ice water.
Why an Ice Bath?
The rapid temperature change from hot to ice-cold does two important things:
- It stops the cooking: This prevents the yolks from becoming overcooked and developing that unappealing greenish-gray ring around the edges.
- It makes peeling easier: The sudden cooling causes the egg white to contract slightly, pulling away from the shell and making it much simpler to peel.
Let the eggs sit in the ice bath for at least 10-15 minutes, or until they are completely cool to the touch.
Step 5: Peel and Enjoy!
Once the eggs are thoroughly chilled, you can peel them. Gently tap the wider end of the egg on a hard surface, then roll it between your palm and the surface to crack the shell all over. Start peeling from the wider end, where the air pocket is, and the shell should come off relatively easily. Rinse the eggs under cool water to remove any small shell fragments.
Your perfectly hard-boiled eggs are now ready to be enjoyed! They are great on their own, added to salads, or used in deviled eggs.
Tips for Perfect Hard-Boiled Eggs in Your Electric Kettle
Here are some extra tips to help you achieve consistently delicious results:
- Use Room Temperature Eggs: While starting with cold water is important, allowing your eggs to come closer to room temperature before cooking can further reduce the risk of cracking.
- Don’t Overcrowd: As mentioned, a single layer of eggs at the bottom ensures even cooking.
- Experiment with Timing: Every kettle and every egg is a little different. Keep a log of your timings and results to fine-tune the process for your specific setup.
- Older Eggs Peel Better: Fresh eggs have a tighter bond between the membrane and the shell, making them harder to peel.
- Gentle Handling: Be very gentle when placing eggs into and removing them from the kettle.
Troubleshooting Common Issues
Even with the best intentions, sometimes things don’t go perfectly. Here are solutions to common problems:
Eggs Cracking During Boiling
Cause: Rapid temperature change, dropping eggs into the kettle, or overfilling the kettle so eggs are too close to the heating element.
Solution: Ensure eggs are not dropped into the kettle. Start with cool water. Don’t overfill. If you consistently have cracking issues, try adding a teaspoon of vinegar or salt to the water. This can help coagulate the egg white quickly if a small crack does form.
Greenish-Gray Ring Around the Yolk
Cause: Overcooking. This happens when eggs are cooked for too long, or if they sit in hot water after cooking.
Solution: Stick to the recommended timing and ensure your ice bath is immediate and sufficient. This is why the ice bath is so crucial!
Difficult to Peel Eggs
Cause: Very fresh eggs, undercooking, or not using an ice bath.
Solution: Use older eggs. Ensure you’ve cooked them for the full duration. The ice bath is your best friend for easy peeling.
Kettle Won’t Shut Off Automatically
Cause: Limescale buildup or a faulty thermostat.
Solution: Regularly descale your electric kettle. If the problem persists, it might be time to consider a new kettle. Always monitor your cooking, and if the kettle doesn’t shut off, unplug it manually.
Conclusion
Hard boiling eggs in an electric kettle is a simple, effective, and often overlooked kitchen hack. It’s a fantastic way to save time and energy, especially when you only need a few eggs. By following these straightforward steps, paying attention to timing, and utilizing the crucial ice bath, you’ll be well on your way to consistently perfect hard-boiled eggs. Give it a try – you might just find it becomes your favorite method!