
Craving a milkshake but don’t have a blender? Don’t worry! This guide shows you how to make a creamy, delicious milkshake using simple kitchen tools and common ingredients. You’ll learn to achieve that perfect, frothy texture with a little elbow grease and a few smart techniques. Master the art of blender-less milkshakes and enjoy a homemade treat anytime.
How to Make a Milkshake Without a Blender
In the year 2026, convenience is king, but sometimes, the most satisfying treats come from a little bit of effort. If you’re yearning for a creamy, dreamy milkshake but find yourself without a blender, don’t despair! This comprehensive guide will walk you through several foolproof methods to create that classic frozen dessert using everyday kitchen tools. You’ll discover that a delicious milkshake is well within reach, even without the whir of a blender.
We’ll explore the fundamental ingredients, the best techniques for achieving that desirable frosty texture, and how to customize your milkshake to perfection. Get ready to unlock the secrets to making a fantastic milkshake by hand – it’s easier than you might think!
Key Takeaways
- Essential Ingredients: You’ll need milk, ice cream, and your favorite flavorings.
- The Shaker Method: A tightly sealed jar or shaker is your best friend for achieving a frothy texture.
- Manual Mashing: For softer ice cream, mashing it first makes blending much easier.
- Temperature is Key: Slightly softened ice cream blends better than rock-hard frozen ice cream.
- Patience and Persistence: Achieving a smooth milkshake without a blender requires a bit of effort.
- Customization is Endless: Experiment with different ice cream flavors and mix-ins for unique creations.
- Clean Up is Simple: Most methods involve minimal dishes, making cleanup a breeze.
The Foundation: Ingredients for Your Blender-less Milkshake
Before we dive into the methods, let’s talk about what makes a great milkshake. The core components are simple, but their quality can make a big difference.
Ice Cream
This is the star of the show. For the best results when making a milkshake without a blender, it’s crucial to use ice cream that is slightly softened. If it’s too hard, it will be incredibly difficult to break down manually. Take it out of the freezer about 5-10 minutes before you plan to start. The ideal consistency is firm but scoopable, like thick frosting. Vanilla ice cream is a versatile base, allowing your chosen flavorings to shine.
Milk
The amount of milk you use will determine the thickness of your milkshake. For a thick, spoonable shake, use less milk. For a more drinkable consistency, add a bit more. Whole milk will yield the richest, creamiest result, but you can certainly use lower-fat milk or even non-dairy alternatives like almond, soy, or oat milk depending on your preference. Ensure the milk is cold.
Flavorings and Mix-ins
This is where you can get creative! Here are some popular options:
- Syrups: Chocolate, strawberry, caramel, or raspberry syrups are classic choices.
- Fruit: Fresh or frozen berries, banana slices, or mango chunks can be mashed or incorporated.
- Cookies: Crushed Oreos, chocolate chip cookies, or graham crackers add texture and flavor.
- Candy: Chopped candy bars or candies can be a fun addition.
- Cocoa Powder: For a rich chocolate flavor.
- Extracts: A dash of vanilla or peppermint extract can elevate your shake.
Method 1: The Mighty Shaker Method
This is perhaps the most popular and effective way to make a milkshake without a blender. It relies on vigorous shaking to break down the ingredients and create air bubbles for frothiness.
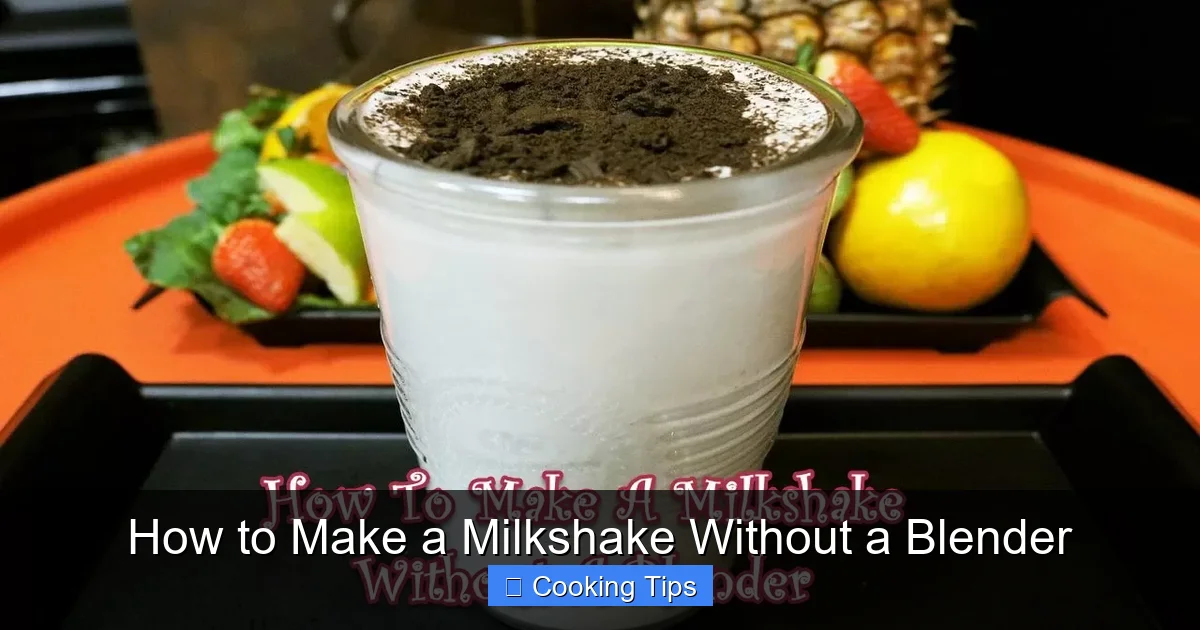
Visual guide about How to Make a Milkshake Without a Blender
Image source: asian-recipe.com
Step-by-Step Shaker Instructions
-
Prepare Your Ice Cream
Ensure your ice cream is slightly softened. Scoop about 2-3 generous scoops into your shaker jar. If you’re using any solid mix-ins like cookie pieces, add them now. If you’re using fresh fruit that isn’t already very soft, you might want to mash it slightly with a fork before adding it.
-
Add Your Flavorings
Pour in your chosen syrups, cocoa powder, or any liquid flavorings. For a chocolate milkshake, this is where you’d add your chocolate syrup or a good dusting of cocoa powder.
-
Introduce the Milk
Start with a smaller amount of cold milk – about 1/4 to 1/3 cup for every two scoops of ice cream. You can always add more milk later if you want a thinner consistency. It’s much easier to thin out a milkshake than to thicken one.
-
Seal and Shake!
Securely close the lid of your jar or shaker. This is crucial to avoid any messy leaks! Now, shake, shake, shake! You’ll want to shake vigorously for at least 2-3 minutes. Imagine you’re trying to get every bit of the ice cream and flavorings to combine and become frothy. You should feel the mixture start to break down and become smoother.
-
Check and Adjust
Open the shaker carefully. Check the consistency. If it’s too thick, add a tablespoon or two more milk and shake again. If you want it thicker, you can add another small scoop of ice cream and shake vigorously. Continue shaking until you achieve your desired texture.
-
Serve Immediately
Pour your delicious, hand-shaken milkshake into a tall glass. Garnish with whipped cream, a cherry, or a sprinkle of your favorite topping. Enjoy your creation!
Tips for the Shaker Method:
- Use a sturdy jar or shaker: A mason jar with a tight-fitting lid or a dedicated cocktail shaker works best.
- Don’t overfill: Leave some space at the top to allow for proper mixing and aeration.
- Ice is optional: If your ice cream is soft enough, you might not need ice. If you prefer it extra cold and slushy, you can add a few ice cubes, but be aware they can dilute the flavor and make shaking harder.
Method 2: The Bowl and Fork/Whisk Method
This method is best for softer ice cream and allows for more control over the texture as you go. It requires a bit more manual effort but can yield satisfying results.
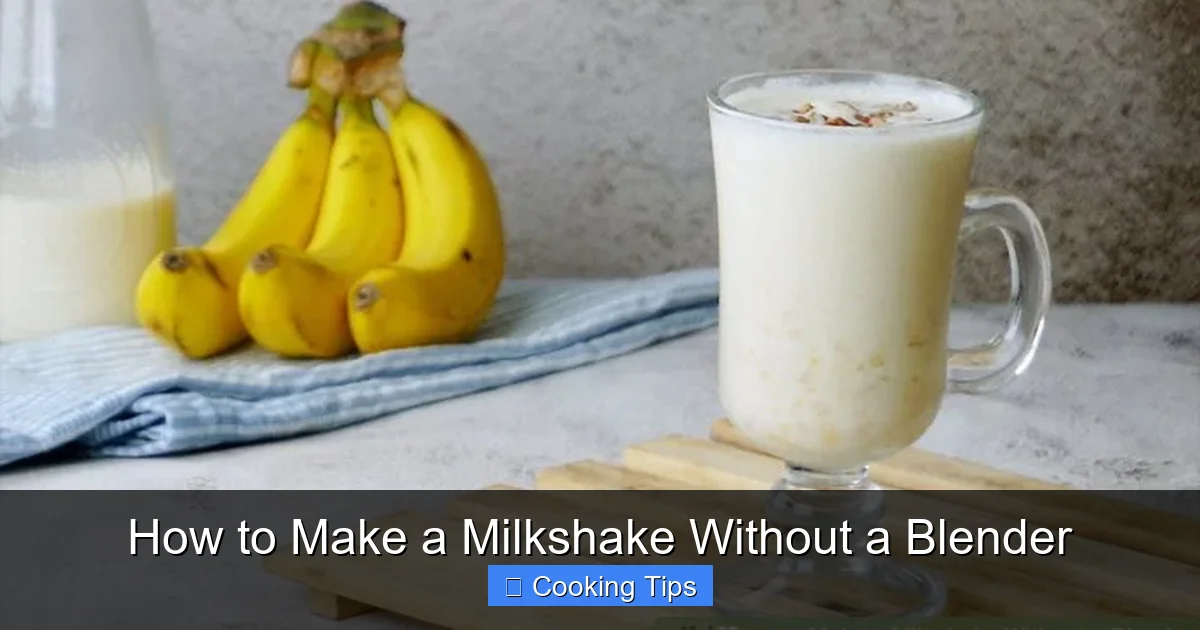
Visual guide about How to Make a Milkshake Without a Blender
Image source: wikihow.com
Step-by-Step Bowl and Fork/Whisk Instructions
-
Soften the Ice Cream
Place your slightly softened ice cream into a sturdy mixing bowl. The softer, the better for this method.
-
Mash and Mix
Using a fork or a whisk, begin to mash and break down the ice cream. Work quickly to prevent it from melting too much. Once it’s somewhat mashed, start incorporating your chosen flavorings (syrups, powders, etc.) and whisk them in until well combined.
-
Gradually Add Milk
Start adding your cold milk a little at a time, about a tablespoon or two at a time. Whisk vigorously after each addition. Continue this process, whisking and incorporating milk, until you reach your desired milkshake consistency. The key here is to incorporate air while mixing, which will help create that frothy texture.
-
Add Mix-ins
If you have any chunky mix-ins like cookie pieces, gently fold them in with a spoon or spatula once the base is smooth. You don’t want to overmix at this stage.
-
Serve
Pour into a glass and enjoy!
Tips for the Bowl and Fork/Whisk Method:
- Use a chilled bowl: A cold bowl can help keep your ice cream from melting too quickly.
- Work efficiently: The faster you can mash and mix, the better the texture will be.
- A potato masher can also work: For very soft ice cream, a small potato masher can be an efficient tool for initial breakdown.
Method 3: The Manual Muddle and Stir Method
This technique is more about creating a “milkshake-like” drink rather than a perfectly blended one. It’s best for those who enjoy a slightly chunkier, more rustic texture or are in a real pinch.
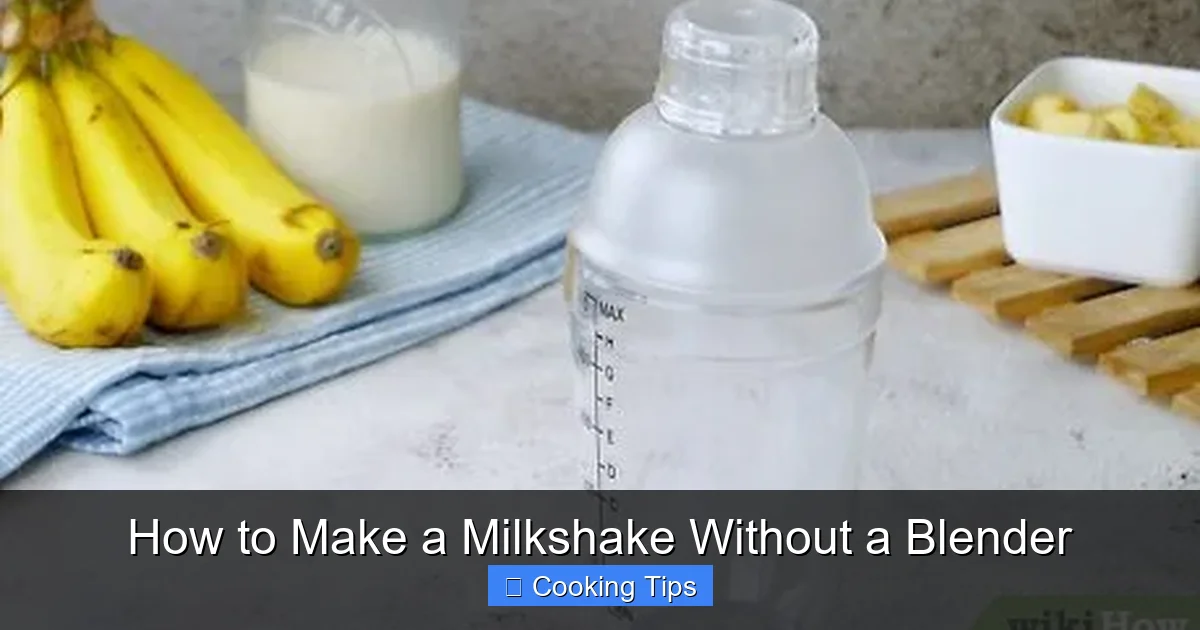
Visual guide about How to Make a Milkshake Without a Blender
Image source: wikihow.com
Step-by-Step Manual Muddle and Stir Instructions
-
Soften Ice Cream Significantly
Let your ice cream soften considerably, almost to the point of melting. This is crucial for this method.
-
Add Liquids and Flavorings
In your serving glass, add your milk and any liquid flavorings like syrups. Stir them together.
-
Incorporate Softened Ice Cream
Add generous spoonfuls of the very soft ice cream into the glass. Stir and mash the ice cream into the milk mixture with a spoon or a muddler. Continue to incorporate and stir until you achieve a somewhat combined, slushy consistency.
-
Optional: Add Ice
If you want it colder or a bit thicker, you can add a few ice cubes and stir vigorously until they start to break down and chill the mixture.
-
Serve
This method will result in a drink with more distinct ice cream chunks and a thinner overall consistency than the other methods. It’s more of a “dissolving ice cream in milk” experience.
Tips for the Manual Muddle and Stir Method:
- Use a tall glass: This makes it easier to muddle and stir.
- A cocktail muddler is ideal: If you have one, it will be very effective for this technique.
- Embrace the texture: This method is about a less refined but still enjoyable drink.
Troubleshooting Your Blender-less Milkshake
Even with the best intentions, you might run into a few snags. Here’s how to fix them:
-
My milkshake is too thin.
Add more ice cream, a little at a time, and shake or whisk vigorously again. For the shaker method, you can also add a few ice cubes and shake intensely to help thicken it up.
-
My milkshake is too thick.
This is an easy fix! Add more milk, a tablespoon at a time, and stir or shake until you reach your desired consistency.
-
My milkshake has too many ice cream chunks.
If using the shaker method, continue shaking for another minute or two. If using the bowl method, try whisking more vigorously. For the manual method, you might need to mash more and accept a chunkier texture.
-
My milkshake isn’t cold enough.
Add a few ice cubes and shake or stir vigorously. For the shaker method, this will help chill and thicken the drink simultaneously.
Conclusion
Making a delicious milkshake without a blender is entirely achievable and can be a fun, rewarding kitchen activity. Whether you prefer the vigorous action of a shaker, the control of a bowl and whisk, or the simplicity of the manual muddle, there’s a method for everyone. The key is to start with slightly softened ice cream, use cold milk, and employ a bit of patience and elbow grease. So next time that milkshake craving strikes, don’t let the absence of a blender stop you. Grab your ingredients, choose your method, and whip up a delightful, homemade treat that’s sure to satisfy!