
Learn how to create perfect, frosty slushies at home using just your blender! This comprehensive guide covers everything from choosing your ingredients to blending techniques and flavor combinations. With our easy-to-follow steps, you’ll be enjoying refreshing, homemade slushies in no time. Get ready to ditch the store-bought versions and embrace your inner mixologist for the ultimate cool-down treat!
How to Make a Slushie with a Blender
Welcome to the ultimate guide to making delicious, refreshing slushies right in your own kitchen using your trusty blender! In 2026, homemade treats are more popular than ever, and a homemade slushie is the perfect way to beat the heat or simply enjoy a fun, frosty beverage. Forget expensive trips to the convenience store; with just a few simple ingredients and your blender, you can craft a personalized slushie that’s as unique as you are. This guide will walk you through everything you need to know, from selecting the best ingredients to mastering the blending techniques for that perfect icy consistency.
Key Takeaways
- Ice is King: The type and amount of ice you use is crucial for achieving the perfect slushie texture. Crushed ice or smaller cubes blend best.
- Liquid Matters: The right balance of liquid to ice prevents your slushie from becoming too watery or too solid. Start with less and add more as needed.
- Flavor is Everything: From fruit purees to juices and syrups, endless flavor possibilities await. Experiment with your favorite tastes!
- Sweetness Control: Adjust the sweetness to your preference by adding sugar, simple syrup, or using naturally sweet fruits.
- Blender Power: Not all blenders are created equal. Understand your blender’s capabilities and use appropriate blending techniques for the best results.
- Texture is Key: Aim for a smooth, icy consistency without large ice chunks. Pulse and scrape down the sides as needed.
- Customization is Encouraged: Don’t be afraid to get creative with garnishes, add-ins, and unique flavor pairings.
Why Make Slushies at Home?
Making slushies at home offers a world of advantages. You have complete control over the ingredients, meaning you can opt for healthier alternatives, reduce sugar, or avoid artificial flavors and colors. Plus, the cost savings are significant! Imagine whipping up a batch of your favorite flavor for a fraction of the price you’d pay at a shop. It’s also an incredibly fun activity, especially for families, turning a simple beverage into a creative project.
Gathering Your Slushie Essentials
Before we dive into the blending, let’s make sure you have everything you need for slushie success.
The Blender
The most important tool, of course, is your blender. Most blenders can handle making slushies, but a more powerful blender will yield smoother results faster. If you have a less powerful model, you might need to be more patient with the blending process and possibly add a little more liquid. Always ensure your blender’s blades are sharp for optimal performance.
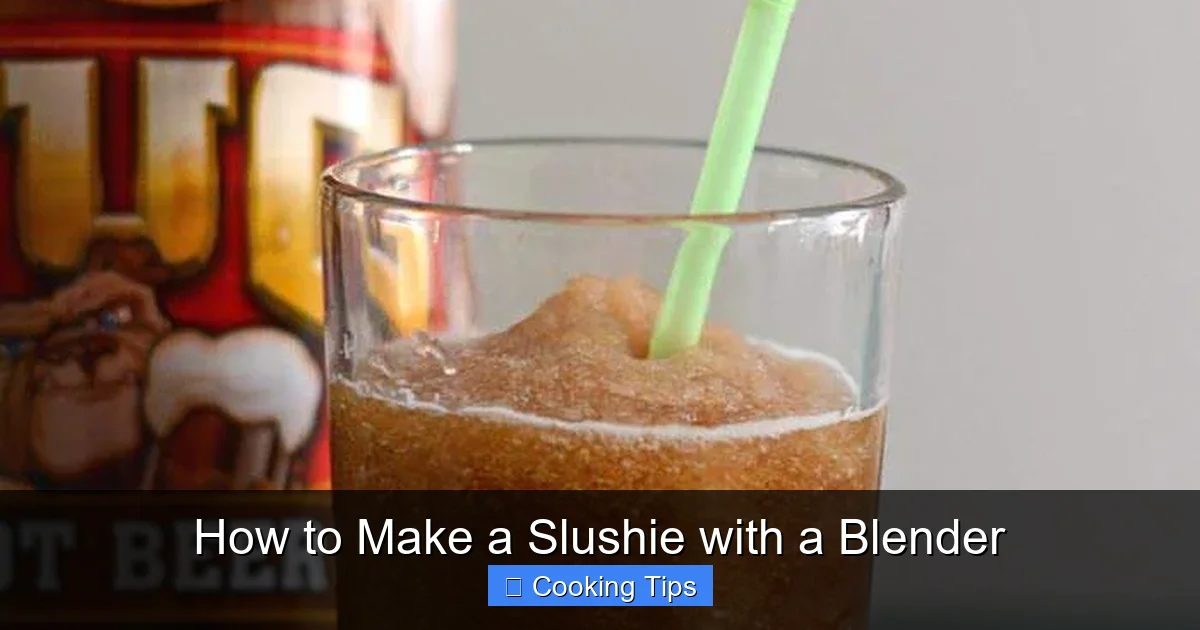
Visual guide about How to Make a Slushie with a Blender
Image source: frugalfamilyhome.com
The Ice
Ice is the heart of any slushie. The type of ice you use will affect the texture.
- Crushed Ice: This is ideal as it blends quickly into a smooth consistency. If you don’t have an ice crusher, you can place ice cubes in a sturdy bag and gently crush them with a rolling pin or mallet.
- Ice Cubes: Standard ice cubes work, but they take longer to blend and might require more liquid to break down completely. Smaller cubes are better than large ones.
- Pebble Ice (Sonic Ice): If you can find it, this is fantastic for slushies because it’s already small and airy, blending into a perfect texture with minimal effort.
The Liquid Base
You’ll need a liquid to help the ice blend smoothly and carry the flavor. The amount of liquid is crucial – too much and it will be watery, too little and your blender might struggle.
- Fruit Juices: Orange, cranberry, grape, pineapple, and apple juice are popular choices that add both flavor and sweetness.
- Water: Plain water is a simple option if you’re relying entirely on fruit purees or syrups for flavor.
- Soda: For a fizzy kick, try using lemon-lime soda, cola, or ginger ale. Be mindful that this will add sweetness and carbonation.
- Milk or Cream: For creamier slushies, you can use milk, half-and-half, or even a splash of heavy cream.
- Coconut Water: A refreshing and hydrating option.
The Flavoring Agent
This is where you get creative!
- Fresh or Frozen Fruit: Berries (strawberries, raspberries, blueberries), mango, pineapple, peaches, and bananas are excellent. Frozen fruit eliminates the need for as much ice and adds a thicker consistency.
- Fruit Purees: Store-bought or homemade fruit purees work wonders.
- Syrups: Simple syrups, flavored syrups (like grenadine, raspberry, or blue curacao), or even pancake syrup can be used.
- Concentrates: Frozen juice concentrates can provide intense flavor.
- Extracts: A drop or two of vanilla, almond, or peppermint extract can add depth.
- Jams or Preserves: Stir in a spoonful for a sweet, fruity punch.
Sweetener (Optional)
Depending on your chosen liquid and flavoring, you might need to add extra sweetness.
- Granulated Sugar
- Simple Syrup: Equal parts sugar and water heated until dissolved, then cooled. This blends in easily.
- Honey or Maple Syrup
- Artificial Sweeteners
Step-by-Step Slushie Creation
Now, let’s get blending! Follow these steps for a perfectly chilled slushie every time.
Step 1: Prepare Your Ingredients
This is all about mise en place – having everything ready before you start.
- If using fresh fruit: Wash and chop any large fruits into smaller, manageable pieces. If you have time, freezing fresh fruit for a few hours beforehand will result in a thicker, icier slushie with less need for as much ice.
- If using frozen fruit: You can use it directly from the freezer.
- Measure your liquid: Have your chosen liquid ready to pour.
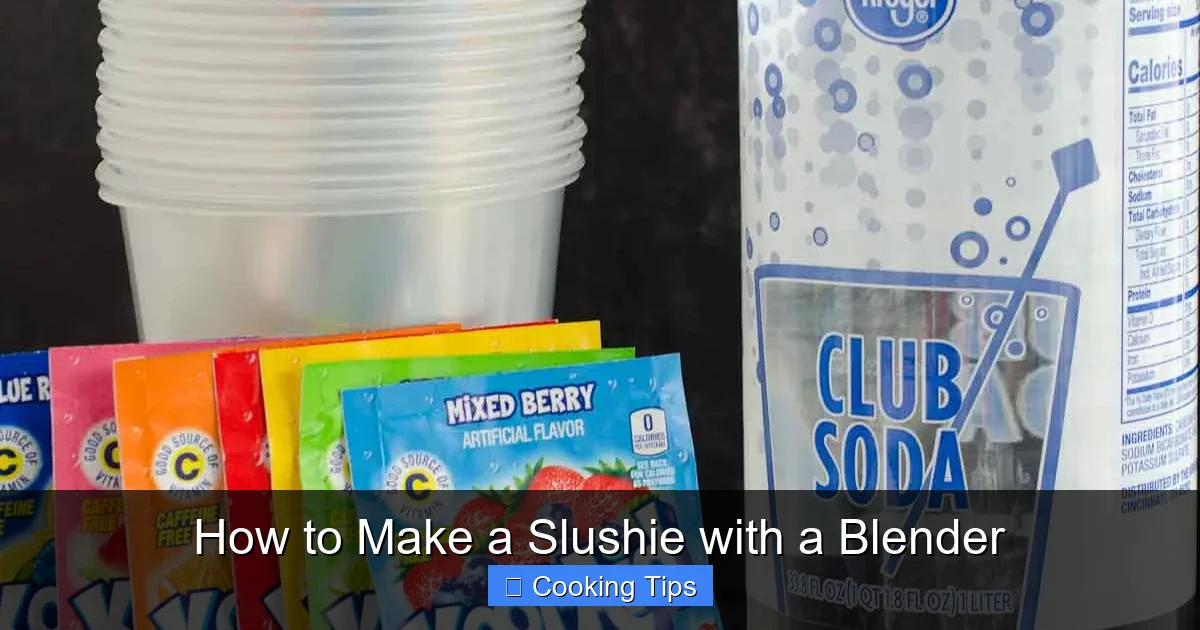
Visual guide about How to Make a Slushie with a Blender
Image source: seededatthetable.com
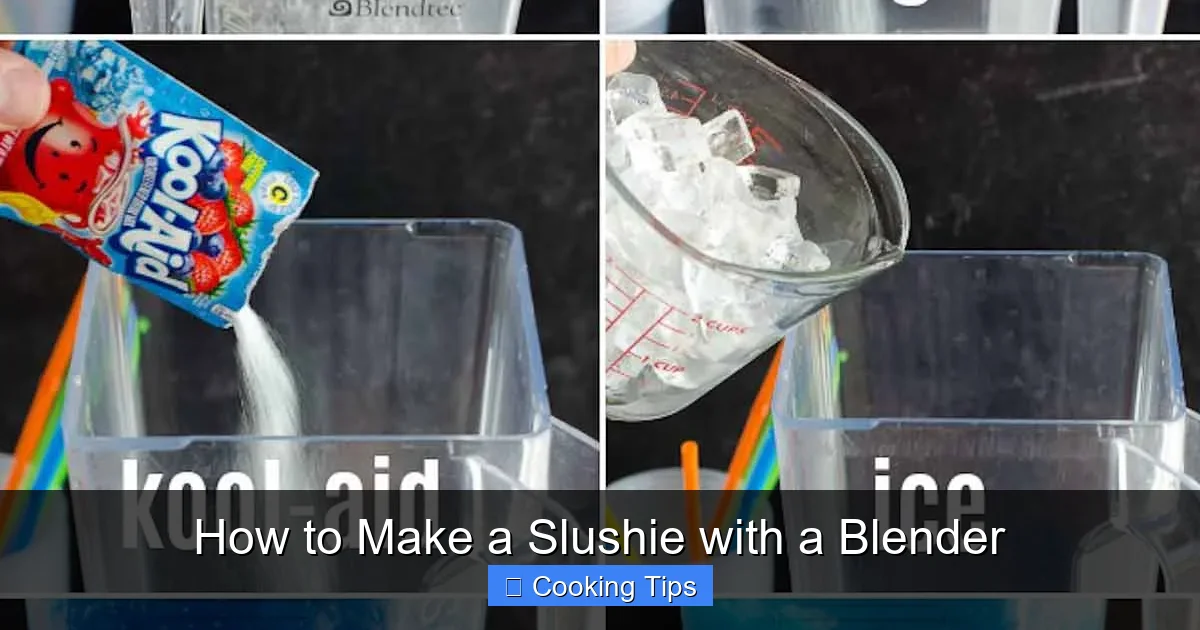
Visual guide about How to Make a Slushie with a Blender
Image source: seededatthetable.com
Step 2: Load the Blender
The order in which you add ingredients can sometimes make a difference, especially with less powerful blenders. A good general rule is to add liquids first, followed by softer ingredients, and then ice.
H3: For most blenders:
Pour your liquid base into the blender jar first. This helps the blades move freely when you start. Then, add your flavoring agents (fruit, syrups, etc.). Finally, add your ice. If you’re using a lot of ice, you might want to add it in stages.
H3: For high-powered blenders:
Many high-powered blenders can handle ice added first, followed by other ingredients. Check your blender’s manual for specific recommendations.
Step 3: Start Blending
This is where the magic happens!
H3: Initial Blend
Secure the lid on your blender. Start by pulsing the mixture a few times. This breaks down the larger chunks and helps everything combine. You’ll likely hear the ice hitting the blades. If the mixture seems too solid and the blender is struggling, add a tablespoon or two more of your liquid base.
H3: Continuous Blending
Once the initial pulsing is done, switch to a lower speed and blend continuously. You’ll need to monitor the consistency. If the ingredients are just swirling around the blades without breaking down, you might need to stop the blender, scrape down the sides of the jar with a spatula, and redistribute the ingredients. This is especially important if you’re using a lot of ice and fruit without much liquid.
H3: Achieving the Right Consistency
Continue blending, stopping and scraping as needed, until the mixture is smooth and has a thick, icy slushie texture. Avoid over-blending, which can melt the ice and make it too watery. The ideal consistency is thick enough to hold its shape but still pourable.
Step 4: Taste and Adjust
Once you’ve reached your desired consistency, it’s time for a taste test.
- Too tart? Add a little more sweetener.
- Not flavorful enough? Add more fruit, syrup, or flavoring extract.
- Too thick? Add a tiny bit more liquid.
Give it a quick blend after any adjustments to ensure everything is incorporated evenly.
Step 5: Serve and Enjoy!
Pour your freshly made slushie into glasses. For an extra special touch, consider garnishes!
- Fresh fruit slices
- Paper umbrellas
- Whipped cream
- A drizzle of syrup
- Candy straws
Serve immediately with a straw and enjoy your homemade masterpiece!
Popular Slushie Flavor Combinations to Try
The possibilities are truly endless when it comes to slushie flavors. Here are some crowd-pleasers to get you started:
Classic Strawberry-Banana
Combine 1 cup frozen strawberries, 1/2 frozen banana, 1 cup strawberry juice, and a splash of simple syrup if needed.
Tropical Mango-Pineapple
Blend 1 cup frozen mango chunks, 1/2 cup frozen pineapple chunks, 1 cup pineapple juice, and a squeeze of lime juice.
Blue Raspberry Blast
Use 1 cup ice, 1 cup white grape juice, 2 tablespoons blue raspberry syrup (or blue curaçao syrup), and a little lemon-lime soda for fizz. Add a drop of blue food coloring if you want a more vibrant color.
Watermelon Refresher
Blend 2 cups cubed watermelon (seedless, frozen is best), 1/2 cup water or coconut water, and a squeeze of lime. This is naturally sweet and incredibly hydrating.
Cranberry-Lime Zing
Combine 1 cup ice, 1 cup cranberry juice, 1/4 cup fresh lime juice, and 2 tablespoons simple syrup or honey.
Troubleshooting Common Slushie Issues
Even the best of us can encounter a few bumps in the road. Here’s how to fix common slushie problems:
My slushie is too watery.
Solution: If you’ve already blended it, you can try adding more ice and blending again until it thickens. For future slushies, use less liquid or more frozen fruit/ice. Ensure your blender isn’t running for too long, which can melt the ice.
My slushie is too thick or chunky.
Solution: Add a little more liquid, a tablespoon at a time, and blend again. You may need to stop the blender and scrape down the sides to help it along. If your ice is too large, try letting it sit for a minute or two to soften slightly before blending.
My blender is struggling.
Solution: Stop the blender and redistribute the ingredients. Make sure there’s enough liquid. If you have a high-powered blender, ensure you’re not overloading it with too much ice at once. For less powerful blenders, consider letting the ice sit for a minute to soften, or crushing it into smaller pieces beforehand.
My slushie isn’t sweet enough.
Solution: Add your preferred sweetener (sugar, syrup, honey) a little at a time and blend until dissolved. Always taste and adjust!
Conclusion
Making slushies with a blender in 2026 is easier and more rewarding than ever. You’ve learned the importance of the right ice, the perfect liquid-to-flavor ratio, and the techniques to achieve that coveted frosty texture. So go forth and experiment! With this guide as your blueprint, you’re well on your way to becoming a slushie-making pro, crafting endless delicious, personalized icy treats for yourself and your loved ones. Happy blending!