
Learn to create homemade almond butter with your trusty food processor 2. This guide provides a step-by-step process, from toasting raw almonds to achieving your desired creamy or crunchy consistency. Enjoy a healthier, tastier spread free from added sugars and preservatives, perfect for your favorite recipes or a simple snack.
Welcome to the ultimate guide to making your own almond butter using a food processor 2! Forget those store-bought jars filled with unpronounceable ingredients. In 2026, we’re all about fresh, wholesome food, and making your own almond butter is surprisingly simple and incredibly rewarding. You’ll learn how to transform plain almonds into a creamy, dreamy spread that’s healthier, tastier, and completely customizable to your liking. Get ready to discover the joy of DIY almond butter!
This guide will walk you through every step, from selecting the best almonds to troubleshooting any issues you might encounter. Whether you’re a seasoned home cook or just starting in the kitchen, you’ll be whipping up delicious almond butter in no time. So, let’s get started on creating your very own jar of nutty goodness!
Key Takeaways
- Nut Selection is Key: Start with high-quality, raw almonds for the best flavor and texture.
- Toasting Enhances Flavor: Gently toasting almonds before processing unlocks their natural oils and deepens their nutty taste.
- Patience is a Virtue: The almond butter making process requires time and occasional scraping, so be prepared to let your food processor 2 work its magic.
- Achieve Your Perfect Texture: From a slightly chunky spread to ultra-smooth almond butter, you control the consistency by adjusting processing time.
- Flavor Customization is Easy: Add sweeteners, salt, or spices like cinnamon for a personalized almond butter experience.
- Storage Matters: Properly stored homemade almond butter stays fresh and delicious for weeks.
Gather Your Ingredients and Equipment
Before you begin, ensure you have everything you need. This will make the process much smoother.
Essential Ingredients:
- Raw Almonds: The star of the show! Opt for raw, unsalted almonds. You’ll need about 2-3 cups to yield a decent amount of almond butter. The quality of your almonds directly impacts the final flavor.
- Optional Add-ins: This is where you can get creative! Consider:
- Salt: A pinch of sea salt or kosher salt enhances the nutty flavor.
- Sweetener: A touch of honey, maple syrup, or a few dates can add sweetness.
- Spices: Cinnamon, nutmeg, or even a hint of vanilla extract can create unique flavor profiles.
- Oil (Optional): If your almonds are particularly dry or you desire an extra-smooth consistency, a tablespoon or two of almond oil or coconut oil can help.
Essential Equipment:
- Food Processor 2: This is your primary tool. A powerful food processor 2 is crucial for breaking down the nuts efficiently.
- Baking Sheet: For toasting the almonds.
- Spatula: A rubber or silicone spatula is perfect for scraping down the sides of the food processor bowl.
- Airtight Container: For storing your finished almond butter.
Step-by-Step Guide to Making Almond Butter
Now, let’s get down to business! Follow these simple steps for perfect almond butter.
Step 1: Toast Your Almonds (Optional, but Recommended!)
Toasting your almonds is a crucial step that significantly enhances their flavor and aroma. It also helps to release their natural oils, making the processing smoother.
Preheat your oven:
Preheat your oven to 300°F (150°C). This lower temperature ensures the almonds toast evenly without burning.
Spread almonds on a baking sheet:
Pour your raw almonds in a single layer on a baking sheet. Avoid overcrowding the pan, as this can lead to steaming instead of toasting.
Toast the almonds:
Place the baking sheet in the preheated oven and toast for 8-12 minutes. Keep a close eye on them! You’ll know they’re ready when they become fragrant and lightly golden brown. They will continue to toast slightly after you remove them from the oven.
Cool completely:
Once toasted, remove the almonds from the oven and let them cool completely on the baking sheet. This step is important; warm nuts can make your food processor 2 work harder and affect the texture.
Step 2: Process the Almonds
This is where the magic happens! Your food processor 2 will do all the heavy lifting.
Add almonds to the food processor 2:
Once the almonds are completely cool, add them to the bowl of your food processor 2. You might need to do this in batches if your food processor 2 bowl is small.
Initial Pulse and Blend:
Start by pulsing the almonds a few times to break them down into smaller pieces. Then, let the food processor 2 run continuously.
Scrape down the sides:
This is the most important part! For the first few minutes, the almonds will appear as coarse crumbs. You’ll need to stop the food processor 2 periodically and use your spatula to scrape down the sides of the bowl. This ensures all the almonds are incorporated into the blending process and prevents the motor from overheating.
Observe the transformation:
As you continue to process, you’ll notice the texture change. The crumbs will start to clump together, forming a paste. This can take anywhere from 5 to 15 minutes, depending on the power of your food processor 2 and the type of almonds. Don’t be discouraged if it seems to be taking a long time!
The creamy stage:
Keep processing, scraping, and blending. Eventually, the paste will start to become smoother and creamier. You’ll see the almond butter begin to pull away from the sides of the bowl. This is the stage where the natural oils are being released, creating that luscious texture.
Step 3: Add Optional Ingredients
Once your almond butter has reached your desired consistency, it’s time to personalize it.
Add salt and sweetener (if using):
If you’re adding salt or a sweetener, do so at this stage. This allows them to incorporate evenly into the almond butter. Pulse a few times to mix.
Add other flavorings (if using):
If you’re adding cinnamon, vanilla extract, or any other flavorings, add them now and pulse until well combined.
Final Blend:
Let the food processor 2 run for another minute or two to ensure everything is thoroughly mixed.
Step 4: Achieve Your Desired Texture
The beauty of making your own almond butter is that you control the texture.
For Creamy Almond Butter:
Continue processing until the almond butter is completely smooth and has a pourable consistency. This might take an additional 5-10 minutes of processing. You’ll know it’s done when it’s glossy and flows easily.
For Chunky Almond Butter:
Stop processing when the almond butter has reached a consistency you like, with small pieces of almonds still visible. This usually happens earlier in the process, after the paste has formed but before it becomes completely smooth.
Step 5: Storage
Proper storage will keep your delicious almond butter fresh.
Transfer to a container:
Spoon your homemade almond butter into a clean, airtight container.
Refrigerate or store at room temperature:
Almond butter can be stored at room temperature for up to two weeks if you used no added oils. However, for longer shelf life and to prevent separation, it’s best to store it in the refrigerator. It will last for several months when refrigerated.
Stir before serving:
You might notice some oil separation, especially if you didn’t add any extra oil. This is completely natural! Simply stir the almond butter thoroughly before each use to reincorporate the oil.
Practical Tips and Tricks
Here are some extra tips to ensure your almond butter making experience is a success.
- Don’t Overfill Your Food Processor 2: Overloading your food processor 2 can strain the motor and prevent proper blending. Work in batches if necessary.
- Be Patient: Making almond butter takes time. Don’t rush the process. The longer you process, the creamier it will become.
- Listen to Your Food Processor 2: If your food processor 2 sounds like it’s struggling, give it a break. Let the motor cool down before continuing.
- Experiment with Nuts: While this guide focuses on almonds, you can use the same method for other nuts like cashews, walnuts, or peanuts (though peanuts are technically legumes).
- Consider Oil Types: If you choose to add oil for extra smoothness, use a neutral-flavored oil like almond oil or refined coconut oil. Avoid strongly flavored oils that might overpower the almond taste.
Troubleshooting Common Issues
Even with the best intentions, you might encounter a few hiccups. Here’s how to fix them.
Issue: Almond Butter is Too Thick/Not Creamy Enough
Solution: This usually means it needs more processing time. Continue to process, scraping down the sides as needed. If it’s still too thick after an extended period, add a teaspoon of almond oil or other neutral oil at a time and continue processing until you reach your desired consistency. Make sure your almonds were properly toasted and cooled, as this aids in oil release.
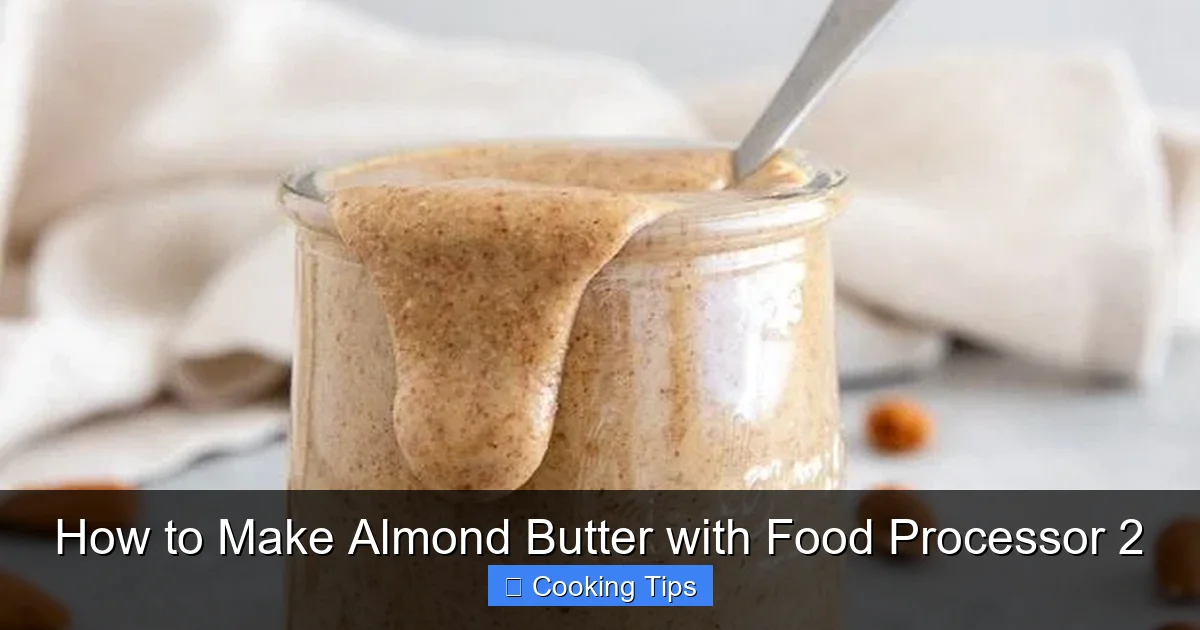
Visual guide about How to Make Almond Butter with Food Processor 2
Image source: i.pinimg.com
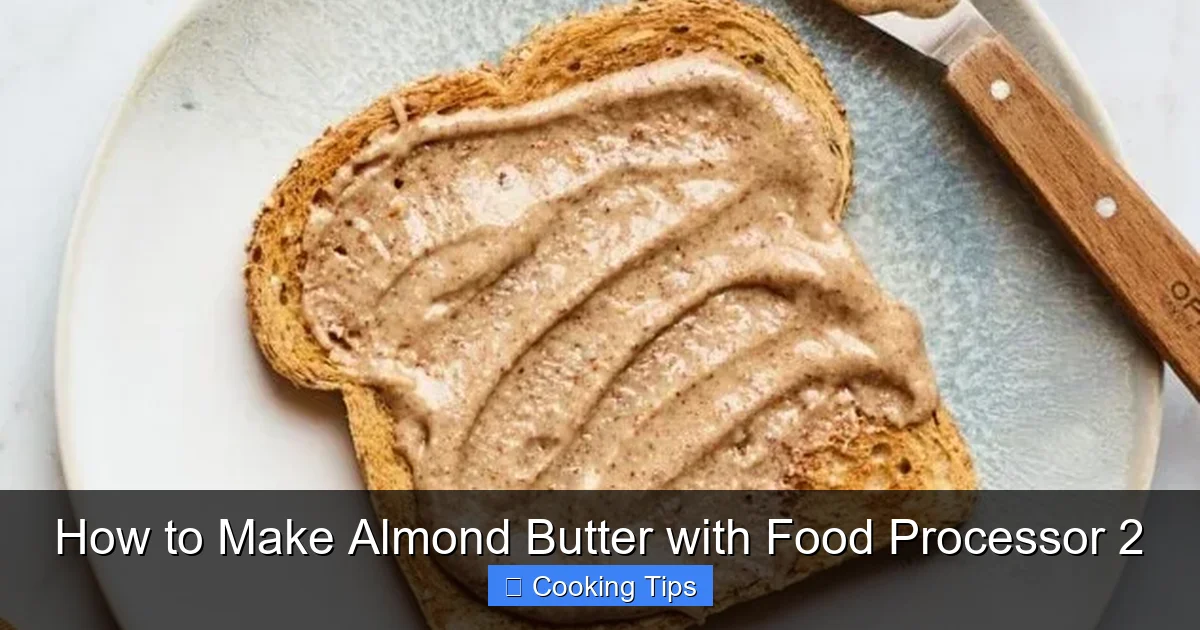
Visual guide about How to Make Almond Butter with Food Processor 2
Image source: eatingbirdfood.com
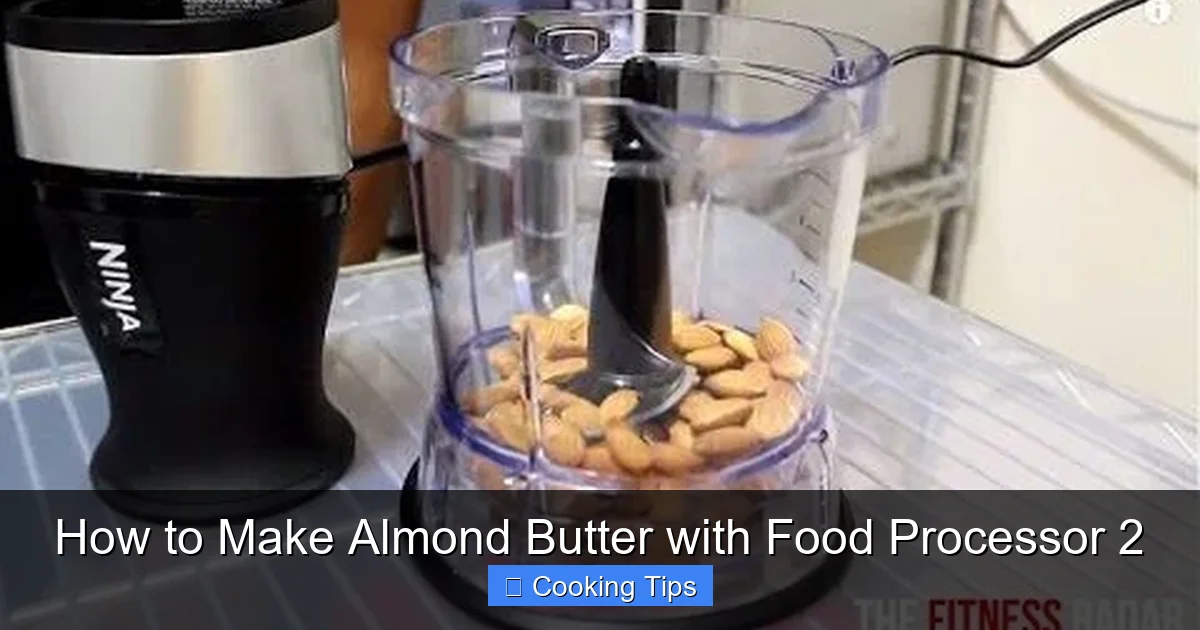
Visual guide about How to Make Almond Butter with Food Processor 2
Image source: i.pinimg.com
Issue: Almond Butter is Too Runny
Solution: This is less common with almond butter but can happen if you add too much oil. Unfortunately, it’s hard to thicken it once it’s too runny. You can try refrigerating it for a while, which might slightly thicken it, but the best solution is to be conservative with added oils in the future.
Issue: Food Processor 2 is Overheating
Solution: This is a sign that the motor is working too hard. Stop the food processor 2 and let it cool down for at least 10-15 minutes. Scrape down the sides of the bowl and ensure there are no large chunks of nuts jamming the blades. If you’re processing a large batch, consider breaking it into smaller batches for future attempts.
Issue: Almond Butter Tastes Bland
Solution: Blandness is usually due to a lack of salt or sweetener. Add a pinch of salt and your preferred sweetener (like honey or maple syrup) and process again for a minute to combine. The salt is particularly important for bringing out the nut’s natural flavor.
Conclusion
Congratulations! You’ve successfully made your own delicious almond butter using your food processor 2. You’ve learned the importance of selecting quality almonds, the magic of toasting, and the patience required to achieve that perfect, creamy (or chunky!) texture. You now have a jar of pure, wholesome goodness that is far superior to most store-bought options.
Enjoy your homemade almond butter on toast, in smoothies, as a dip for fruit, or simply by the spoonful. You’ve unlocked a simple yet incredibly satisfying kitchen skill. Happy spreading!