
Learn how to replace your food processor attachment storage kit with this comprehensive guide. We’ll walk you through identifying the right replacement, safely disassembling the old kit, and securely installing the new one. Keep your kitchen organized and your attachments protected with these easy-to-follow steps and practical tips for 2026.
- Identify Your Model: Always confirm your food processor’s make and model to ensure you purchase a compatible replacement storage kit.
- Gather Tools: Have basic household tools like screwdrivers and possibly pliers ready for a smooth replacement process.
- Safe Disassembly: Unplug your food processor and carefully detach any components of the old storage kit, noting how they were connected.
- Clean the Area: Before installing the new kit, take the opportunity to clean the space where the storage kit will be located.
- Secure Installation: Follow the instructions provided with your new kit to ensure all parts are firmly attached and the storage is stable.
- Test Functionality: Once installed, test the new storage kit by placing your food processor attachments inside to ensure they fit properly and the kit operates smoothly.
How to Replace Food Processor Attachment Storage Kit
Is your food processor’s attachment storage kit looking a little worse for wear? Perhaps it’s broken, disorganized, or you’re simply upgrading your kitchen organization in 2026. Whatever your reason, replacing your food processor attachment storage kit is a straightforward process that will help keep your valuable attachments safe, sound, and neatly stored. This guide will walk you through everything you need to know, from choosing the right replacement to installing it with confidence. Let’s get your kitchen back in order!
A well-maintained food processor is a kitchen workhorse, and its accessories are just as important. Proper storage prevents damage, keeps your countertops clutter-free, and ensures you can always find the right blade or disc when you need it. If your current storage solution is failing, it’s time for an upgrade. We’ll cover all the essential steps to make this replacement process as smooth as possible.
Step 1: Identify Your Food Processor Model and Storage Kit Needs
The first and most crucial step is to know exactly what you’re working with. Different food processor brands and models have unique storage solutions. Trying to fit a generic kit onto a specific model will likely lead to frustration and an improperly fitted storage solution.
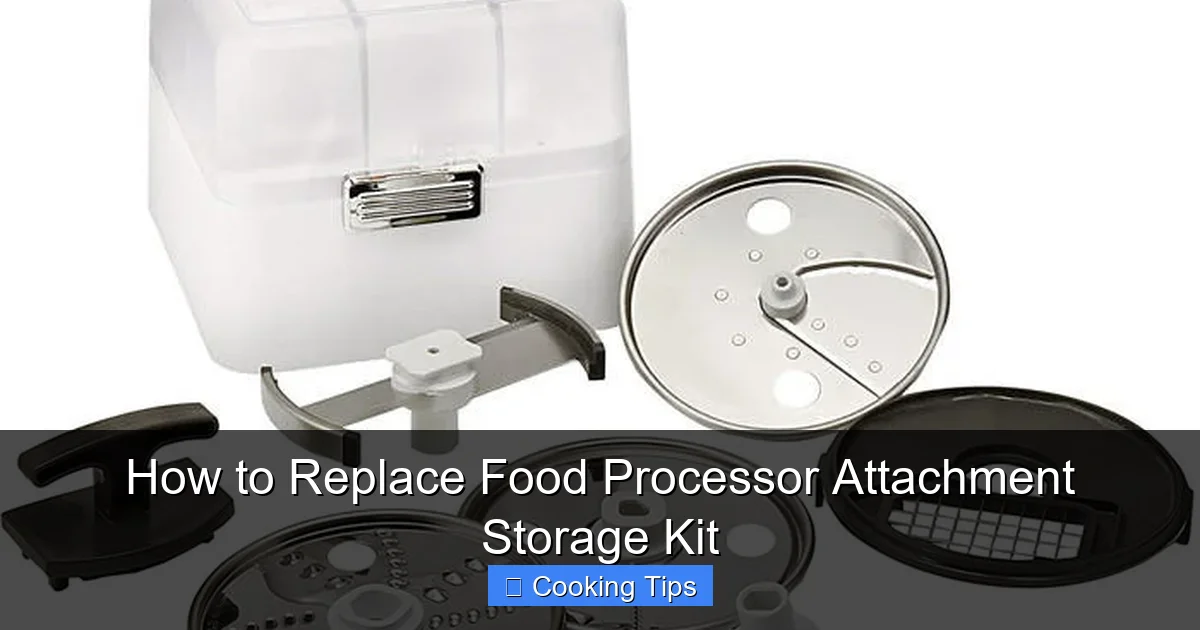
Visual guide about How to Replace Food Processor Attachment Storage Kit
Image source: cdn11.bigcommerce.com
Locate Your Food Processor’s Model Number
- Check the Appliance: The model number is usually found on a sticker on the base of the food processor, under the motor housing, or on the underside of the unit.
- Consult the Manual: If you still have your food processor’s original user manual, the model number will be clearly listed.
- Manufacturer’s Website: If you can’t find it physically, search for your food processor brand online and look for support or product identification sections.
Determine the Type of Storage Kit
Food processor attachment storage kits come in various forms. Some are integrated into the base unit, others are separate bins or drawers, and some are simply trays that hold the attachments. Understanding your current setup will help you search for the correct replacement.
- Integrated Storage: These are often built into the food processor’s base or lid. Replacing these might involve ordering a specific part directly from the manufacturer.
- Drawer or Bin Storage: Many models come with a dedicated drawer or bin that slides out from the base or a separate unit.
- Stackable Trays: Some kits use stackable trays that fit neatly inside a cabinet.
Order the Correct Replacement Kit
Once you have your model number and a clear idea of the type of storage kit you need, you can start looking for a replacement. It’s always best to try and find an official part from the manufacturer first. If that’s not possible, look for reputable third-party retailers that specialize in appliance parts.
- Manufacturer’s Website: This is your best bet for finding an exact match.
- Appliance Parts Stores: Online retailers like RepairClinic, AppliancePartsPros, or local appliance repair shops often carry a wide range of parts.
- Third-Party Marketplaces: Be cautious when purchasing from general marketplaces like Amazon or eBay. Ensure the seller has good reviews and clearly states compatibility with your model.
Step 2: Prepare for the Replacement
Before you dive into removing the old kit, take a moment to prepare your workspace and gather any necessary tools. This will make the process much smoother and prevent you from having to stop midway.
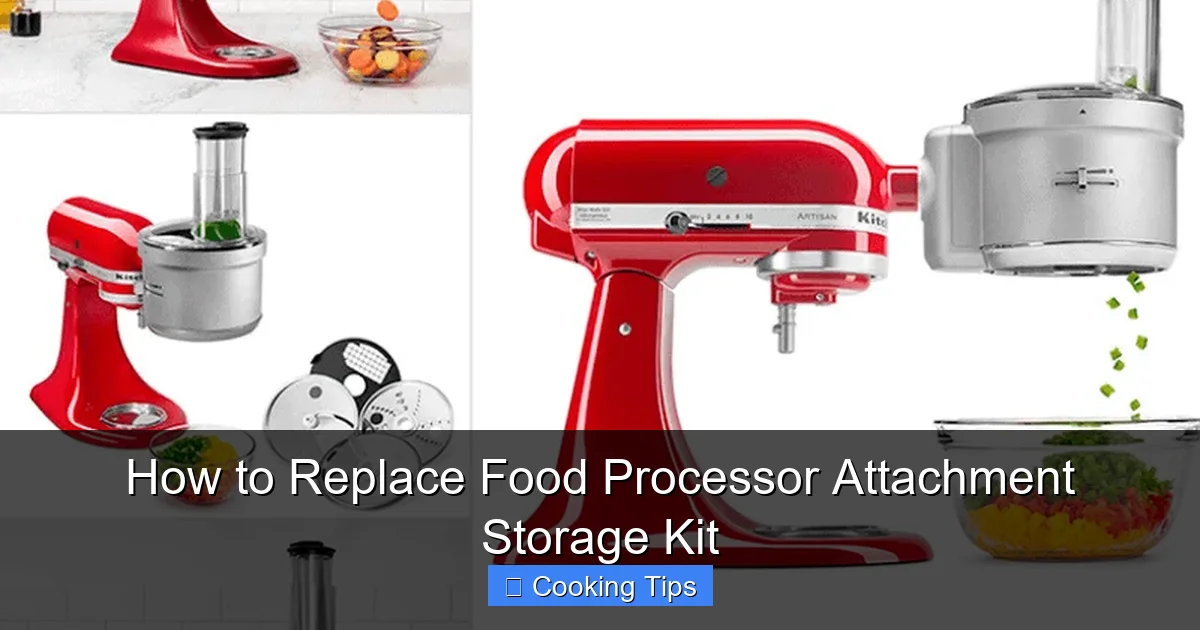
Visual guide about How to Replace Food Processor Attachment Storage Kit
Image source: cdn.shortpixel.ai
Gather Your Tools
Most food processor storage kit replacements are relatively simple and don’t require specialized tools. You’ll likely need:
- Screwdriver Set: Phillips head and flathead screwdrivers in various sizes are essential.
- Pliers: Needle-nose pliers can be helpful for gripping small clips or screws.
- Cleaning Supplies: A damp cloth, mild detergent, and a dry cloth for cleaning the area before installing the new kit.
- Your New Storage Kit: Ensure it’s out of its packaging and you have all the components ready.
Unplug Your Food Processor
Safety first! Before you attempt to remove or install any part of your food processor, always unplug it from the power outlet. This prevents any accidental activation and ensures your safety.
Clear Your Workspace
Find a well-lit area where you have enough space to work comfortably. Remove any clutter from your countertops or table. If your storage kit is integrated into the base, you might need to position the food processor so you can access all sides easily.
Step 3: Disassemble the Old Storage Kit
Now it’s time to carefully remove the old attachment storage kit. Take your time and pay attention to how everything is connected. This will be helpful if your new kit has a similar installation method.
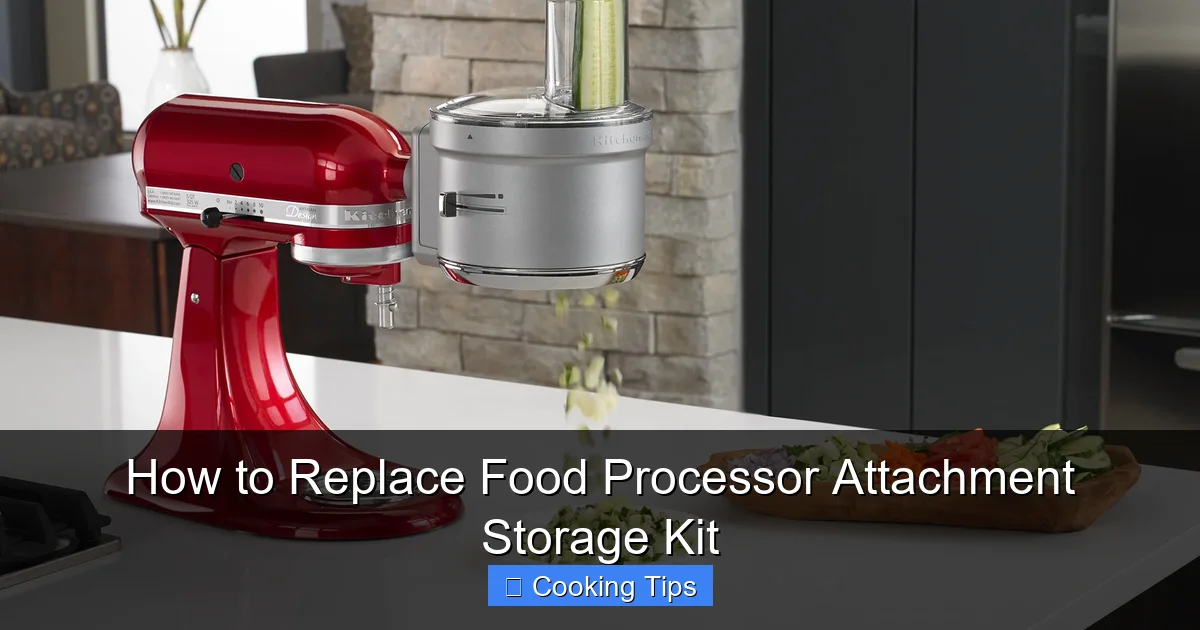
Visual guide about How to Replace Food Processor Attachment Storage Kit
Image source: cdnimg.webstaurantstore.com
Locate Fastenings
Storage kits are typically held in place by screws, clips, or a combination of both. Examine your old kit to find where it’s attached to the food processor or its base.
- Screws: These are often hidden under decorative caps or in recessed areas.
- Clips: Some parts might snap into place and require a gentle prying motion to release.
Remove Components Systematically
If your storage kit has multiple parts, remove them one by one. It’s often helpful to take pictures or make notes as you go, especially if the disassembly seems complex.
- Start with the exterior: If there’s a drawer or cover, remove that first.
- Work inwards: Then, address the inner components or mounting brackets.
Handle with Care
While you’re removing the old kit, try not to force any parts. If something feels stuck, re-examine it for hidden screws or clips. Forcing it could damage your food processor.
Step 4: Clean the Area
This is a great opportunity to give the area where your storage kit resides a good cleaning. You’ll be surprised by how much dust and food debris can accumulate!
Wipe Down Surfaces
Use a damp cloth with a little mild dish soap to wipe down the inside and outside of the food processor base, drawers, or any surfaces where the old kit was attached.
Dry Thoroughly
Ensure the area is completely dry before installing the new storage kit. Moisture can lead to mold or damage to electronic components.
Step 5: Install the New Storage Kit
With the old kit removed and the area clean, you’re ready to install the new one. Always refer to the specific instructions that came with your replacement kit, as installation methods can vary.
Familiarize Yourself with the New Kit
Lay out all the parts of your new storage kit and compare them to the instruction manual. Understand how each piece is meant to fit together.
Attach in Reverse Order
Generally, you’ll install the new kit in the reverse order of disassembly. Start with the components that attach directly to the food processor base or housing.
- Secure Fastenings: If there are screws, ensure they are tightened snugly but not so tight that you strip the threads. For clip-in parts, make sure they click firmly into place.
- Align Parts: Ensure all components are properly aligned before securing them. This will prevent jamming or misalignment later.
Test the Movement
If your storage kit involves drawers or sliding mechanisms, gently test their movement as you install them. They should slide smoothly without sticking or excessive force.
Step 6: Test the New Storage Kit
Once everything is installed, it’s time for a final check to make sure your new storage kit is working as it should.
Load Your Attachments
Carefully place your food processor attachments into the new storage kit. Check that they fit snugly and are held securely. Ensure that the kit can close properly without items sticking out.
Operate the Kit
If your kit has any moving parts like drawers or lids, open and close them a few times to ensure they function smoothly and without obstruction.
Final Inspection
Give the entire storage kit a once-over. Make sure all screws are tight, all parts are flush, and there are no wobbly components.
Practical Tips for 2026 Kitchens
As we move further into the 2020s, kitchen organization remains a top priority for home cooks. Here are some tips to make your food processor storage even better:
- Vertical Storage Solutions: If your new kit doesn’t offer great organization, consider adding vertical dividers within drawers or bins to keep blades and discs separate and upright.
- Labeling: For complex kits with many small parts, consider labeling compartments to quickly identify the correct attachment.
- Maintenance: Regularly check your storage kit for wear and tear, especially moving parts. A little bit of maintenance can extend its life considerably.
- Declutter Attachments: While you’re at it, consider which attachments you actually use. If you have duplicates or rarely used items, consider donating or selling them to free up space.
Troubleshooting Common Issues
While this is usually a simple process, here are a few common issues and how to resolve them:
- New Kit Doesn’t Fit: Double-check that you ordered the correct part for your specific food processor model. If you’re sure it’s the right part, re-read the installation instructions carefully, as there might be a specific alignment required.
- Screws Won’t Tighten: You might be using the wrong size screwdriver, or the screw hole might be stripped. Try a slightly larger screw if available, or consider contacting the manufacturer for advice.
- Drawer Jams: Ensure there are no obstructions preventing the drawer from closing. Check that the rails are clean and properly aligned. Sometimes, a bit of silicone lubricant can help if there’s friction.
Conclusion
Replacing your food processor attachment storage kit is a rewarding task that contributes to a more organized and functional kitchen. By following these steps, you can confidently install a new kit that keeps your valuable attachments protected and easily accessible. Remember to prioritize safety, identify your specific model correctly, and take your time during the installation process. A well-organized kitchen makes cooking more enjoyable, so give your food processor the best home for its accessories!