
Is your food grinder struggling or making unusual noises? This guide provides a step-by-step process to replace a broken grinder coupling or gear, restoring your appliance’s functionality. We’ll cover identifying the problem, gathering necessary tools, safely disassembling the grinder, replacing the worn part, and reassembling everything correctly. With these instructions, you can save money and extend the life of your kitchen essential.
Key Takeaways
- Identify the Problem: Learn to recognize the signs of a worn or broken grinder coupling or gear, such as increased noise, jamming, or a complete lack of rotation.
- Gather Your Tools: Ensure you have the essential tools like screwdrivers, pliers, lubricant, and replacement parts before you begin the repair.
- Safe Disassembly: Prioritize safety by unplugging the grinder and carefully documenting each step of the disassembly process to ensure correct reassembly.
- Accessing the Gear/Coupling: Understand how to access the internal components, which often involves removing the grinder head or motor housing.
- Replacing the Part: Follow precise steps for removing the old coupling or gear and fitting the new one securely, ensuring proper alignment.
- Lubrication and Reassembly: Apply appropriate lubricant to moving parts and carefully reassemble the grinder, testing its function before regular use.
- Troubleshooting Common Issues: Be prepared to address minor problems that might arise during reassembly, like parts not fitting or the grinder still not working.
How to Replace Grinder Coupling or Gear
Your trusty food grinder has probably helped you create countless delicious meals. From grinding meat for burgers to making homemade flour or even preparing baby food, it’s a versatile kitchen workhorse. But what happens when it starts to groan, jam, or simply stops turning? More often than not, the culprit is a worn-out grinder coupling or gear. These small but vital components are designed to break under extreme stress, protecting your grinder’s motor from damage. Fortunately, replacing a grinder coupling or gear is a repair most home cooks can tackle themselves, saving you the cost of a new appliance or professional service.
This comprehensive guide will walk you through the entire process, from identifying the problem to getting your grinder back to its prime working condition. We’ll cover everything you need to know, including the tools you’ll need, the steps for safe disassembly and reassembly, and tips for choosing the right replacement parts. So, roll up your sleeves and let’s get your grinder grinding again!
Understanding Grinder Couplings and Gears
Before we dive into the repair, it’s helpful to understand what these components do. Most electric food grinders use a system of gears or a coupling to transfer power from the motor to the grinding mechanism.
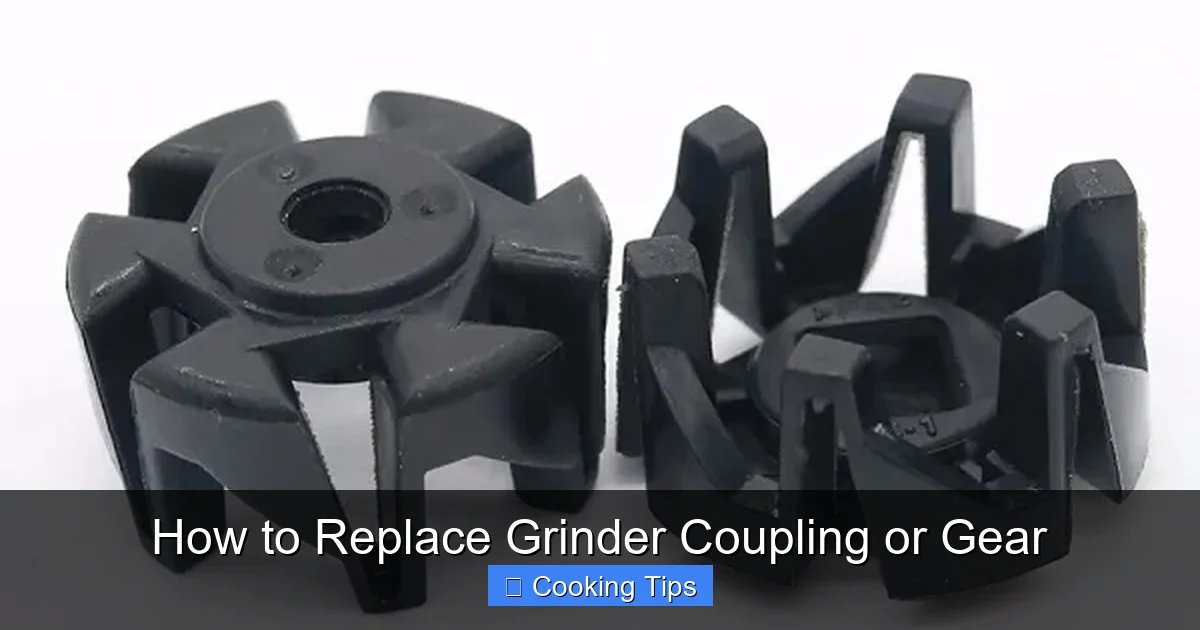
Visual guide about How to Replace Grinder Coupling or Gear
Image source: tskemarket.lk
Grinder Coupling
A grinder coupling is often a small, plastic or rubber piece that acts as a sacrificial link between the motor shaft and the grinding auger. Its primary purpose is to shear or break off if the auger encounters too much resistance, preventing the motor from burning out. Think of it as a safety fuse for your grinder.
Grinder Gear
In some grinders, a set of gears, typically made of plastic or metal, is used to reduce the speed of the motor and increase torque, allowing the auger to turn with sufficient power. These gears can wear down over time or break if subjected to excessive force.
Signs Your Grinder Coupling or Gear Needs Replacement
Recognizing the symptoms is the first step in any repair. Here are the most common indicators that your grinder coupling or gear is failing:
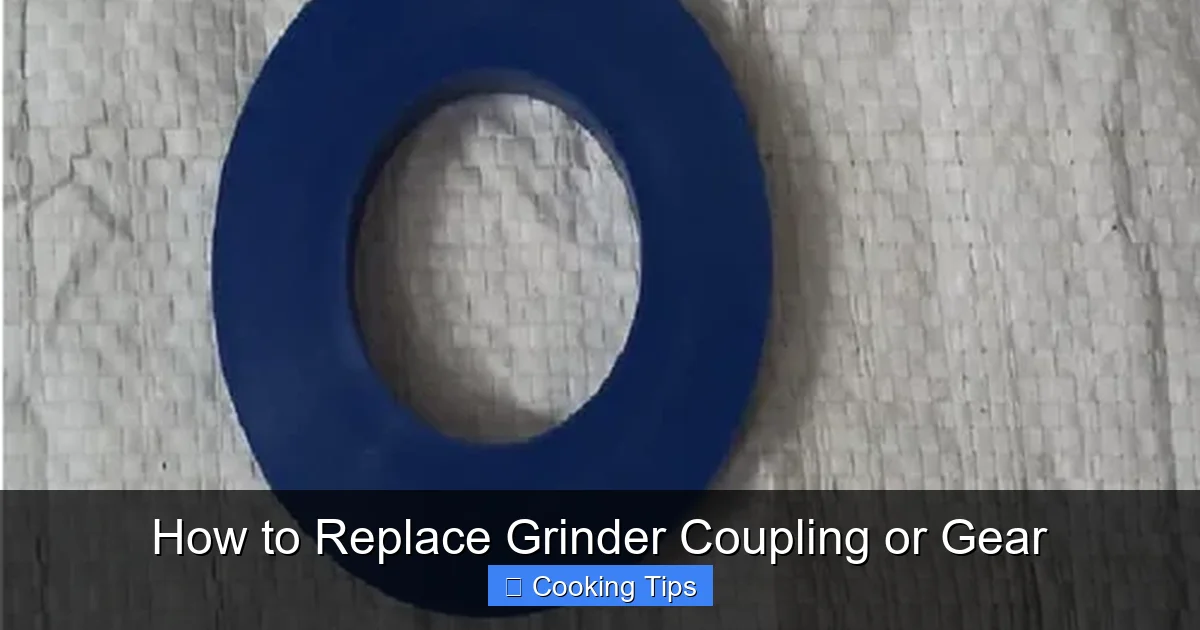
Visual guide about How to Replace Grinder Coupling or Gear
Image source: 5.imimg.com
- Unusual Noises: Grinding, clicking, or loud whirring sounds that weren’t there before are strong signs of worn or broken gears.
- Jamming or Stuttering: If the grinder stops abruptly, jams frequently, or only rotates intermittently, the power transfer is likely compromised.
- Grinder Not Turning At All: The motor might hum, but the grinding head or auger doesn’t move. This is a classic symptom of a broken coupling or stripped gears.
- Smell of Burning Plastic: In some cases, friction from a damaged gear or coupling can generate heat and produce a burning plastic smell.
- Visible Damage (if accessible): If you can see into the grinder head or shaft, you might notice a cracked or missing coupling piece.
Tools and Materials You’ll Need
Having the right tools makes the job much easier and safer. Gather these items before you start:
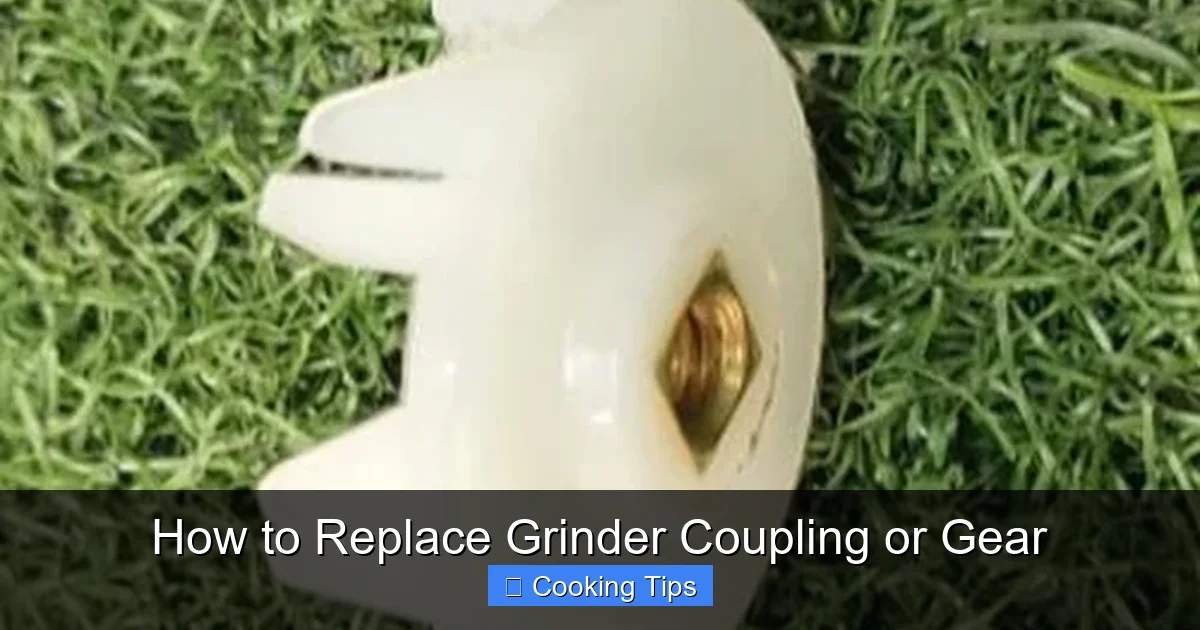
Visual guide about How to Replace Grinder Coupling or Gear
Image source: 5.imimg.com
- Replacement Grinder Coupling or Gear Set: This is the most crucial item. Ensure you get the correct part for your specific grinder model.
- Screwdriver Set: You’ll likely need Phillips head and flathead screwdrivers in various sizes.
- Pliers: Needle-nose pliers can be very helpful for grasping small parts.
- Small Wrench or Socket Set: Some grinder heads are secured with nuts.
- Lubricant: Food-grade lubricant or a small amount of petroleum jelly for reassembly.
- Soft Cloth or Paper Towels: For cleaning parts and wiping away old grease.
- Camera or Smartphone: To take pictures of the disassembly process.
- Small Container or Tray: To keep track of screws and small parts.
- Owner’s Manual (if available): Your grinder’s manual might have diagrams or specific instructions.
Step-by-Step Guide to Replacing Your Grinder Coupling or Gear
Safety first! Always unplug your grinder from the power outlet before beginning any work.
Step 1: Prepare Your Workspace and Document the Process
Find a well-lit area with enough space to work comfortably. Lay down a cloth or newspaper to catch any stray parts or grease. Before you take anything apart, grab your camera or smartphone. Take pictures at every stage of disassembly. This is incredibly helpful for remembering how everything fits back together, especially if you’re not familiar with the internal workings of your grinder. Lay out your tools so they are easily accessible.
Step 2: Disassemble the Grinder Head
The exact disassembly process will vary depending on your grinder’s make and model, but here’s a general approach. Most grinders can be separated into the motor housing and the grinding head. The coupling or gears are typically located where the motor shaft connects to the grinding auger.
Accessing the Auger and Coupling Area
On many grinders, you can remove the grinding head by simply unscrewing it from the motor housing. Look for a locking ring or a series of screws that hold the head in place. Some models might have a collar that needs to be twisted or a latch that needs to be released.
Once the grinding head is separated, you should be able to access the auger (the screw-like component that pushes food through the grinder) and the shaft it attaches to.
Removing the Auger
The auger usually slides out of the grinding head. Sometimes, it might be a tight fit. If it’s stuck, try wiggling it gently. Avoid using excessive force, as you could damage other parts.
Step 3: Inspect and Remove the Old Coupling or Gears
With the auger removed, you should be able to see the coupling or the drive gears. They are usually located at the base of the auger or on the motor shaft.
Locating the Coupling
If your grinder uses a coupling, it’s often a small piece that fits onto the end of the motor shaft and into the back of the auger. It might be a solid piece or have slots that engage with the shaft and auger. Inspect it for cracks, chips, or signs of shearing. To remove it, you might be able to pull it off with pliers, or it might simply slide off.
Accessing the Gears
If your grinder uses gears, they are usually housed within the grinding head or a gear housing attached to the motor. You may need to remove a retaining clip, a screw, or a cap to access them. Carefully note the order and orientation of any gears you remove. It’s very common for plastic gears to have a specific pattern of teeth or alignment marks.
Removing the Broken Part
Once you’ve identified the damaged coupling or gear, gently pry it off or unscrew it. If a gear is damaged, it might be seized. You may need to carefully work it free. Keep all removed parts, even the broken ones, until the repair is complete. This can be useful for comparison.
Step 4: Install the New Coupling or Gears
This is where your photos and careful observation come in handy. Ensure you have the correct replacement part.
Installing the New Coupling
Align the new coupling with the motor shaft. It should slide on snugly. If it has a specific orientation, make sure it’s facing the correct way to engage with the auger. Press it firmly into place.
Installing the New Gears
Refer to your photos to ensure the gears are placed in the correct order and orientation. They should mesh smoothly with each other. Some gears might have a keyway or a specific shape that needs to align with the shaft. Press the gears onto their respective shafts until they are fully seated.
Practical Tip: If the new gears feel stiff or don’t mesh easily, double-check their alignment. Forcing them can strip the new teeth.
Step 5: Lubricate and Reassemble the Grinder
Proper lubrication is key to smooth operation and longevity.
Lubricating Moving Parts
Apply a small amount of food-grade lubricant or petroleum jelly to the mating surfaces of the gears and the auger shaft. This will help reduce friction and wear. Don’t overdo it; a thin, even coating is sufficient. You may also want to lubricate the threads of the grinding head if it screws onto the motor housing.
Reassembling the Grinder Head
Carefully slide the auger back into the grinding head. It should fit smoothly. If it encounters resistance, check for any obstructions or misalignment. Then, reattach the grinding head to the motor housing, following the reverse order of your disassembly. Make sure it’s securely fastened.
Example: If you had to unscrew a collar to remove the head, now you’ll screw it back on until it’s tight, but not so tight that you can’t remove it again later for cleaning.
Step 6: Test the Grinder
Before you put your grinder to work on a big batch of food, it’s essential to test it to ensure the repair was successful.
Initial Power-Up
Plug the grinder back into the power outlet. Turn it on for a few seconds without any food in it. Listen for any unusual noises. The motor should run smoothly, and you should hear the distinct sound of the auger rotating. If you hear grinding or clicking, unplug the grinder immediately and recheck your reassembly.
Testing with Food
Once you’re confident the grinder is running smoothly, try grinding a small amount of a soft ingredient, like cooked vegetables or a small piece of meat. Observe how it performs. It should operate with much more efficiency and less noise than before the repair.
Troubleshooting Common Issues
Even with careful work, you might encounter a few hiccups. Here’s how to address them:
- Grinder Still Not Working: Double-check that the new coupling/gear is seated correctly and that there are no obstructions. Ensure all connections are secure. It’s possible the motor itself has an issue, or another internal part is damaged.
- Grinding Noises Persist: This could indicate that the new parts are not meshing properly, or there might be another worn-out gear in the system. Review your reassembly steps.
- Parts Don’t Fit: This usually means you have the wrong replacement part. Reconfirm your grinder’s model number and order the correct coupling or gear set.
- Grinder Head is Loose: Ensure all screws or locking mechanisms are tightened properly during reassembly.
Conclusion
Replacing a grinder coupling or gear is a rewarding DIY repair that can bring your appliance back to life. By following these steps, taking your time, and paying attention to detail, you can successfully complete the repair and enjoy your grinder for many more culinary adventures. Remember, regular cleaning and occasional lubrication can help extend the life of your grinder’s components and prevent future issues. Happy grinding!