
Keep your kitchen knives performing at their best by learning to sharpen them with a honing rod. This essential skill will restore your knife’s edge, making food preparation safer and more enjoyable. Follow these simple steps to achieve a razor-sharp blade with minimal effort.
How to Sharpen a Kitchen Knife with a Rod
Are you tired of struggling with dull kitchen knives that mangle tomatoes and make chopping onions a chore? A sharp knife is not only more efficient but also significantly safer to use. One of the most accessible and effective ways to maintain a sharp edge on your kitchen knives is by using a honing rod. Many people confuse honing with sharpening, but they are distinct processes. Sharpening actually removes metal to create a new edge, while honing realigns the existing microscopic edge that has bent or rolled over with use. This guide will walk you through the simple yet crucial steps to effectively hone your kitchen knives using a rod, ensuring they slice through ingredients like butter.
Key Takeaways
- Understand the Difference: A honing rod realigns the knife’s edge, while sharpening grinds away metal to create a new edge. They are complementary tools for knife maintenance.
- Choose the Right Rod: Steel rods are common and effective for daily honing. Ceramic rods are harder and can actually sharpen. Diamond-coated rods are the most aggressive for sharpening.
- Find the Correct Angle: Maintaining a consistent angle is crucial. For most Western-style kitchen knives, 15-20 degrees per side is ideal.
- Proper Technique is Key: Use smooth, controlled strokes from heel to tip of the blade, applying even pressure.
- Hone Both Sides: Always hone both sides of the blade to create a balanced and sharp edge.
- Safety First: Always point the rod away from your body and maintain a stable grip on both the knife and the rod.
- Regular Maintenance: Frequent honing (even daily) prevents dullness and makes eventual sharpening less frequent and easier.
Why Honing is Important
Over time, the microscopic teeth along the edge of your knife blade can become bent or misaligned. This bending is what makes a knife feel dull, even if the metal itself isn’t worn down. A honing rod, often called a sharpening steel, works by gently straightening these bent teeth, restoring the sharpness of the blade. Regular honing can dramatically extend the time between actual sharpening sessions, keeping your knives in top working condition with minimal effort. Think of it like brushing your teeth: daily brushing (honing) keeps them clean and healthy, reducing the need for frequent dental work (sharpening).
Choosing Your Honing Rod
Before you start, it’s important to know that there are different types of honing rods, each with a slightly different purpose. Understanding these will help you choose the best one for your needs:
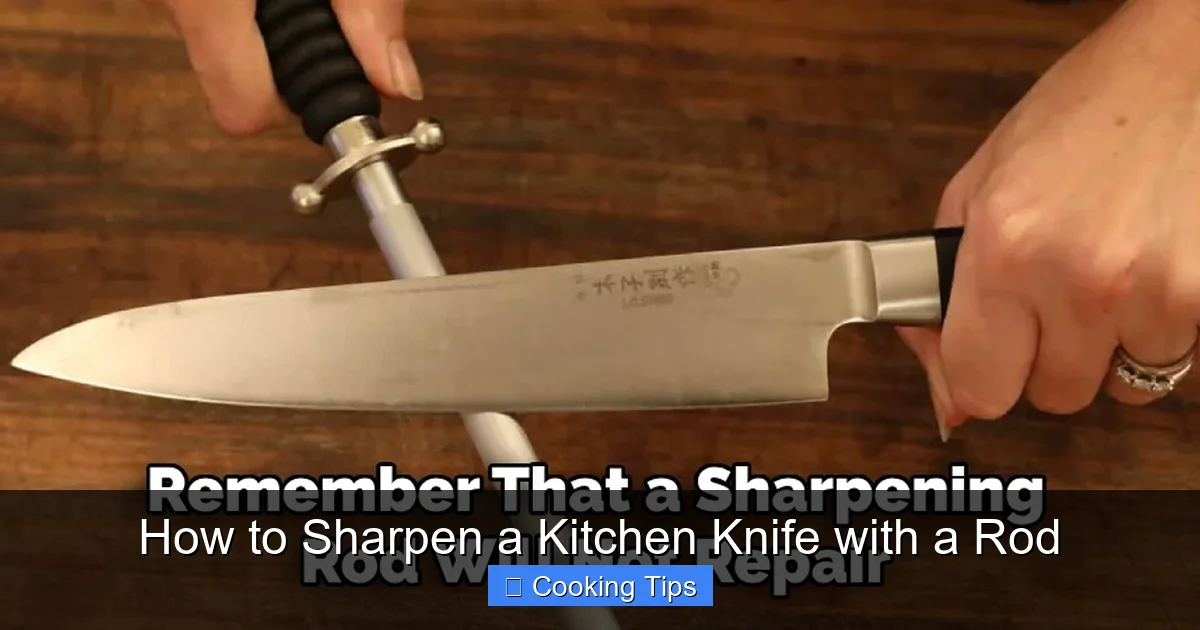
Visual guide about How to Sharpen a Kitchen Knife with a Rod
Image source: thekitchenix.com
Steel Rods
These are the most common type of honing rods. They are made of hard steel and are excellent for daily or weekly honing. They are designed to realign the edge without removing much metal. Steel rods are a great all-around choice for most home cooks.
Ceramic Rods
Ceramic rods are harder than steel. They can realign the edge but also have a mild abrasive quality, meaning they will remove a small amount of metal. This makes them a good option if your knife is slightly duller than usual, bridging the gap between light honing and full sharpening.
Diamond-Coated Rods
Diamond-coated rods are the most aggressive. The diamond particles are highly abrasive and will indeed sharpen a dull knife by removing metal. These are best used when your knife is significantly dull and needs more than just realignment. Use them less frequently than steel or ceramic rods to avoid excessive wear on your blades.
For the purpose of this guide, we’ll focus on using a standard steel honing rod, as it’s the most common tool for regular maintenance.
Preparing to Hone
Safety and stability are paramount when honing your knives. Here’s what you need to do before you begin:
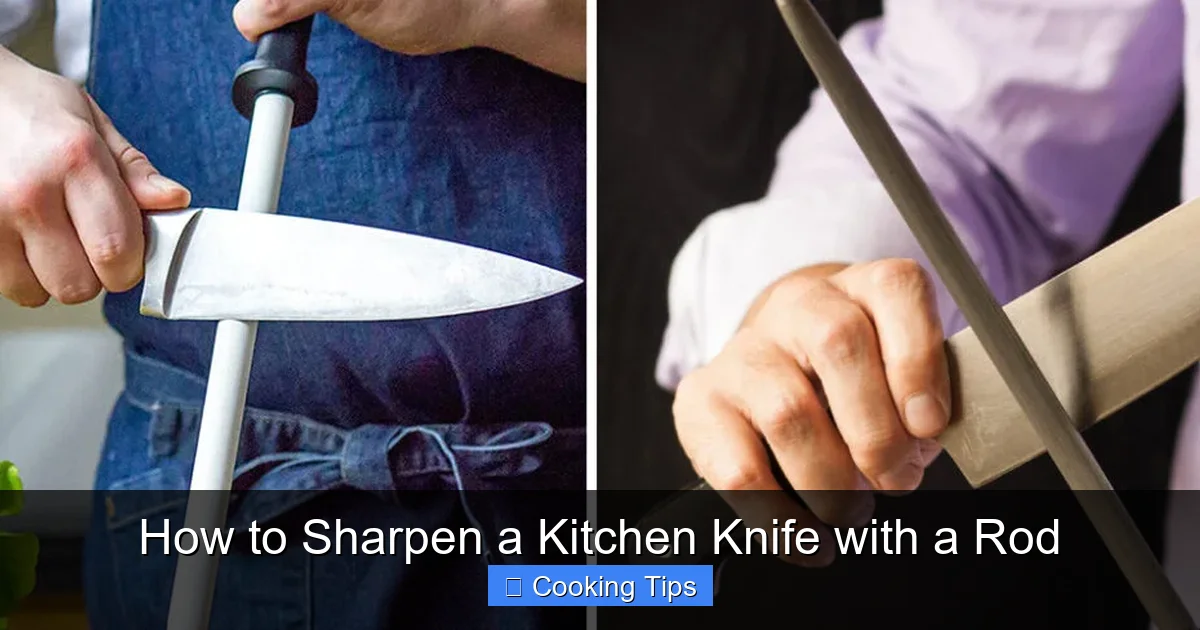
Visual guide about How to Sharpen a Kitchen Knife with a Rod
Image source: thekitchenix.com
Find a Stable Surface
Place the honing rod on a flat, stable surface, such as your countertop. If the rod has a rubber or plastic tip, make sure it’s firmly on the surface. Some rods have a guard or loop at the handle that can help keep them from slipping.
Grip the Rod Securely
Hold the handle of the honing rod firmly with your non-dominant hand. Ensure your grip is secure so the rod doesn’t move while you’re working with the knife.
Determine the Correct Angle
This is the most crucial step. The angle at which you hold the knife against the rod determines how effectively you hone it. For most Western-style kitchen knives (like those from brands such as Wüsthof, Global, or Zwilling J.A. Henckels), an angle of 15 to 20 degrees per side is recommended. If you’re unsure, you can often find a built-in angle guide on some rods, or you can estimate:
- Visual Aid: Imagine the blade standing upright. Now, tilt it down slightly. About a quarter of the way from vertical is a good estimate for 15-20 degrees.
- Matchbook Trick: Some suggest placing two stacked matchbooks under the spine of the knife when it’s against the rod; this can help visualize the approximate angle.
The key is consistency. Whatever angle you choose, stick to it throughout the process.
Step-by-Step Honing Process
Now that you’re prepared, let’s get to the actual honing:
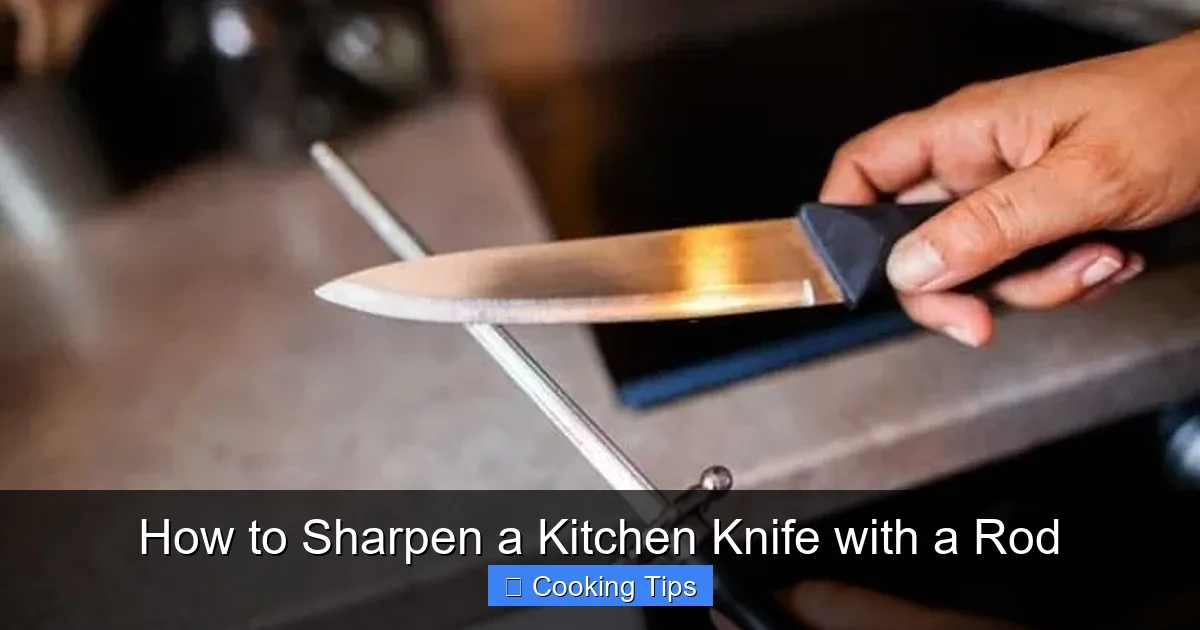
Visual guide about How to Sharpen a Kitchen Knife with a Rod
Image source: kitchenrank.com
Step 1: Position the Knife
Hold the knife in your dominant hand. Place the heel of the blade (the part closest to the handle) against the top of the honing rod. Ensure the blade makes contact with the rod at your chosen angle (15-20 degrees).
Step 2: The First Stroke
With smooth, even pressure, draw the knife down the rod, moving from the heel towards the tip. Imagine you are trying to shave a thin layer off the rod. The movement should be a fluid glide, not a scraping motion. The blade should end its stroke at the very tip of the rod.
Step 3: Repeat on the Same Side
Lift the knife and reposition it at the top of the rod. Repeat the stroke, maintaining the same angle and pressure. Aim for about 5-10 strokes on this side of the blade. You should feel a slight resistance as the edge is being realigned.
Step 4: Switch to the Other Side
Now, flip the knife over. Place the heel of the *other* side of the blade against the rod, again at the same consistent angle (15-20 degrees).
Step 5: Hone the Second Side
Perform the same smooth, downward stroke from heel to tip, drawing the blade down the rod. Apply the same even pressure as you did on the first side. Complete another 5-10 strokes on this side.
Step 6: Alternate Sides (Optional but Recommended)
For a perfectly balanced edge, many people prefer to alternate sides every few strokes after the initial 5-10 strokes on each side. For example, do one stroke on the right side, then one on the left, then one on the right, and so on. Continue this for another 5-10 alternations.
Step 7: Check the Edge
Carefully test the sharpness of your knife. You can do this by gently trying to slice through a piece of paper. A properly honed knife will slice through the paper cleanly and smoothly without snagging.
Step 8: Clean Your Knife
After honing, always wash and dry your knife thoroughly. This removes any microscopic metal particles that may have been removed during the process.
Practical Tips for Success
Honing is a skill that improves with practice. Here are some tips to help you achieve the best results:
- Consistency is King: The single most important factor in effective honing is maintaining a consistent angle throughout each stroke and across both sides of the blade.
- Light Pressure is Key: You don’t need to press hard. The honing rod’s job is to realign, not to grind. Excessive pressure can damage the edge or even bend it further.
- Smooth, Deliberate Strokes: Avoid jerky or rushed movements. Each stroke should be a fluid glide from heel to tip.
- Listen to Your Knife: You should feel a subtle “shhk” sound as the blade glides. If it sounds scratchy or uneven, your angle or pressure might be off.
- Know When to Sharpen: Honing will not bring a severely dull knife back to life. If your knife still struggles after regular honing, it’s time to use a sharpening stone or a professional service.
- Consider Protective Gear: If you’re still a bit nervous, you can wear cut-resistant gloves.
Troubleshooting Common Issues
Even with the best intentions, you might encounter a few problems. Here’s how to address them:
My knife still feels dull after honing.
This usually means your knife needs actual sharpening, not just honing. The edge may be too damaged or worn down. Try sharpening your knife with a whetstone or electric sharpener. If you’re unsure about sharpening, it might be time to seek professional knife sharpening services.
I can’t seem to keep the angle consistent.
This is a common issue for beginners. Practicing with a less expensive knife first can help build muscle memory. Some angle guides or honing steels with built-in guides can also be very useful. Focus on the feel and the visual cue of the angle. Over time, it will become more intuitive.
I feel like I’m taking too much metal off.
Are you using too much pressure? Honing should be a gentle process. If you’re using a diamond-coated rod, reduce the frequency of use. For steel or ceramic rods, ensure you’re not pressing down forcefully.
Conclusion
Mastering the art of honing your kitchen knives with a rod is a simple yet powerful skill that every home cook should possess. By regularly realigning your knife’s edge, you’ll experience the joy of effortless slicing, safer food preparation, and a more enjoyable cooking experience overall. Remember to choose the right rod for your needs, find that consistent angle, and use smooth, deliberate strokes. With a little practice, your knives will feel like new again, making them a pleasure to use every single day.