
This guide provides essential steps for effectively removing and rinsing reusable coffee filters after every brew. Proper cleaning ensures optimal coffee flavor by preventing bitter residues and oil buildup. Following these simple practices extends the life of your filter, saving you money and reducing waste.
Remove and Rinse Reusable Filters After Each Brew
Welcome to the future of coffee brewing! In 2026, sustainable practices are more important than ever, and that includes how we make our daily cup of joe. If you’ve embraced reusable coffee filters, you’re already making a fantastic choice for both your wallet and the planet. But are you getting the most out of them? This guide is here to walk you through the simple yet crucial steps of removing and rinsing your reusable filters after each brew. It’s a small habit that makes a big difference in the taste of your coffee, the lifespan of your filter, and the overall cleanliness of your brewing equipment. Let’s dive in and ensure every cup you brew is as delicious as the first!
Key Takeaways
- Preserve Coffee Flavor: Rinsing your reusable filter after each use removes residual coffee oils and grounds, preventing them from becoming rancid and negatively impacting the taste of your next brew.
- Extend Filter Lifespan: Regular rinsing and cleaning prevents the buildup of coffee residue, which can clog the filter’s pores and lead to premature wear or damage, thus prolonging its usability.
- Promote Hygiene: A clean filter is a hygienic filter. Removing grounds and rinsing prevents the growth of mold and bacteria, which is crucial for health and safety.
- Simple & Quick Process: The act of removing and rinsing a reusable filter is a minor addition to your coffee routine, taking only a minute or two per brew cycle.
- Eco-Friendly Practice: By opting for reusable filters and maintaining them properly, you significantly reduce single-use waste associated with paper filters, contributing to a more sustainable lifestyle.
- Cost-Effective Solution: While there’s an initial investment in a reusable filter, consistent cleaning and care ensure you get the maximum value and longevity from it, saving money in the long run.
Why Regular Rinsing is Non-Negotiable
Before we get to the “how,” let’s quickly touch on the “why.” You might be tempted to skip this step, thinking a quick rinse is good enough, or maybe even that it’s unnecessary until you see visible grime. However, there are compelling reasons why removing and rinsing your reusable filter after *every single brew* is essential.
Maintaining Optimal Coffee Flavor
Coffee is an oil-based beverage. As your coffee brews, those flavorful oils are extracted from the grounds, and some will inevitably cling to the filter. If left to sit, these oils can turn rancid. Rancid coffee oils are a leading cause of bitter, stale, or even unpleasant flavors in your next cup. A thorough rinse washes away these oils before they have a chance to degrade, ensuring that each brew tastes fresh and vibrant. Think of it like washing your dishes immediately after a meal – you wouldn’t let food residue sit overnight, would you? Your coffee filter is no different.
Extending the Lifespan of Your Filter
Reusable filters, whether they’re made of metal, cloth, or silicone, are designed for durability. However, like any tool, they require proper maintenance to function at their best and last for years. Coffee grounds and oils, when left to dry and harden, can clog the tiny pores of your filter. This clogging can lead to slower brewing times, uneven extraction, and even damage to the filter material itself over time. A simple rinse prevents this buildup, keeping the filter’s pores clear and the material in good condition.
Promoting Hygiene and Preventing Mold
This is a significant one for your health. Damp, warm environments are breeding grounds for bacteria and mold. After brewing, your filter contains moisture and organic matter (the coffee grounds). If left unrinsed and uncleaned, this can quickly become a haven for unwanted microorganisms. Regularly removing the grounds and rinsing the filter helps to keep it clean and hygienic, preventing potential health issues and unpleasant odors.
Saving Money and Reducing Waste
While you’ve already made a great choice by going reusable, proper care ensures you maximize those benefits. A filter that lasts longer means you won’t have to replace it as often, saving you money in the long run. Furthermore, by using a reusable filter consistently and correctly, you’re actively reducing your reliance on single-use paper filters, contributing to a more sustainable and eco-friendly lifestyle.
The Step-by-Step Guide to Removing and Rinsing
Now that you understand the importance, let’s get to the practical steps. This process is designed to be quick and easy, integrating seamlessly into your morning coffee routine.
Step 1: Safely Remove the Filter
Once your coffee has finished brewing, it’s time to carefully remove the filter.
Allow for Cooling
Before you attempt to remove the filter, give it a minute or two to cool down slightly. The brewing process involves hot water, and the filter, along with its contents, will be very hot. Attempting to remove it while it’s still scalding hot can lead to burns. A brief cooling period makes the process much safer.
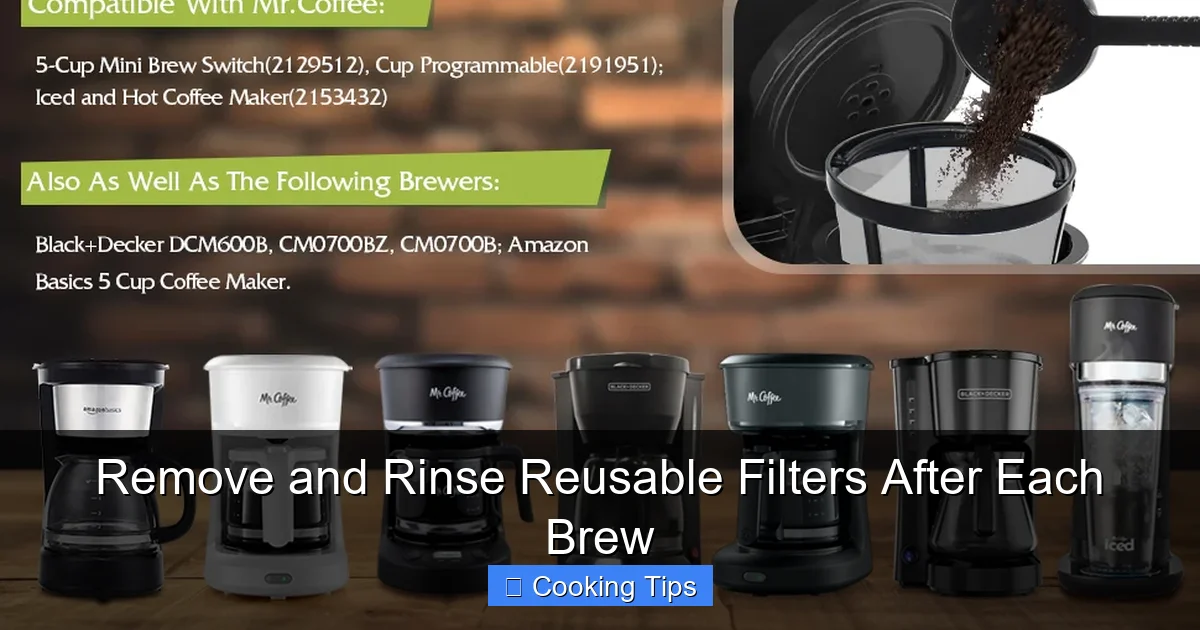
Visual guide about Remove and Rinse Reusable Filters After Each Brew
Image source: m.media-amazon.com

Visual guide about Remove and Rinse Reusable Filters After Each Brew
Image source: s.ecrater.com
Handle with Care
Most reusable filters are designed to fit snugly into your brewer. Gently grasp the handle or the edges of the filter. If it’s a cone-style filter in a pour-over device, you might need to lift the entire dripper with the filter inside, or carefully pull the filter out from the dripper. For basket-style filters in drip machines, they usually lift straight out.
Dispose of Grounds Responsibly
Once removed, the filter will be full of used coffee grounds. These grounds can often be composted, which is a fantastic way to further reduce waste and enrich your garden soil. If composting isn’t an option, dispose of them in your regular waste bin.
Step 2: Rinse Thoroughly Under Running Water
This is the core of the cleaning process. The goal here is to remove all remaining coffee grounds and oils.
Cold or Lukewarm Water is Best
You don’t need hot water for this initial rinse. In fact, cold or lukewarm running water is often recommended. Hot water can sometimes “set” certain coffee oils into the filter material, making them harder to remove later. Cold or lukewarm water is effective at dislodging grounds and flushing away fresh oils.
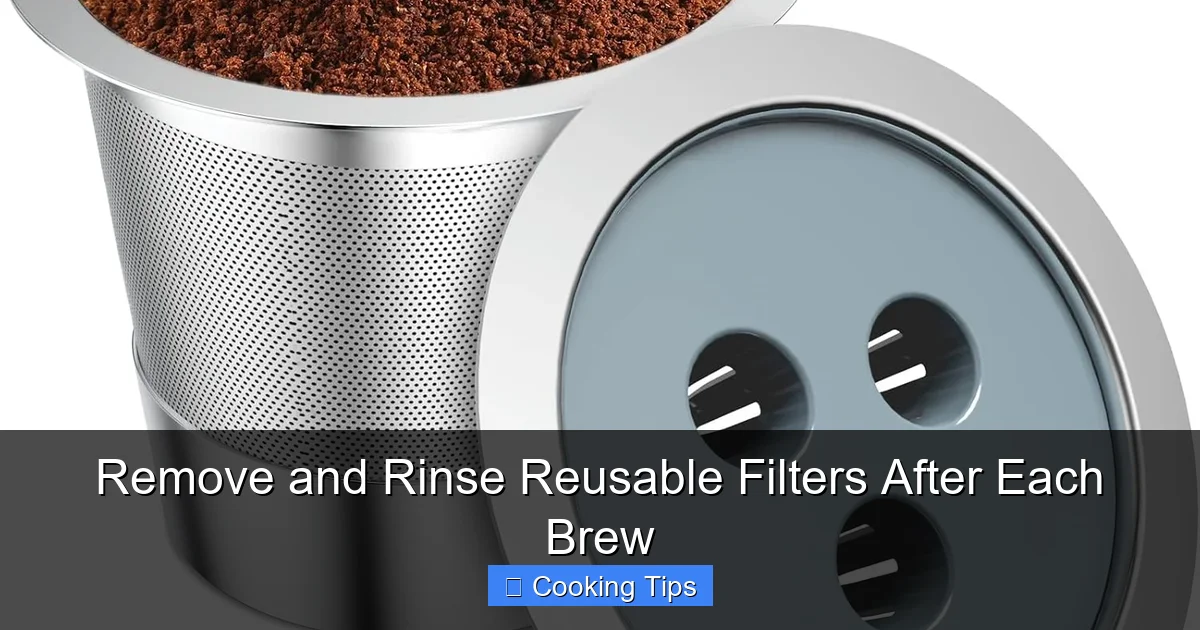
Visual guide about Remove and Rinse Reusable Filters After Each Brew
Image source: m.media-amazon.com
Focus on All Surfaces
Hold the filter under the tap and let the water flow through its pores. Gently agitate the filter with your fingers, ensuring water reaches all parts of the mesh or fabric. For metal filters, pay attention to the fine mesh. For cloth filters, gently squeeze them under the water to help push out trapped particles. You should see the water run clear as the grounds and oils are washed away.
Check for Any Remaining Residue
Visually inspect the filter after rinsing. Look closely at the mesh or fabric. Are there any stubborn grounds still clinging on? Are there any oily streaks remaining? If you see anything, continue rinsing and gently agitating until it’s all gone. This is your opportunity to catch anything the initial rinse might have missed.
Step 3: Optional: Deeper Cleaning (When Needed)
For most daily brews, the simple rinse described above will suffice. However, over time, you might notice a slight dulling of the filter, or perhaps a persistent aroma of coffee oils. This is when a deeper clean becomes beneficial.
Weekly or Bi-Weekly Deep Cleans
Set a reminder to give your reusable filter a more thorough cleaning once a week or every two weeks, depending on your brewing frequency and how often you notice residue. This isn’t a chore; it’s a maintenance step that preserves your filter.
Using Mild Dish Soap
For metal or silicone filters, you can use a small amount of mild, unscented dish soap. Apply a drop of soap to the filter and gently scrub it with a soft brush or your fingers. Make sure to rinse extremely thoroughly afterward. You want to remove all soap residue, as any lingering soap will affect the taste of your coffee. Rinse under running water until you can no longer feel any slipperiness.
Boiling for Metal Filters
Metal filters, especially, can benefit from occasional boiling. Fill a small pot with water and bring it to a boil. Carefully place your clean metal filter in the boiling water and let it simmer for 5-10 minutes. This process helps to loosen any deeply embedded oils and mineral deposits. After boiling, let it cool and rinse again under running water. Be very cautious when handling the hot filter.
Vinegar Soak for Stubborn Buildup
For tougher mineral deposits or stubborn oil buildup, a soak in a diluted vinegar solution can be effective. Mix equal parts white vinegar and water in a bowl. Submerge your filter and let it soak for an hour or two. Afterward, rinse it thoroughly under running water to remove all traces of vinegar. Again, ensure all vinegar smell is gone before your next brew.
Step 4: Drying Your Reusable Filter
Proper drying is as important as rinsing to prevent mold and mildew.
Air Dry Completely
After rinsing, shake off any excess water. The best method for drying is to allow the filter to air dry completely. Place it on a clean drying rack or a clean kitchen towel in a well-ventilated area. Ensure it has good airflow around it so it can dry thoroughly.
Avoid Storing Wet
Never store your reusable filter while it is still damp. This is an invitation for mold and bacteria to grow. Make sure it is bone dry before putting it away or placing it back in your coffee maker. If you live in a humid climate or are short on time, you can gently pat it dry with a clean kitchen towel after the initial rinse, but air drying is always preferred for complete dryness.
Troubleshooting Common Filter Issues
Even with the best care, you might encounter a few common issues. Here’s how to tackle them.
My Coffee Tastes Bitter or Stale
This is the most common sign that your filter needs more thorough cleaning. Ensure you’re rinsing immediately after brewing to remove oils. If you’ve been rinsing regularly, try a deeper clean using mild soap or a vinegar soak. You might also need to check if the coffee grounds themselves are too fine, causing over-extraction, which can also lead to bitterness.
My Filter Seems Clogged or Drains Slowly
Clogging usually means oil and fine coffee particles have built up over time. This is where deeper cleaning methods like boiling (for metal) or a vinegar soak are most effective. Ensure you’re discarding all grounds properly before rinsing.
My Reusable Filter Smells Off
An odor is a clear indication of bacterial growth or rancid oils. This means the filter wasn’t dried properly or wasn’t rinsed thoroughly enough. A deep clean with soap and water, followed by thorough air drying, is essential. For persistent odors that don’t go away after cleaning, it might be time to consider replacing the filter if it’s very old.
Conclusion: A Small Step for a Better Brew
Mastering the art of removing and rinsing your reusable coffee filter after each brew is a simple yet powerful habit. It’s a small commitment of time that yields significant rewards: a consistently delicious cup of coffee, a longer-lasting filter, a more hygienic brewing process, and the satisfaction of making a sustainable choice. By following these straightforward steps, you’re not just cleaning your equipment; you’re enhancing your daily coffee experience. So, make it a part of your routine, and savor every perfectly brewed cup!