
Unlock a world of vibrant flavors with your fruit grinder jar! This guide teaches you how to create incredibly smooth and delicious smoothies. You’ll learn the best fruit and vegetable combinations, how to achieve the perfect texture, and simple tips for effortless cleanup. Get ready for healthy and refreshing drinks every time!
Welcome to the ultimate guide on making sensational smoothies using your fruit grinder jar! If you’ve ever looked at that specialized attachment and wondered, “What can I *really* do with this?”, you’re in the right place. Forget about lumpy, inconsistent drinks. Your fruit grinder jar is a powerhouse for creating incredibly smooth, flavorful, and nutrient-packed smoothies that will become your new go-to for breakfast, snacks, or post-workout refreshment.
In this guide, we’ll walk you through everything you need to know to become a smoothie-making pro with your fruit grinder jar. We’ll cover selecting the perfect ingredients, blending techniques for the best texture, exciting recipe ideas, and even how to keep your equipment sparkling clean. Get ready to transform your kitchen into a smoothie haven!
Key Takeaways
- Understand Your Fruit Grinder Jar: Learn the unique capabilities of a fruit grinder jar attachment for achieving specific smoothie textures, often finer than a standard blender.
- Master the Art of Fruit Selection: Discover the best types of fruits and vegetables to use, focusing on ripeness and how they interact with the grinding mechanism for optimal results.
- Achieve Perfect Smoothie Consistency: Get practical advice on balancing liquids, frozen ingredients, and soft fruits to create your desired smoothie thickness and smoothness.
- Flavor Pairings and Boosters: Explore creative flavor combinations and learn about healthy additions like seeds, nuts, and spices to enhance your smoothies’ nutritional value and taste.
- Effortless Operation and Cleanup: Follow step-by-step instructions for using your fruit grinder jar safely and efficiently, along with simple cleanup techniques to maintain your appliance.
- Troubleshooting Common Issues: Address potential problems like uneven blending or a grinder not performing optimally, with practical solutions to get you back to smooth perfection.
Why Use a Fruit Grinder Jar for Smoothies?
You might be thinking, “Can’t I just use my regular blender?” While a standard blender is great, a fruit grinder jar attachment offers some distinct advantages for smoothie lovers. These specialized jars are often designed to break down ingredients more finely, leading to a smoother, more velvety texture. They can be particularly adept at handling fibrous ingredients like leafy greens or tougher fruits, ensuring a more pleasant drinking experience without any grittiness. This makes them ideal for those who dislike the texture of seeds or pulp in their drinks. It’s a subtle but significant difference that can elevate your smoothie game. Think of it as an upgrade to your blending experience, especially when you’re aiming for peak smoothness.
Getting Started: Essential Preparations
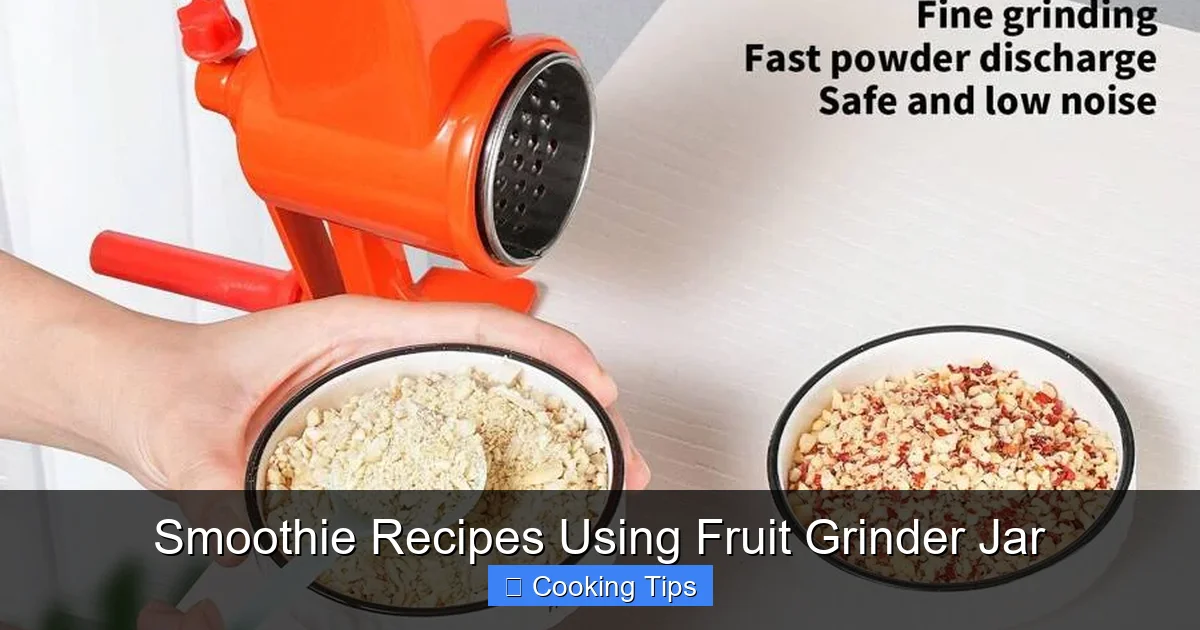
Visual guide about Smoothie Recipes Using Fruit Grinder Jar
Image source: img.ltwebstatic.com
Before you dive into blending, a little preparation goes a long way. This ensures your smoothie-making process is smooth, safe, and yields the best results.
Gather Your Equipment
* Your Fruit Grinder Jar Attachment: Make sure it’s clean and in good working order. If you’re having trouble with it, don’t forget to check out this guide on how to fix a blender jar that will not lock in place.
* Your Blender Base: Ensure it’s stable and plugged into a safe outlet. Remember, it’s crucial to avoid using the blender with wet hands to prevent shock.
* Ingredients: Have all your fruits, vegetables, liquids, and any other additions ready.
* Measuring Tools: Cups and spoons for accuracy.
* Cutting Board and Knife: For preparing your fruits and vegetables.
Ingredient Selection: The Foundation of a Great Smoothie
The quality of your ingredients directly impacts the taste and texture of your smoothie. Here’s what to look for:
Fruits: The Stars of the Show
* Berries (Strawberries, Blueberries, Raspberries): Excellent for color, flavor, and antioxidants. Frozen berries are fantastic for creating a thick, cold smoothie.
* Bananas: A smoothie staple for creaminess and natural sweetness. Ripe or overripe bananas work best. Frozen banana chunks are a game-changer for texture.
* Mangoes and Pineapples: Add tropical sweetness and a wonderfully smooth texture. Fresh or frozen, they are delicious.
* Apples and Pears: While great for flavor, they can be a bit fibrous. Ensure your fruit grinder jar can handle them well, or chop them into smaller pieces. Removing the core is always a good idea.
* Citrus Fruits (Oranges, Grapefruit): Peel and remove seeds before adding. They provide a zesty kick and vitamin C.
Vegetables: Sneak in the Goodness
* Leafy Greens (Spinach, Kale): Spinach is mild and easy to hide, making it perfect for beginners. Kale is more robust; remove tough stems. Your fruit grinder jar will excel at breaking these down.
* Cucumber: Adds hydration and a refreshing taste without overpowering other flavors.
* Carrots: Offer a touch of sweetness and beta-carotene. Grate them or chop finely for easier blending.
* Avocado: Not a vegetable, but often used as one in smoothies! It adds incredible creaminess and healthy fats.
Liquids: The Blending Facilitator
* Water: The simplest and most calorie-free option.
* Milk (Dairy or Non-Dairy): Almond milk, oat milk, soy milk, coconut milk – choose your favorite for added creaminess and flavor.
* Yogurt (Greek or Regular): Boosts protein and creates a thicker, tangier smoothie.
* Fruit Juice: Use sparingly, as it can add a lot of sugar.
* Coconut Water: Hydrating and adds a subtle tropical flavor.
Preparing Your Ingredients
* Wash Everything Thoroughly: This is a non-negotiable step for hygiene.
* Chop Larger Fruits and Vegetables: Smaller pieces are easier for your grinder jar to process. For example, apples, pears, and carrots should be cut into manageable chunks.
* Remove Seeds and Pits: From fruits like peaches, cherries, and avocados.
* Freeze Your Fruit: For a thicker, colder smoothie, use frozen fruit. Bananas, berries, and mangoes freeze particularly well. Ensure your fruit grinder jar is designed to handle frozen items before proceeding.
Step-by-Step Guide to Making Smoothies with Your Fruit Grinder Jar
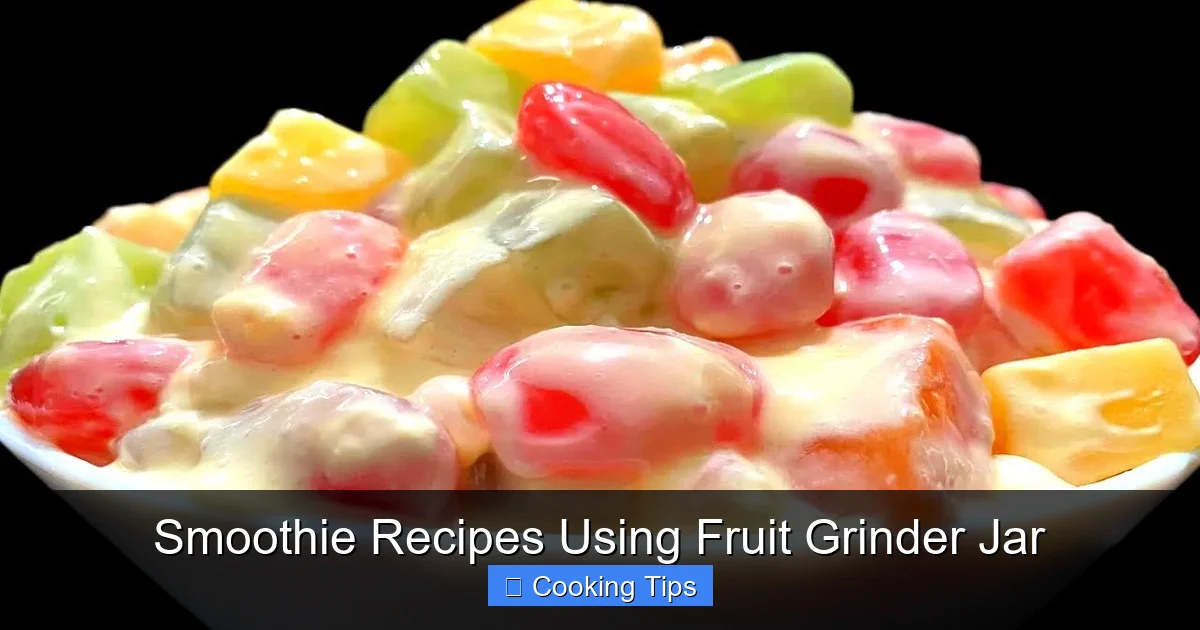
Visual guide about Smoothie Recipes Using Fruit Grinder Jar
Image source: i.ytimg.com
Now that your ingredients are prepped, let’s get blending!
Step 1: Load Your Fruit Grinder Jar
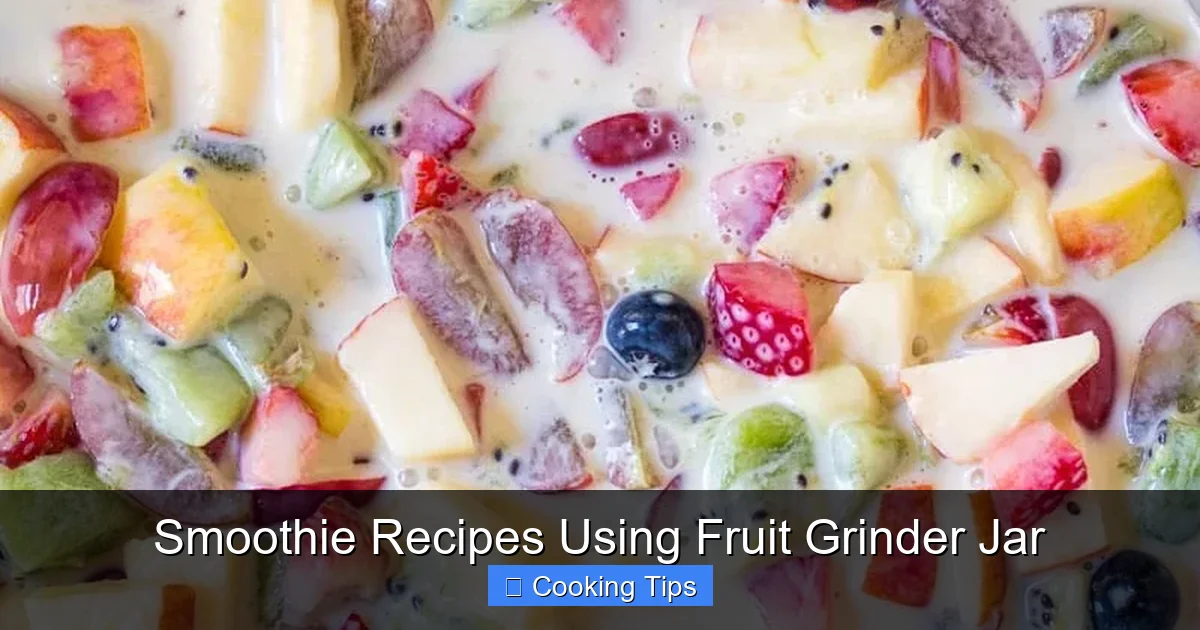
Visual guide about Smoothie Recipes Using Fruit Grinder Jar
Image source: ikneadtoeat.com
The order in which you add ingredients matters for optimal blending.
Sub-step 1.1: Add Liquids First
Pour your chosen liquid (water, milk, juice, etc.) into the fruit grinder jar. This helps the blades move freely and prevents ingredients from getting stuck at the bottom. Aim for about 1/2 to 1 cup of liquid to start, and you can always add more later.
Sub-step 1.2: Add Greens and Soft Ingredients
If you’re using leafy greens like spinach or kale, add them next. Then, add softer fruits like fresh berries, banana chunks, or avocado. This allows them to get caught by the blades easily and start breaking down.
Sub-step 1.3: Add Harder Fruits and Frozen Ingredients
Now, add your firmer fruits (like apples or pears, if not pre-chopped finely), frozen fruits, and any other harder additions like ice cubes (if using). This way, the heavier ingredients are at the top, helping to push everything down towards the blades.
Step 2: Secure the Jar and Blend
This step is critical for both safety and effectiveness.
Sub-step 2.1: Attach the Fruit Grinder Jar Securely
This might seem obvious, but it’s crucial. Always ensure your fruit grinder jar is properly locked or twisted into place on the blender base. Never operate a blender without the jar securely in place. Refer to your blender’s manual if you’re unsure.
Sub-step 2.2: Start Blending on Low Speed
Begin blending on the lowest speed setting your blender offers. This allows the ingredients to start breaking down without overwhelming the motor or creating too much splash.
Sub-step 2.3: Gradually Increase Speed
As the ingredients start to combine, gradually increase the speed to medium or high, depending on your blender and desired consistency. Blend until the mixture is smooth and uniform. This might take anywhere from 30 seconds to 2 minutes.
Sub-step 2.4: Use the Pulse Function (if needed)
If you encounter any thicker patches or need to break down stubborn chunks, use the pulse function. This gives the blades short bursts of power, helping to circulate the ingredients.
Step 3: Check Consistency and Adjust
Once the initial blending is done, it’s time to evaluate.
Sub-step 3.1: Observe the Texture
Is it smooth enough? Does it have the consistency you like?
Sub-step 3.2: Add More Liquid if Too Thick
If your smoothie is too thick to blend properly or you prefer a thinner drink, add a little more liquid (a tablespoon or two at a time) and blend again.
Sub-step 3.3: Add More Frozen Fruit or Ice if Too Thin
If your smoothie is too thin, add more frozen fruit, a few ice cubes, or a thickener like yogurt or a bit more banana. Blend again until smooth.
Step 4: Add Flavor Boosters and Final Blend
Now is the time to enhance your smoothie’s flavor and nutritional profile.
Sub-step 4.1: Incorporate Boosters
This is where you can get creative! Consider adding:
* Sweeteners: A touch of honey, maple syrup, or a date if needed.
* Spices: Cinnamon, ginger, nutmeg, or cardamom can add warmth and depth.
* Seeds: Chia seeds, flax seeds, or hemp seeds for added fiber and omega-3s. They blend beautifully in a fruit grinder jar.
* Nuts and Nut Butters: Almond butter, peanut butter, or a small handful of almonds or walnuts for protein and healthy fats.
* Protein Powder: For an extra protein kick.
* Extracts: A drop of vanilla or almond extract can enhance sweetness.
Sub-step 4.2: Brief Final Blend
Add your chosen boosters and blend for another 10-20 seconds to ensure they are fully incorporated. Be careful not to over-blend if you’ve added certain ingredients like protein powder, as it can sometimes affect texture.
Step 5: Serve and Enjoy!
Pour your perfectly blended smoothie into a glass and enjoy immediately. Smoothies are best consumed fresh to get the most nutrients and best flavor.
Delicious Smoothie Recipes Using Your Fruit Grinder Jar
Here are a few ideas to get you started. Feel free to experiment and adapt them to your liking!
1. The Green Powerhouse
This is a fantastic way to get your greens in!
* 1 cup spinach
* 1/2 ripe banana (fresh or frozen)
* 1/2 cup frozen mango chunks
* 1/2 cup almond milk (or water)
* 1 tablespoon chia seeds
* Optional: A squeeze of lemon or lime juice for brightness
2. Berry Blast Antioxidant Boost
Packed with flavor and antioxidants.
* 1 cup mixed frozen berries (strawberries, blueberries, raspberries)
* 1/2 banana
* 1/2 cup Greek yogurt
* 1/4 cup water or milk
* Optional: 1 teaspoon honey or maple syrup
3. Tropical Sunrise Delight
A taste of the tropics.
* 1 cup frozen pineapple chunks
* 1/2 ripe banana
* 1/2 cup coconut milk
* 1/4 cup orange juice
* Optional: A small piece of fresh ginger
4. Creamy Avocado Chocolate Dream
Rich, creamy, and surprisingly healthy.
* 1/2 ripe avocado
* 1 ripe banana
* 1 tablespoon unsweetened cocoa powder
* 1 cup milk (dairy or non-dairy)
* 1 teaspoon honey or maple syrup (or to taste)
* Optional: A few chocolate chips for a decadent touch
Tips for Perfect Smoothie Texture and Flavor
* Frozen is Your Friend: For a thick, icy smoothie, use at least one frozen element. Frozen bananas are amazing for creaminess.
* Balance is Key: Don’t overload your grinder jar. A good ratio of liquid to solids ensures smooth blending. Start with less liquid and add more as needed.
* Ripeness Matters: Ripe fruits are naturally sweeter and easier to blend, requiring less added sweetener.
* Taste and Adjust: Always taste your smoothie before serving. Need more sweetness? Add a date or a touch of honey. Too sweet? A squeeze of lemon can balance it out.
* Don’t Over-Blend: Over-blending can sometimes make smoothies watery or warm them up. Blend until just smooth.
Cleaning Your Fruit Grinder Jar
Keeping your equipment clean is essential for hygiene and longevity. Fortunately, cleaning most fruit grinder jars is straightforward.
Step 1: Rinse Immediately
As soon as you’re done, rinse the grinder jar and its components under warm running water. This prevents ingredients from drying and sticking, making cleaning much easier.
Step 2: Dish Soap and Warm Water
Fill the jar about halfway with warm water, add a drop of dish soap, and secure the lid. Blend on low speed for about 30 seconds. This often cleans the jar effectively.
Step 3: Scrubbing (if needed)
For stubborn residue, use a bottle brush or a soft sponge to gently scrub the inside of the jar and the blades. Be careful when cleaning around the blades.
Step 4: Rinsing and Drying
Rinse thoroughly to remove all soap residue. Allow the components to air dry completely before reassembling or storing. Ensure all parts are dry to prevent mold or mildew.
Troubleshooting Common Smoothie Issues
Even with the best intentions, you might encounter a few hiccups.
Problem: My Smoothie is Too Chunky or Gritty.
* Solution: You might need to blend for longer. Ensure your ingredients are cut small enough, especially harder fruits and vegetables. If your fruit grinder jar is designed for specific types of ingredients, make sure you’re using them appropriately. If you’re still struggling, check your blender’s manual to see if there are specific settings for different ingredient types.
Problem: My Fruit Grinder Jar is Not Blending Evenly.
* **Solution:** Check the loading order. Are liquids at the bottom? Are harder items at the top? Try stopping the blender, shaking the jar gently, or using a spatula (with the blender unplugged!) to redistribute ingredients. Ensure the blades are not dull or damaged. If the issue persists, it might indicate a problem with the grinder mechanism itself, and you might need to consult a repair guide like how to fix a kitchen grinder that is not turning on.
Problem: My Blender Motor Seems to Be Struggling.
* **Solution:** You might have too many frozen ingredients or not enough liquid. Try adding more liquid or letting frozen ingredients thaw slightly. Ensure you’re not overfilling the jar beyond its recommended capacity.
Problem: My Fruit Grinder Jar is Leaking.
* **Solution:** Check that the jar is properly sealed and the blade assembly is tight. Ensure there are no cracks or damage to the jar or its seals. If the problem persists, it may be time to look into replacement parts or a new attachment.
Conclusion
Using a fruit grinder jar is a fantastic way to elevate your smoothie game, offering a pathway to incredibly smooth and delightful drinks. From understanding your equipment to selecting the freshest ingredients and mastering the blending process, this guide has equipped you with the knowledge to create a wide variety of delicious and healthy smoothies. So, embrace the power of your fruit grinder jar, experiment with flavors, and enjoy the vibrant world of homemade smoothies! Happy blending!