
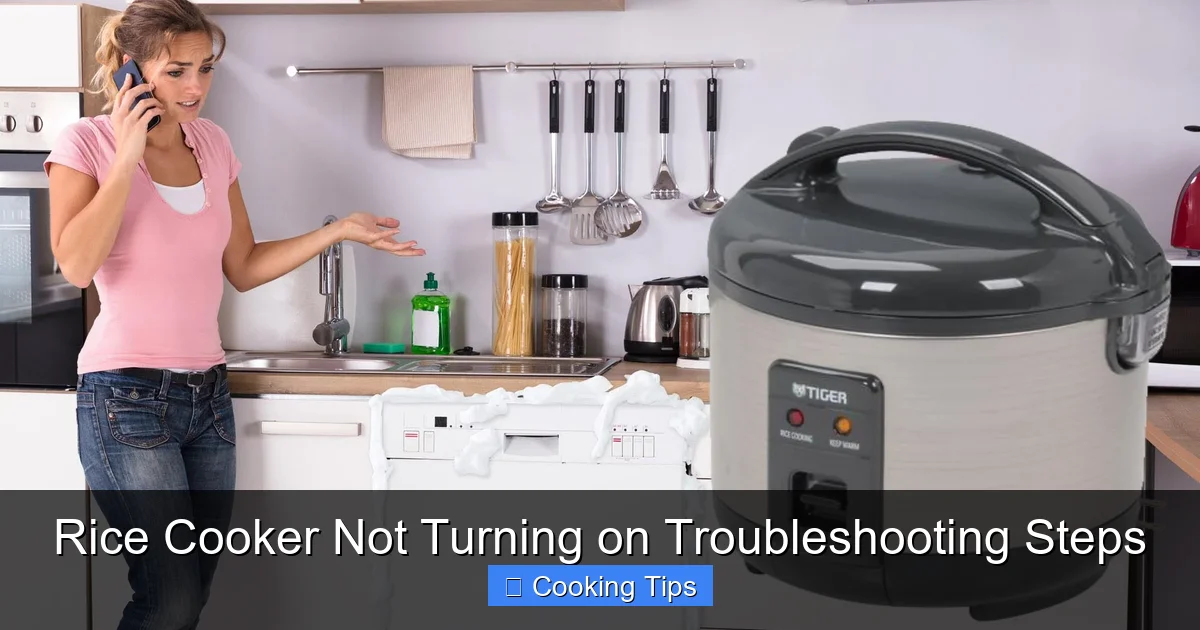
Is your rice cooker refusing to power on? Don’t despair! This comprehensive guide walks you through simple, effective troubleshooting steps to diagnose and fix the problem. From checking the power source to inspecting the appliance itself, you’ll learn how to get your trusty rice cooker back to making perfect rice in no time. Follow these easy steps to save your meal and avoid unnecessary replacements.
Rice cooker not turning on? It’s a frustrating situation, especially when you’re craving a perfectly cooked batch of fluffy rice. Before you rush out to buy a new one, take a deep breath. Most of the time, the problem is a simple fix that you can handle yourself. This guide will walk you through a series of troubleshooting steps to help you identify why your rice cooker isn’t powering on and get it working again. We’ll cover everything from the basics of checking your power source to more in-depth inspections of the appliance itself.
By the end of this guide, you’ll have a clear understanding of the common issues that prevent rice cookers from turning on and the practical steps you can take to resolve them. Let’s get started on getting your rice cooker back in action!
Key Takeaways
- Check the Power Outlet and Cord: The most common reason a rice cooker won’t turn on is a simple power issue, so verify the outlet works and the cord is securely plugged in.
- Inspect the Lid and Locking Mechanism: Many rice cookers have safety features that prevent them from operating if the lid isn’t properly secured.
- Examine the Inner Pot: Ensure the inner pot is correctly seated within the cooker. Some models won’t start if it’s not in place.
- Reset the Appliance: A power surge or minor glitch can sometimes be resolved by unplugging the rice cooker for a period and then plugging it back in.
- Check for Overheating: If the rice cooker has recently been used, it might have overheated and triggered a safety shut-off.
- Cleanliness is Key: Accumulated debris or mineral deposits can sometimes interfere with the cooker’s operation.
Step 1: Verify the Power Source
This is the most fundamental step, but it’s often overlooked. A rice cooker needs electricity to work, and sometimes the problem lies outside the appliance itself.
Check the Wall Outlet
The first thing to do is ensure the electrical outlet you’re using is actually working. You can test this by plugging in another small appliance, like a lamp or a phone charger, into the same outlet. If that appliance doesn’t work, the problem is with the outlet, not your rice cooker. You may need to check your home’s circuit breaker or fuse box. If other outlets in the room are also dead, there’s likely an issue with the circuit.
Test a Different Outlet
If the original outlet seems to be working fine with other devices, try plugging your rice cooker into a completely different outlet. This helps rule out any intermittent issues with the first outlet or a faulty connection within its wiring.
Ensure the Outlet is Not Controlled by a Switch
Some outlets, especially in kitchens or utility rooms, are wired to a wall switch. Make sure this switch is in the “on” position. It’s easy to accidentally bump these switches, and a light switch controlling your outlet will definitely prevent your rice cooker from turning on.
Step 2: Inspect the Power Cord and Plug
Once you’ve confirmed your power source is functional, turn your attention to the rice cooker’s power cord and plug.
Check for Visible Damage
Carefully examine the entire length of the power cord for any signs of damage. Look for cuts, nicks, fraying, or exposed wires. Also, inspect the plug itself for any bent prongs or signs of melting or discoloration. If you find any damage, do not use the rice cooker. Damaged cords are a serious safety hazard and can lead to electric shock or fire.
Visual guide about Rice Cooker Not Turning on Troubleshooting Steps
Image source: kitchenflock.com
Ensure the Cord is Fully Inserted
Make sure the power cord is firmly and completely plugged into both the rice cooker and the wall outlet. Sometimes, a cord can become slightly dislodged, especially if it’s been moved around. Give it a gentle push to ensure a secure connection.
Clean the Plug and Outlet Receptacle
Dust, debris, or even minor corrosion can build up on the plug’s prongs and inside the wall outlet. Gently clean the prongs of the rice cooker’s plug with a dry cloth or a soft brush. For the wall outlet, ensure it’s free of visible debris. Never use water to clean electrical components.
Step 3: Examine the Rice Cooker Lid and Locking Mechanism
Many modern rice cookers have safety features that prevent them from operating unless the lid is properly closed and locked. This is a crucial step in troubleshooting.
Close the Lid Firmly
Ensure the lid is closed all the way. Some lids have a distinct “click” or feel when they are properly sealed. Try pressing down on the lid gently to make sure it’s not caught on anything or misaligned.

Visual guide about Rice Cooker Not Turning on Troubleshooting Steps
Image source: kitchenflock.com
Check the Locking Mechanism
Locate the lid’s locking mechanism or latch. Ensure it’s engaging correctly. If there’s a button or lever to lock the lid, try operating it a few times. Sometimes, a sticky or misaligned lock can prevent the cooker from powering on. Refer to your rice cooker’s manual if you’re unsure how your specific model locks.
Clean Around the Lid Seal
Food particles, steam residue, or even a slightly warped lid seal can sometimes prevent a proper connection. Gently clean the rim of the rice cooker where the lid seals and the lid’s sealing surface. A damp cloth can be used, but make sure everything is completely dry before attempting to power it on again.
Step 4: Inspect the Inner Pot
The inner pot of your rice cooker is where the magic happens, and its placement is critical for the appliance to function.
Ensure the Inner Pot is Correctly Seated
Most rice cookers have a sensor or a mechanism that detects the presence of the inner pot. If the inner pot is not fully and correctly seated within the cooker’s base, it won’t turn on. Remove the inner pot and then carefully place it back inside, making sure it sits level and flush with the bottom of the cooker.
Visual guide about Rice Cooker Not Turning on Troubleshooting Steps
Image source: expertreviewsbestricecooker.com
Check for Damage to the Inner Pot
While less common, damage to the inner pot itself could potentially interfere with its connection to the heating element or sensor. Look for significant dents, warping, or any damage to the coating that might affect its fit.
Clean the Bottom of the Inner Pot and the Heating Element Surface
The bottom of the inner pot and the heating element surface inside the rice cooker’s base should be clean and free of debris. Food residue, mineral deposits, or even a small pebble can prevent proper contact. Gently wipe both surfaces with a soft, dry cloth. If there are stubborn deposits, use a damp cloth and ensure everything is completely dry before reassembling and attempting to power on.
Step 5: Reset the Rice Cooker
Sometimes, a minor electrical glitch or a power surge can cause an appliance to behave erratically. A simple reset can often resolve these issues.
Unplug the Rice Cooker
Completely unplug the rice cooker from the wall outlet. It’s important to disconnect it from the power source entirely.
Wait for a Few Minutes
Leave the rice cooker unplugged for at least 5-10 minutes. This allows any residual electricity to dissipate and can help reset the internal electronics.
Plug it Back In
After waiting, plug the rice cooker back into a known working outlet. Try turning it on again.
Step 6: Check for Overheating
Rice cookers are designed with safety mechanisms to prevent overheating. If the cooker was recently used, it might be in a safety shut-off mode.
Allow the Rice Cooker to Cool Down
If you’ve just finished cooking or if the cooker feels warm, it might have overheated and automatically shut off. Unplug it and let it cool down completely for at least 30 minutes to an hour. Once cool, try plugging it in and turning it on.
Ensure Proper Ventilation
When using your rice cooker, ensure there’s adequate ventilation around it. Don’t place it too close to walls or other appliances that could block airflow and contribute to overheating. Make sure the steam vent on the lid is clear and not blocked.
Step 7: Clean the Rice Cooker Thoroughly
While we’ve touched on cleaning during other steps, a full, thorough cleaning can sometimes resolve subtle issues.
Clean the Exterior and Interior
Unplug the rice cooker. Carefully remove the inner pot and lid. Wash the inner pot and lid according to the manufacturer’s instructions (usually with mild soap and water). Wipe down the exterior of the rice cooker with a damp cloth. Pay special attention to the area where the inner pot sits and the heating element surface. Ensure all parts are completely dry before reassembling.
Check the Steam Vent
The steam vent can sometimes get clogged with rice grains or other debris. Make sure it’s clear so steam can escape properly. A clogged vent can sometimes cause issues with the cooker’s operation.
Step 8: Consult Your Rice Cooker’s Manual
Every rice cooker model is slightly different. Your owner’s manual is an invaluable resource for specific troubleshooting tips.
Locate Your Manual
If you still have your rice cooker’s instruction manual, now is the time to refer to it. Look for a troubleshooting section that might address specific issues related to your model.
Search Online
If you no longer have the physical manual, most manufacturers provide digital versions on their websites. Search for your rice cooker’s brand and model number online to find a downloadable PDF of the manual.
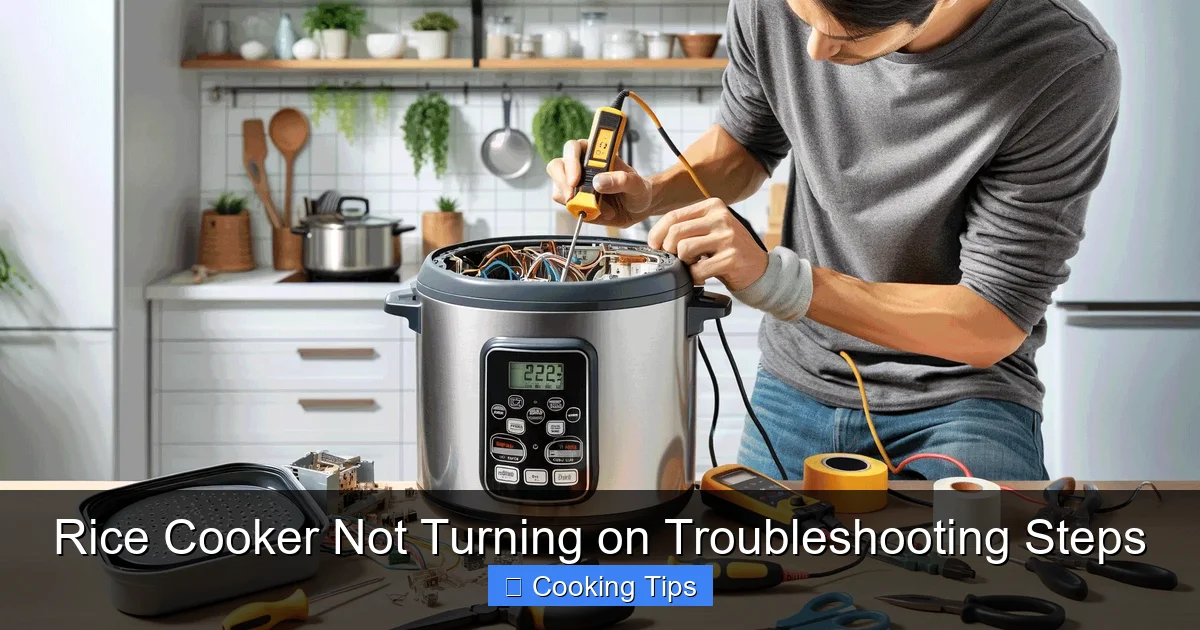
Step 9: Consider Potential Internal Issues (Professional Help or Replacement)
If you’ve gone through all the previous steps and your rice cooker still won’t turn on, it’s possible there’s an internal component that has failed.
Faulty Thermostat or Heating Element
The thermostat controls the temperature, and the heating element provides the heat. If either of these components fails, the rice cooker won’t function. Diagnosing and repairing these issues often requires specialized knowledge and tools.
Damaged Internal Wiring
Internal wiring can become damaged over time, especially if the appliance has been dropped or mishandled. This can interrupt the flow of electricity.
When to Seek Professional Help
For most common household appliances like rice cookers, professional repair is often more expensive than replacing the unit, especially for older or less expensive models. However, if you have a high-end or particularly sentimental appliance, you might consider contacting the manufacturer or a qualified appliance repair technician.
When to Consider Replacement
If your rice cooker is old, showing signs of significant wear and tear, or if the cost of repair seems high compared to the price of a new unit, it might be time to consider purchasing a new rice cooker. Remember to look for safety certifications like UL or ETL when buying a new appliance.
Conclusion
It can be disheartening when your rice cooker refuses to power on, but as we’ve seen, most of the time, the issue is a simple fix. By systematically working through these troubleshooting steps, you can often identify and resolve the problem yourself. Always start with the basics: check your power source, inspect the cord and plug, and ensure the lid and inner pot are correctly positioned. Don’t forget to clean your appliance thoroughly and consider a reset. If all else fails, consulting your manual or considering a replacement might be the next steps. With a little patience and this guide, you’ll be back to enjoying perfectly cooked rice in no time!