
Discover the common causes behind a rice cooker overflowing and learn how to prevent it. This guide provides simple, effective steps to troubleshoot and avoid messy kitchen incidents, ensuring perfectly cooked rice every time. Get ready to say goodbye to sticky stovetops and hello to hassle-free rice preparation!
Rice Cooker Overflowing While Cooking
There’s nothing quite like the aroma of perfectly cooked rice filling your kitchen. It’s a staple in so many households, versatile and comforting. But what happens when your rice cooker decides to throw a messy tantrum, overflowing with bubbly, starchy water? It’s a common problem, and one that can leave you with a sticky mess to clean up.
This guide is here to help you understand exactly why your rice cooker might be overflowing and, more importantly, how to prevent it from happening again. We’ll walk through the common culprits, offer practical solutions, and equip you with the knowledge to ensure your rice cooks perfectly, every single time, without the drama.
Key Takeaways
- Too much water is the most common culprit for rice cooker overflowing. Always measure your rice and water accurately according to the cooker’s instructions or the rice packaging.
- Using starchy or “new” rice can lead to excessive foaming. Rinsing rice thoroughly before cooking helps remove excess starch, significantly reducing the risk of overflow.
- Adding certain ingredients like butter, oil, or milk can alter the boiling point and cause foaming. Consider adding these towards the end of the cooking cycle or using them sparingly.
- A clogged steam vent can trap steam, leading to pressure buildup and overflow. Regularly check and clean your rice cooker’s steam vent to ensure proper steam release.
- Overfilling the rice cooker beyond its capacity is a direct invitation for overflow. Always adhere to the maximum fill lines indicated on your rice cooker.
- Using the wrong setting or a faulty heating element can also contribute to overflow issues. Ensure you’re using the correct setting for your type of rice and that your appliance is functioning properly.
Understanding Why Your Rice Cooker is Overflowing
Before we jump into solutions, let’s get to the root of the problem. A rice cooker overflowing is usually a sign that something is disrupting the normal cooking process. It’s not usually a sign of a broken appliance, but rather an issue with how the rice and water are interacting or how the cooker is functioning.
Here are the most frequent reasons your rice cooker might be experiencing an overflow:
1. The Water-to-Rice Ratio is Off
This is, by far, the most common reason for rice cooker overflow. Rice needs a specific amount of water to cook properly. Too little water, and it will be dry and undercooked. Too much water, and you’ll likely end up with a frothy, starchy overflow.
Think of it like baking. If you add too much liquid to a cake batter, it will spread too thin and potentially spill over before it sets. Rice is similar; the excess water has nowhere to go during the boiling and steaming process.
2. Starchy Rice and Inadequate Rinsing
Rice grains are coated in a fine layer of starch. When you add water and heat it, this starch is released, creating a frothy, bubbly liquid. If you don’t rinse your rice thoroughly, you’re essentially starting with a higher concentration of starch. This amplified starch production can lead to excessive foaming, which can easily push past the cooker’s confines.
Some types of rice are naturally starchier than others. White rice, especially short-grain varieties, tends to release more starch than brown rice or long-grain varieties like Basmati or Jasmine.
3. Added Ingredients Causing Excess Foam
Many people like to add a little something extra to their rice for flavor. Things like butter, oil, a dash of milk, or even a spoonful of broth can change the surface tension of the water. This can cause the liquid to bubble up more aggressively and foamier than plain water, leading to an overflow.
These additives can essentially act as surfactants, similar to how dish soap creates suds. They make it harder for the steam bubbles to break and dissipate, causing them to build up and overflow.
4. Overfilling the Rice Cooker
Rice expands as it cooks. If you fill your rice cooker too close to the maximum capacity line, even with the correct water ratio, the expansion of the rice and the bubbling of the water can push the contents over the rim.
Rice cookers are designed with a certain amount of headspace in mind to accommodate this expansion. Ignoring the fill lines is a sure way to invite disaster.
5. A Clogged Steam Vent
Rice cookers have a steam vent, usually on the lid. This vent is crucial for releasing excess steam and pressure built up during the cooking cycle. If this vent gets blocked with rice particles or dried residue, steam cannot escape properly.
This blockage leads to a dangerous buildup of pressure inside the cooker, forcing the liquid out through any available opening, which is typically the main lid seal or around the cooker’s base.
6. Using the Wrong Setting or a Faulty Heating Element
While less common, sometimes the issue lies with the appliance itself. If your rice cooker is old or has a faulty heating element, it might not regulate the temperature correctly. It could overheat, causing excessive boiling and overflow. Similarly, using the wrong cooking setting for the type of rice you’re using can disrupt the cooking cycle.
For example, using a “quick cook” setting for regular white rice might not allow enough time for the starch to properly absorb and release, leading to more vigorous boiling.
How to Prevent Your Rice Cooker from Overflowing: Step-by-Step Solutions
Now that you understand the common causes, let’s get to the practical steps you can take to ensure your rice cooker remains a well-behaved kitchen appliance.
Step 1: Master the Water-to-Rice Ratio
Accuracy is key here. Always follow the recommendations provided by your rice cooker manufacturer or the instructions on your rice packaging.
Sub-step 1.1: Consult Your Rice Cooker Manual
Visual guide about Rice Cooker Overflowing While Cooking
Image source: ricecookerjunkie.com
Visual guide about Rice Cooker Overflowing While Cooking
Image source: c8.alamy.com
Most rice cooker manuals have a chart that specifies the amount of water needed for different types and quantities of rice. Keep this manual handy! If you’ve lost it, a quick online search for your specific model should provide a digital copy.
Sub-step 1.2: Use the Rice Cooker’s Measuring Cup
Your rice cooker likely came with a small measuring cup. This cup is often designed to be a specific size (e.g., 180ml or 3/4 cup standard measuring cup) that corresponds to the water lines inside your cooker. Always use this cup for measuring rice.
Sub-step 1.3: Measure Water Carefully
After measuring your rice, add the corresponding amount of water. The water lines inside the inner pot are your best guide. For example, if you’ve measured one “rice cooker cup” of rice, add water up to the “1” line inside the pot.
Example: For 1 cup of white rice, you might need 1.5 cups of water. For 1 cup of brown rice, you might need 2 cups of water. These are just general guidelines, and your cooker’s instructions are the ultimate authority.
Step 2: Rinse Your Rice Thoroughly
This step is non-negotiable, especially if you’ve had overflow issues before or are using starchy white rice. Rinsing removes excess surface starch, which is the primary cause of excessive foaming.
Sub-step 2.1: Place Rice in a Bowl or Sieve
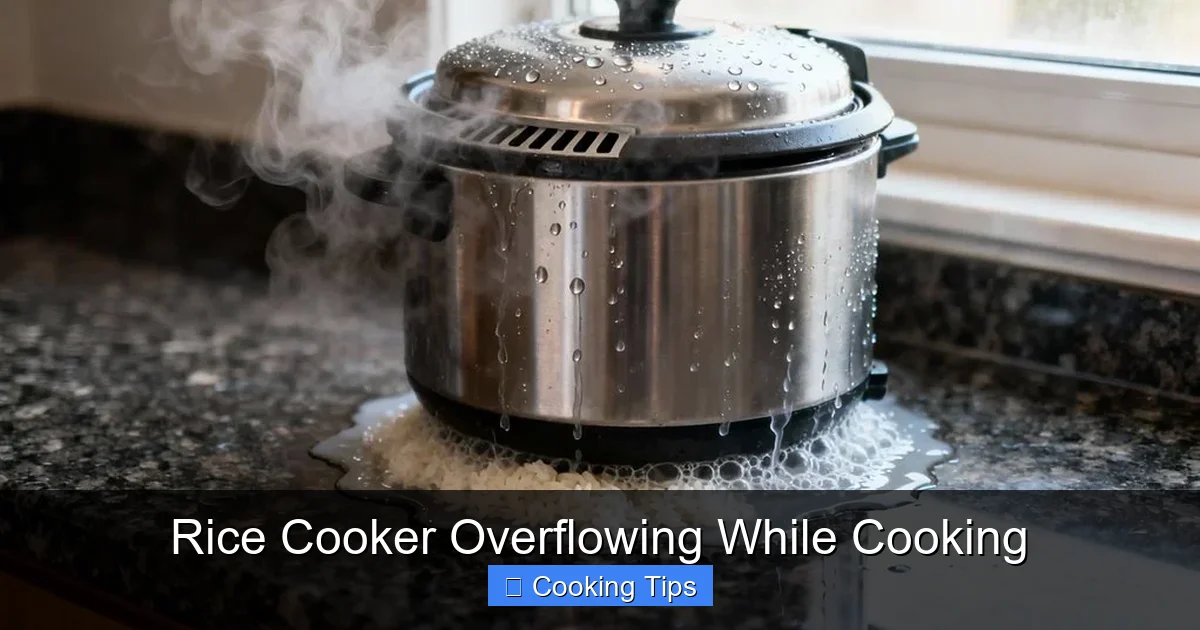
Visual guide about Rice Cooker Overflowing While Cooking
Image source: ricecookerjunkie.com
Put your measured rice into a fine-mesh sieve or a bowl.
Sub-step 2.2: Rinse Under Cold Running Water
If using a bowl, fill it with cold water, swish the rice around with your hand, then drain the cloudy water. Repeat this process several times until the water runs mostly clear.
If using a sieve, place it under a gently running cold tap. Gently agitate the rice with your fingers. You’ll see the starchy water drain away.
Sub-step 2.3: Drain Well
Ensure all excess water is drained from the rice before adding it to the rice cooker. A sieve is excellent for this.
Tip: Don’t over-handle or “bruise” the rice while rinsing, as this can break the grains and release more starch.
Step 3: Be Mindful of Added Ingredients
If you love adding flavor to your rice, do so with caution. These additions can significantly impact the foaming.
Sub-step 3.1: Add Fats and Oils Sparingly
A small amount of butter or oil is usually fine, but large quantities can cause excessive foaming. If you’re using a tablespoon of oil, consider reducing it to a teaspoon.
Sub-step 3.2: Consider Adding Liquids Towards the End
If you’re using milk or a flavorful broth instead of water, consider using part water and part broth/milk. You can also add a splash of milk or cream towards the end of the cooking cycle, just before serving, for a richer texture without the overflow risk.
Sub-step 3.3: Use Foaming Reducers (Optional)
Some people add a tiny drop of cooking oil or a small piece of butter to the water before cooking. This can help break the surface tension of the bubbles. Another trick is to add a tiny bit of rice vinegar or lemon juice, though this can impart a slight flavor.
Example: Instead of replacing all the water with broth, use 3/4 water and 1/4 broth for 1 cup of rice.
Step 4: Do Not Overfill the Rice Cooker
Respect the maximum fill lines indicated inside your rice cooker. These lines are there for a reason.
Sub-step 4.1: Check the Fill Lines
Locate the highest marking inside your rice cooker’s inner pot. This line represents the maximum amount of rice and water the cooker can safely handle.
Sub-step 4.2: Measure Rice and Water Accordingly
Ensure that the total volume of uncooked rice and water does not exceed this maximum line. Remember, rice expands significantly when cooked.
Rule of Thumb: For most rice cookers, the maximum capacity is around 3-5 “rice cooker cups” of uncooked rice. Always check your manual.
Step 5: Keep the Steam Vent Clean
A clean steam vent is essential for proper pressure release.
Sub-step 5.1: Inspect the Vent Before and After Use
Before you start cooking, quickly check the steam vent on the lid. Make sure it’s not blocked by any debris.
Sub-step 5.2: Clean the Vent Regularly
After cooking and once the cooker has cooled down, remove the steam vent cap (if it’s removable) and wash it. Use a small brush or toothpick to ensure no dried rice particles are stuck inside the vent opening itself.
Sub-step 5.3: Wipe Down the Lid
Periodically, wipe down the inside of the lid to remove any residue that might accumulate and potentially clog the vent over time.
Step 6: Use the Correct Settings and Ensure Proper Function
Make sure your rice cooker is operating as intended.
Sub-step 6.1: Select the Right Cooking Mode
If your rice cooker has multiple settings (e.g., white rice, brown rice, quick cook, porridge), ensure you select the appropriate one for the type of rice you are cooking. This ensures the cooker heats and steams at the correct temperature and duration.
Sub-step 6.2: Check for Appliance Issues
If you consistently experience overflow issues despite following all other steps, especially if the rice cooks unevenly or the cooker seems excessively hot, there might be a problem with the heating element or thermostat. In such cases, it might be time to consider a repair or replacement.
Troubleshooting Common Overflow Scenarios
Even with the best intentions, sometimes things go wrong. Here’s how to handle an overflowing rice cooker mid-cook:
Scenario: The cooker is overflowing right now! What do I do?
Immediate Action: Do NOT open the lid immediately. The steam is extremely hot. Carefully unplug the rice cooker. If the overflow is minor and has stopped, you can let it sit for a few minutes. If it’s a substantial overflow, you might need to place towels around the base to catch dripping water. Once it’s stopped bubbling, unplug it and let it cool completely before attempting to clean.
Scenario: My rice is mushy and there was overflow.
Diagnosis: Too much water or not enough rinsing.
Solution: Next time, reduce the water by about 1/4 cup per rice cooker cup and ensure thorough rinsing.
Scenario: My rice is hard and the cooker overflowed.
Diagnosis: This is a less common scenario but can happen if the rice absorbs water too quickly or if there’s too much starchy foam blocking proper water absorption. It might also indicate an issue with the heating element not bringing the water to a full boil.
Solution: Ensure you’re using the correct water-to-rice ratio for your rice type. Rinsing is still important. If the problem persists, check your cooker’s functionality.
Cleaning Up a Rice Cooker Overflow
Accidents happen, and when they do, you’ll need to clean up the mess.
Step 1: Safety First
Ensure the rice cooker is unplugged and has cooled down completely before you start cleaning.
Step 2: Remove the Inner Pot
Take out the inner pot. If there’s still a significant amount of liquid, carefully pour it down the drain, avoiding clogging with rice grains.
Step 3: Wash the Inner Pot and Lid
Wash the inner pot with warm, soapy water. Use a non-abrasive sponge or cloth. Pay special attention to the lid, especially around the steam vent. You might need a small brush to get into the vent opening.
Step 4: Clean the Exterior
Wipe down the exterior of the rice cooker with a damp cloth. Avoid immersing the main unit in water.
Step 5: Dry Thoroughly
Ensure all parts are completely dry before reassembling or storing the rice cooker.
Conclusion
A rice cooker overflowing can be a frustrating, messy experience, but it’s almost always preventable. By understanding the common causes – primarily the water-to-rice ratio, starchy rice, added ingredients, and overfilling – you can take proactive steps to ensure perfect rice every time.
Remember to always rinse your rice, measure your ingredients accurately, respect the maximum fill lines, and keep that steam vent clear. With a little attention to detail, your rice cooker will become your most reliable kitchen companion, delivering delicious, perfectly cooked rice without any unexpected surprises. Happy cooking!