
Keeping your grinder clean ensures better-tasting results and extends its lifespan. This comprehensive guide will show you exactly why it’s vital to unplug your grinder before any cleaning or maintenance. Following these simple steps will guarantee your safety and keep your kitchen equipment in top shape.
Key Takeaways
- Safety First: Always disconnect the power source before touching any part of the grinder to prevent accidental activation and serious injury.
- Prevent Damage: Unplugging safeguards the grinder’s internal mechanisms from water damage or accidental impact during cleaning.
- Thorough Cleaning: A disconnected grinder allows for safe and detailed cleaning of all components, ensuring no residue remains.
- Extended Lifespan: Regular, safe maintenance, starting with unplugging, helps your grinder function optimally for longer.
- Peace of Mind: Knowing you’ve followed essential safety protocols provides confidence and reduces the risk of accidents in your kitchen.
Unplug the Grinder Before Cleaning or Maintenance
Welcome to your essential guide to grinder safety! In the world of cooking, a good grinder is an invaluable tool. Whether you’re grinding coffee beans for that perfect morning brew, fresh spices for a culinary masterpiece, or herbs for a vibrant pesto, your grinder works hard for you. But like any kitchen appliance, it needs a little attention to keep it running smoothly and hygienically. This guide is all about one fundamental, yet critically important, step: **unplugging your grinder before cleaning or maintenance**. We’ll walk you through why this simple action is so vital and how to perform cleaning and basic maintenance safely and effectively for various types of grinders. Understanding this basic safety precaution will not only protect you from potential injury but also ensure your grinder lasts for years to come. Let’s dive in and make sure your grinder stays a safe and reliable kitchen companion!
Why Unplugging is Non-Negotiable
It might seem like a no-brainer, but the number of kitchen accidents that happen due to powered appliances is surprisingly high. When it comes to grinders, the blades or burrs are sharp and moving at high speeds. If the grinder is plugged in, even a momentary lapse in concentration could lead to severe cuts or other injuries.
Accidental Activation Risks
The most significant risk is accidental startup. Imagine you’re reaching into the grinder’s chamber to clear out some stubborn grounds, or perhaps trying to wipe down the blades. If the appliance is still connected to power, a stray bump of a button or a slight jostle could instantly turn on the motor. This is incredibly dangerous, especially when your hands or cleaning tools are inside. The sharp blades can cause deep lacerations in seconds.
Preventing Electrical Hazards
Beyond mechanical injuries, there’s the risk of electrical shock, particularly if any liquids are involved in the cleaning process. Water and electricity are a dangerous combination. Even a small amount of moisture coming into contact with exposed electrical components while the grinder is plugged in can lead to a shock. This is especially true for older models or grinders that may have had some wear and tear.
Protecting the Grinder’s Components
Unplugging also protects the internal mechanisms of your grinder. When cleaning, you might use brushes, cloths, or even water. If the grinder is powered on, these actions could damage the motor, the blades, or other delicate parts. For instance, trying to force a brush through spinning burrs could bend or break them. Water ingress into the motor housing, even with the power off, can be problematic, but it’s infinitely worse if the unit is live.
Step-by-Step Guide to Safe Grinder Cleaning
Now that we understand the “why,” let’s get to the “how.” Cleaning your grinder regularly is essential for both hygiene and performance. Coffee grounds, spices, or other materials can leave behind oils and fine particles that can become rancid or stale, affecting the taste of your next batch.
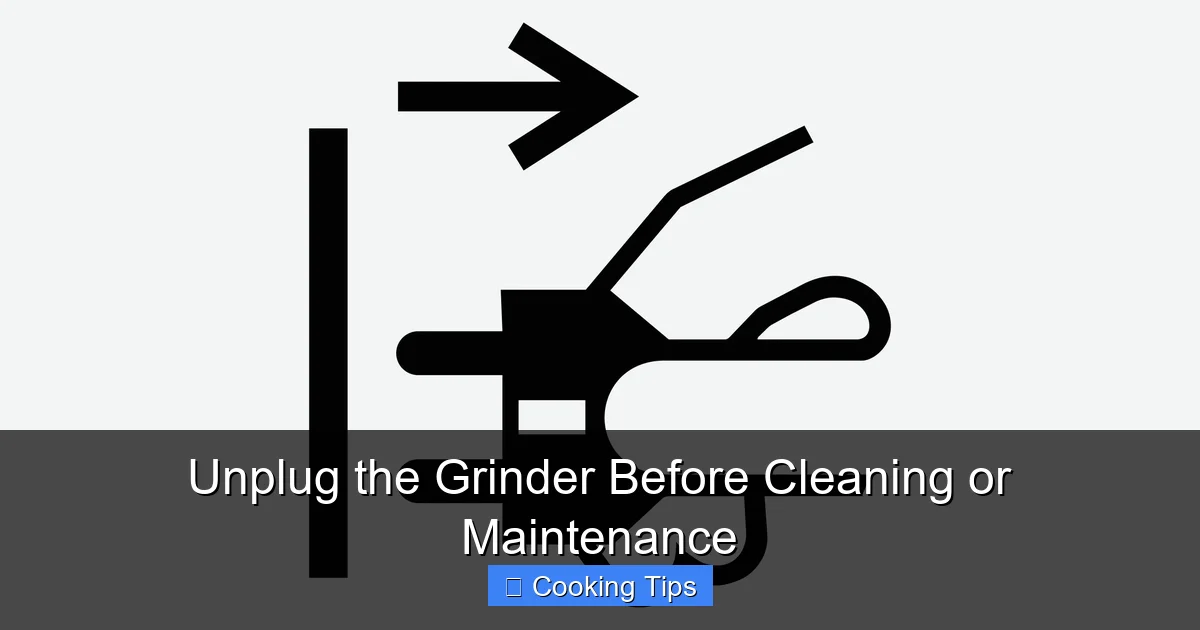
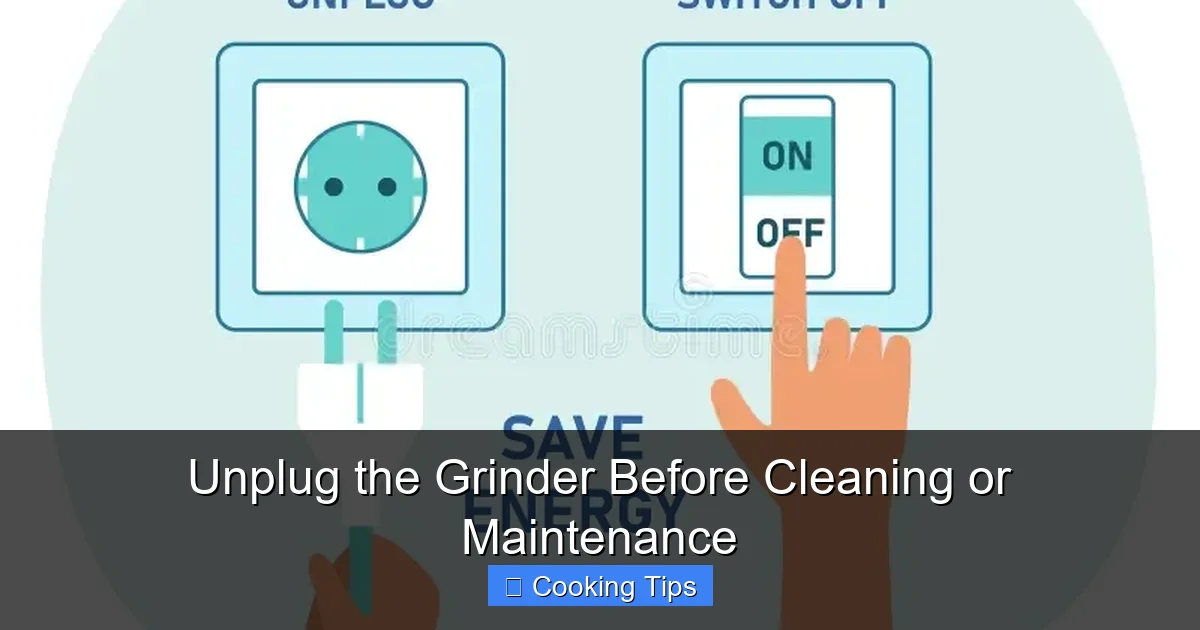
Step 1: Disconnect the Power Source
This is the golden rule, and it’s worth repeating.
Always, without exception, unplug your grinder from the electrical outlet before you begin any cleaning or maintenance tasks.
Visual guide about Unplug the Grinder Before Cleaning or Maintenance
Image source: static.vecteezy.com
Don’t just switch it off at the power button. Unplug it from the wall socket. This ensures that absolutely no power can reach the appliance, eliminating the risk of accidental startup. Make it a habit: before you even think about grabbing a brush or a cloth, locate the plug and disconnect it.
Step 2: Disassemble the Grinder (If Applicable)
Many grinders are designed for easy disassembly, allowing you to clean all parts thoroughly.
For Coffee Grinders (Blade and Burr Types)
- Blade Grinders: These often have a removable lid and a removable grinding cup. Carefully lift off the lid. Then, detach the grinding cup from the base. Some cups twist off, while others might lift straight up. Refer to your grinder’s manual if you’re unsure.
- Burr Grinders: Burr grinders usually have a hopper that lifts off, and then the upper burr can often be removed. The lower burr is typically fixed, but the grinding chamber around it can be accessed. Again, consult your manual for specific instructions.
For Spice Grinders
Spice grinders are often similar to blade coffee grinders, with a removable lid and a grinding chamber that detaches. Some high-end spice grinders might have more complex components, so checking the manual is always a good idea.
For Manual Grinders (Pepper Mills, etc.)
Manual grinders, while not having an electrical cord, still require care. For pepper mills or other manual grinders with crank mechanisms, you’ll typically unscrew the top or bottom to access the grinding mechanism and the chamber for beans or peppercorns. While no electricity is involved, loose parts can still be a hazard if not handled carefully.
Step 3: Clean the Removable Parts
Once disassembled, you can clean the individual components.
Washing the Components
- For most coffee and spice grinder parts (lids, grinding cups, hoppers), a gentle wash with warm, soapy water is usually sufficient. Use a soft sponge or cloth.
- Avoid abrasive cleaners or scouring pads, as these can scratch the plastic or metal surfaces.
- Rinse the parts thoroughly with clean water to remove all soap residue.
Drying the Components
This is a crucial step, especially for preventing rust and ensuring the grinder works properly.
- Air Dry: Allow all parts to air dry completely on a clean dish rack. Ensure there is no moisture remaining, particularly in crevices or around any metal components.
- Towel Dry: You can also gently towel dry parts with a clean, lint-free cloth. Make sure to get into all the nooks and crannies.
- For Burr Grinders: Pay special attention to the burrs themselves. If they are removable, ensure they are bone dry before reassembling. Moisture can cause burrs to rust, which will affect their grinding performance and can impart a metallic taste.
Step 4: Clean the Grinder Body and Interior Chamber
This is where you tackle the parts that can’t be removed or submerged.
Cleaning the Grinding Chamber
- Use a dry brush (like a small pastry brush or a specialized grinder brush) to sweep out any residual grounds or dust from the grinding chamber.
- For stubborn residue, you can use a slightly damp cloth, but ensure it’s only slightly damp – not wet. Wring out your cloth very well.
- Immediately follow up with a dry cloth to ensure the area is completely dry.
Cleaning the Exterior
- Wipe down the exterior of the grinder with a clean, damp cloth.
- For tougher grime, use a mild, non-abrasive cleaner suitable for kitchen appliances.
- Dry the exterior thoroughly with a clean, dry cloth.
Special Tips for Coffee Grinders
- Coffee Grinds: Coffee oils can build up over time, leading to stale flavors. Specialized coffee grinder cleaning tablets are available and are very effective. Follow the product instructions carefully. Typically, you grind the tablets like coffee beans, then discard the residue and brush out the chamber.
- Baking Soda or Rice (Use with Caution): Some people use uncooked rice or baking soda to help absorb oils and clean the chambers. Grind a small amount (e.g., a tablespoon of rice or baking soda) in the unplugged grinder, then brush it all out. Ensure you brush out every last grain or speck. This method can sometimes leave a powdery residue, so meticulous brushing is key.
Step 5: Reassemble the Grinder
Once all parts are clean and completely dry, carefully reassemble the grinder.
- Ensure all components are correctly aligned and securely fitted.
- If you disassembled a coffee grinder, double-check that the hopper is properly seated and the lid locks into place if designed to do so.
- For burr grinders, make sure the burrs are correctly installed before replacing the hopper and lid.
Step 6: Final Check
Before plugging your grinder back in, give it a quick visual inspection.
- Are all parts securely in place?
- Is there any residual cleaning material or moisture visible?
- Are your hands and the surrounding area clear of the grinder?
Only after you are completely satisfied that everything is dry, reassembled correctly, and safe, should you plug it back into the power outlet.
Maintenance Beyond Cleaning
Visual guide about Unplug the Grinder Before Cleaning or Maintenance
Image source: thumbs.dreamstime.com
Regular cleaning is a form of maintenance, but there are a few other things to keep in mind to ensure your grinder performs optimally and safely.
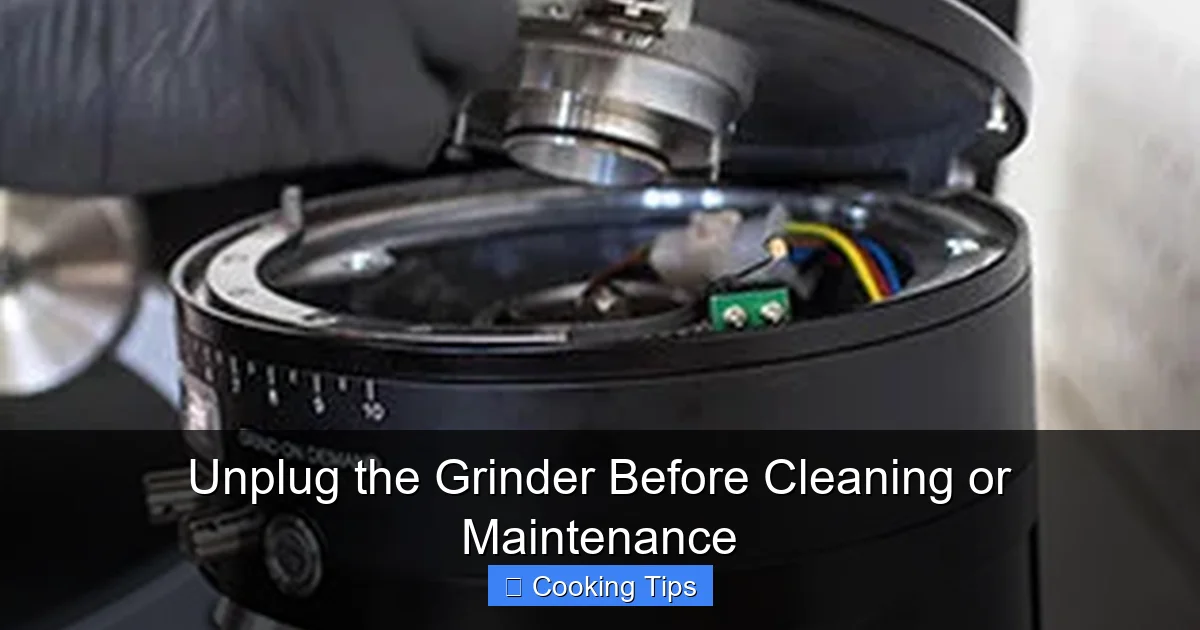
Blade and Burr Sharpening/Replacement
* Blade Grinders: The blades on these are not typically designed to be sharpened. If they become dull or nicked, the best course of action is usually to replace the entire grinding assembly or the grinder itself, depending on the model.
* Burr Grinders: Burrs can become dull over time, especially with heavy use. Some burrs are replaceable. If you notice your grinder struggling to grind, producing an uneven grind, or if the burrs appear worn, check your manual to see if they can be replaced. Replacing burrs can significantly improve grinding performance. Always unplug the grinder before attempting to access or replace burrs.
Motor Care
* Most modern grinders have sealed motors that require no user maintenance.
* However, ensure the ventilation slots on the grinder’s body are kept clear of dust and debris. This allows the motor to cool properly, preventing overheating and extending its life. A soft brush can be used to clear these slots. Again, do this when the grinder is unplugged.
Cord and Plug Inspection
* Periodically, inspect the power cord and plug for any signs of damage, such as fraying, cuts, or exposed wires.
* If you notice any damage, discontinue use immediately and have the cord replaced by a qualified technician or consider replacing the grinder. A damaged cord is a serious fire and electrocution hazard. This inspection should always be done with the grinder unplugged.
Troubleshooting Common Grinder Issues
Visual guide about Unplug the Grinder Before Cleaning or Maintenance
Image source: ep-shopify.s3.amazonaws.com
Even with regular, safe maintenance, you might encounter occasional problems.
Grinder Not Turning On
* Check the Plug: Is it firmly seated in the outlet and the grinder’s socket?
* Check the Outlet: Try plugging another small appliance into the same outlet to see if the outlet is working. If not, the issue might be with your home’s circuit breaker or fuse box.
* Overheating Protection: Some grinders have an overheat protection feature that will shut them down if they get too hot. Allow the grinder to cool down for at least 15-30 minutes before trying to use it again. This is a good indicator that you might be grinding too much at once or for too long.
* Assembly Issue: Ensure the grinder is assembled correctly. Many grinders have safety interlocks that prevent them from operating if a part isn’t in place.
Uneven Grinding or Grinding Too Coarsely/Finely
* Grind Settings: For burr grinders, ensure the grind setting is correctly adjusted.
* Burr Condition: Dull or damaged burrs can cause inconsistent grinds. (Refer to maintenance section for burr replacement).
* Too Much Material: Overfilling the hopper or grinding chamber can lead to poor results. Grind in smaller batches if necessary.
* Motor Strain: If the motor sounds like it’s struggling, it could be a sign of dull burrs or too much load.
Grinder Jamming
* Unplug Immediately! This is a critical moment to ensure safety.
* **Disassemble:** Take apart the grinder as much as possible.
* **Remove Obstruction:** Carefully remove the jammed material. Use a brush or tweezers if necessary. Be very careful of blades or burrs.
* **Clean Thoroughly:** Once clear, clean all components to ensure no sticky residue is causing the jam.
* **Reassemble and Test:** Dry everything thoroughly, reassemble, and test with a small amount of material.
Conclusion
Taking a few extra moments to unplug your grinder before cleaning or maintenance is not just a procedural step; it’s a commitment to your safety and the longevity of your appliance. By consistently following the simple yet crucial practice of disconnecting the power, you significantly reduce the risk of accidents and ensure that your grinder remains a reliable and effective tool in your kitchen. Remember, a clean grinder produces better-tasting results, and a well-maintained grinder will serve you faithfully for many years. So, the next time you reach for your grinder to give it a clean, make that unplugging step the very first thing you do. Happy (and safe) grinding!