
Unlock the secret to consistently perfect rice with the straightforward Rice Method. This guide breaks down each crucial step, from washing to resting, ensuring your grains are fluffy, flavorful, and never sticky. Master this essential cooking technique and elevate your meals with delicious, well-cooked rice.
What Are the Steps in the Rice Method
Welcome to your ultimate guide to mastering the Rice Method! In 2026, enjoying perfectly cooked, fluffy rice is an achievable culinary goal for everyone. Gone are the days of mushy, sticky, or undercooked grains. This comprehensive how-to will walk you through each essential step, equipping you with the knowledge and confidence to create delicious rice that will impress your taste buds and your guests. Whether you’re a beginner cook or looking to refine your skills, the Rice Method is a fundamental technique that will elevate your everyday meals. Get ready to transform your rice-cooking game!
Key Takeaways
- Accurate Water-to-Rice Ratio: The foundation of the Rice Method lies in precise measurements, typically a 1:1.5 or 1:2 ratio of rice to water, depending on the rice type.
- Thorough Rinsing: Washing the rice until the water runs clear removes excess starch, preventing clumping and leading to lighter, fluffier grains.
- Proper Absorption Time: Allowing the rice to absorb water undisturbed for a set period before cooking is vital for even hydration and texture.
- Gentle Cooking and Steaming: A low simmer and adequate resting time after cooking are key to allowing the rice to finish cooking in its own steam, achieving optimal fluffiness.
- Understanding Rice Varieties: Different rice types (e.g., basmati, jasmine, short-grain) may require slight adjustments to water ratios and cooking times within the Rice Method.
- Troubleshooting Common Issues: Knowing how to fix undercooked or overcooked rice is an important part of mastering the Rice Method.
Understanding the Rice Method
The Rice Method, at its core, is a simple yet effective approach to cooking rice that emphasizes proper preparation, precise measurements, and controlled cooking. It’s not about complex techniques; it’s about understanding the needs of the rice grain and providing the right environment for it to cook perfectly. The goal is to achieve individual, fluffy grains that are tender but not mushy, with a delightful texture and flavor. This method is adaptable to most types of rice, although slight adjustments might be necessary, which we’ll cover.
The Essential Steps to Perfect Rice

Visual guide about What Are the Steps in the Rice Method
Image source: weightlasting.com
Let’s dive into the step-by-step process that defines the Rice Method. Each stage plays a crucial role in achieving that coveted fluffy texture.
Step 1: Measure Your Rice and Water
Visual guide about What Are the Steps in the Rice Method
Image source: expertreviewsbestricecooker.com
This is arguably the most critical step in the Rice Method. Precision here sets the stage for success.
Determining the Right Ratio
The standard ratio for most white rice varieties (like long-grain white rice) is 1 cup of rice to 1.5 to 2 cups of water. However, this can vary.
* Long-grain white rice (like Jasmine or Basmati): Generally requires a 1:1.5 to 1:1.75 ratio. Start with 1:1.5 if you prefer slightly firmer grains, or 1:1.75 for a bit more moisture.
* Medium-grain white rice: Often uses a 1:1.75 to 1:2 ratio.
* Short-grain white rice (like sushi rice): Typically needs a 1:1.25 to 1:1.5 ratio, as it has a higher starch content and absorbs water differently.
* Brown rice: Requires more liquid and a longer cooking time. A 1:2 to 1:2.5 ratio is a good starting point.
Pro Tip: Always check the packaging of your rice. Manufacturers often provide specific cooking instructions and water ratios for their products. It’s better to be slightly under on water and add a splash more later than to have too much water from the start. Use a standard measuring cup for both rice and water.
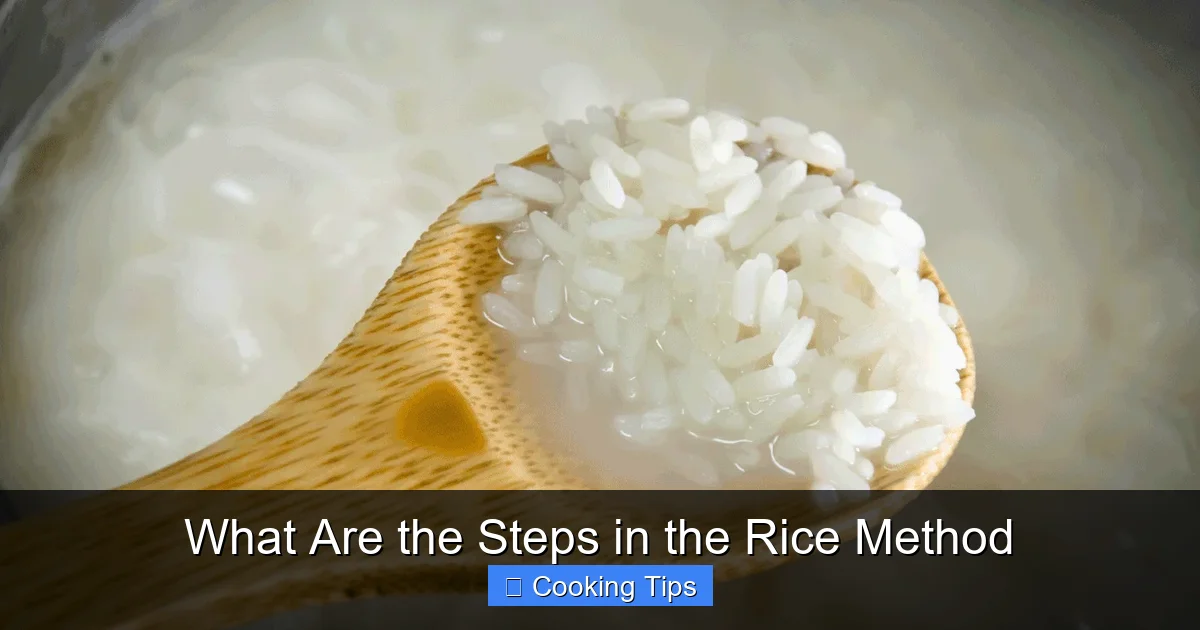
Step 2: Rinse the Rice

Visual guide about What Are the Steps in the Rice Method
Image source: michiganavenuepodiatry.com
This step is non-negotiable for achieving fluffy rice. Rinsing removes excess surface starch, which is the primary culprit behind gummy or clumpy rice.
How to Rinse Effectively
1. Place the rice in a fine-mesh sieve or a bowl. A sieve is ideal as it allows water to drain easily.
2. Rinse under cold running water. If using a bowl, fill it with cold water, swirl the rice around with your hand, and then carefully pour off the milky water.
3. Repeat until the water runs clear. This might take 3-5 rinses, or even more for certain types of rice. You’ll notice the water becomes progressively less cloudy.
**Why it matters:** This process gently polishes each grain, ensuring they cook separately rather than sticking together in a starchy mass.
Step 3: Let the Rice Soak (Optional but Recommended)
While not always strictly necessary, a short soak can significantly improve the texture of your rice, especially for varieties like Basmati or Jasmine.
The Benefits of Soaking
Soaking allows the rice grains to absorb some moisture before hitting the heat. This promotes more even cooking and can lead to a fluffier, more tender result.
* **Duration:** Soak the rinsed rice in fresh, cold water for about 15-30 minutes.
* **After Soaking:** Drain the rice thoroughly before proceeding to the cooking stage.
**Note:** For shorter-grain rice or if you’re pressed for time, you can skip this step. However, for optimal results, especially with longer grains, consider incorporating a soak.
Step 4: Combine Rice and Water for Cooking
Now it’s time to bring your measured rice and water together in a saucepan.
Choosing the Right Pot
* Use a heavy-bottomed saucepan with a tight-fitting lid. This is crucial for trapping steam, which is essential for cooking the rice evenly.
* The pot should be large enough to accommodate the rice and water, with some extra room for expansion.
Adding to the Pot
1. Place the rinsed (and possibly soaked) and drained rice into the saucepan.
2. Add the precise amount of cold water you measured earlier.
3. Optional additions: At this stage, you can also add a pinch of salt for flavor, or a tablespoon of butter or oil for extra richness and to further prevent sticking.
Step 5: Bring to a Boil and Then Simmer
This phase involves initial heat to start the cooking process, followed by a controlled simmer.
The Initial Boil
1. Place the saucepan over medium-high heat.
2. Bring the water and rice mixture to a rolling boil. Don’t cover the pot at this stage.
Reducing to a Simmer
1. Once it reaches a boil, immediately reduce the heat to the lowest possible setting.
2. Cover the saucepan tightly with its lid.
**Crucial Point:** The goal is to create a gentle steam environment. If your stove’s lowest setting is still too high, you can place a heat diffuser (a metal plate that distributes heat) between the burner and the pot.
Step 6: Cook Undisturbed
Patience is key here! Resist the urge to lift the lid and peek.
The Cooking Time
* **White Rice:** Typically takes 15-20 minutes on a low simmer.
* **Brown Rice:** Requires longer, usually 35-45 minutes.
**What’s Happening:** During this time, the rice absorbs the water and cooks through from the steam. Lifting the lid releases this precious steam, disrupting the cooking process and leading to unevenly cooked rice.
Step 7: Rest the Rice
This is another vital, often overlooked, step in the Rice Method that guarantees fluffy results.
The Importance of Resting
Once the cooking time is up (you’ll notice the liquid has been absorbed – you can gently tilt the pot to check if there’s any standing water), turn off the heat but **leave the lid on**.
* **Resting Time:** Let the rice rest for at least 10-15 minutes. For brown rice, you might want to extend this to 20 minutes.
**Why it works:** This resting period allows the residual heat to continue cooking the rice gently, and it lets the moisture distribute evenly throughout the grains. It also allows the starches to set, resulting in distinct, fluffy grains.
Step 8: Fluff the Rice
The final touch to achieve that perfect texture.
How to Fluff
1. Remove the lid from the rested pot.
2. Use a fork or a rice paddle (a wooden or plastic utensil) to gently fluff the rice.
3. Start from the bottom and gently lift and separate the grains. This will release any trapped steam and ensure no clumps remain.
Congratulations! Your perfectly cooked rice is now ready to be served.
Troubleshooting Common Rice Problems
Even with the best methods, occasional mishaps can occur. Here’s how to address common rice issues:
My Rice is Gummy or Mushy
* **Cause:** Too much water, not rinsing enough, or opening the lid during cooking.
* **Fix:** Unfortunately, mushy rice is hard to recover completely. In the future, reduce your water-to-rice ratio and be sure to rinse thoroughly. If it’s just slightly gummy, you can try to spread it on a baking sheet to let some moisture evaporate, but the texture will likely be compromised.
My Rice is Undercooked and Hard
* **Cause:** Not enough water, lid not on tight enough, or insufficient cooking time.
* **Fix:** If there’s still some liquid in the pot, cover it tightly again and let it simmer for a few more minutes. If all the liquid has been absorbed but the rice is still hard, add about 2-3 tablespoons of hot water, cover tightly, and steam for another 5-10 minutes.
My Rice is Burnt on the Bottom
* **Cause:** Heat too high, pot too thin, or not enough liquid.
* **Fix:** Gently scrape off the unburnt rice into a clean bowl. Try to avoid scraping the burnt bits into your serving. For future cooking, ensure you’re using a heavy-bottomed pot and the lowest possible simmer setting.
Conclusion
Mastering the Rice Method is a cornerstone of confident home cooking. By following these clear, step-by-step instructions – from precise measurement and thorough rinsing to patient simmering and essential resting – you can consistently achieve perfectly fluffy rice. This technique empowers you to enjoy the ideal texture and flavor, making every meal a little more special. So, the next time you reach for that bag of rice, remember these steps and prepare to be delighted by the results. Happy cooking in 2026 and beyond!